Managing your technicians effectively is crucial for smooth operations, especially when using dedicated software like AutoOps. Whether you are an administrator or a manager, understanding how to configure and update technician settings can significantly improve the workflow, accuracy in job assignments, and payroll processes. This guide delves into the detailed steps and options available for editing technician settings within the AutoOps system, based on insights from AutoOps’ expert walkthrough.
Getting Started: Accessing Technician Settings
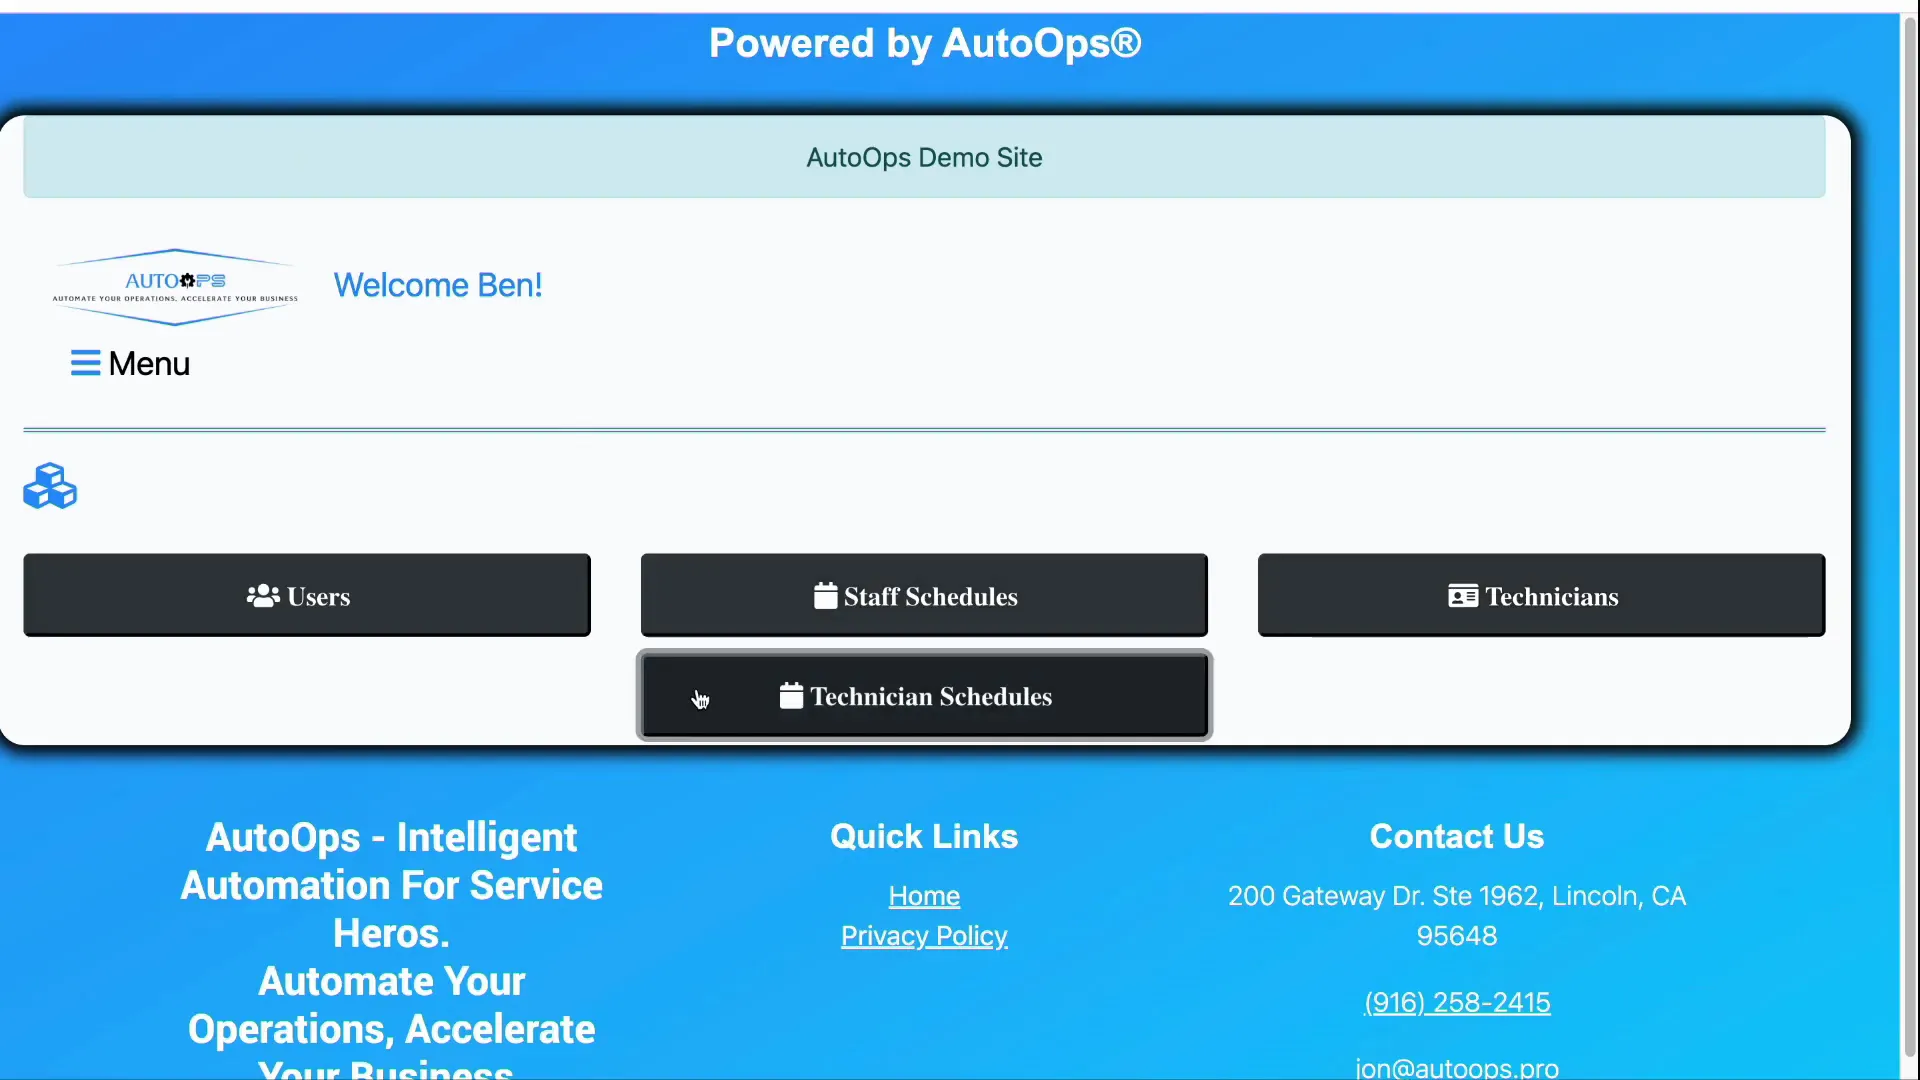
To begin editing technician profiles, you need to have an admin account. Once logged in, navigate to the system settings where all user and technician configurations are managed.
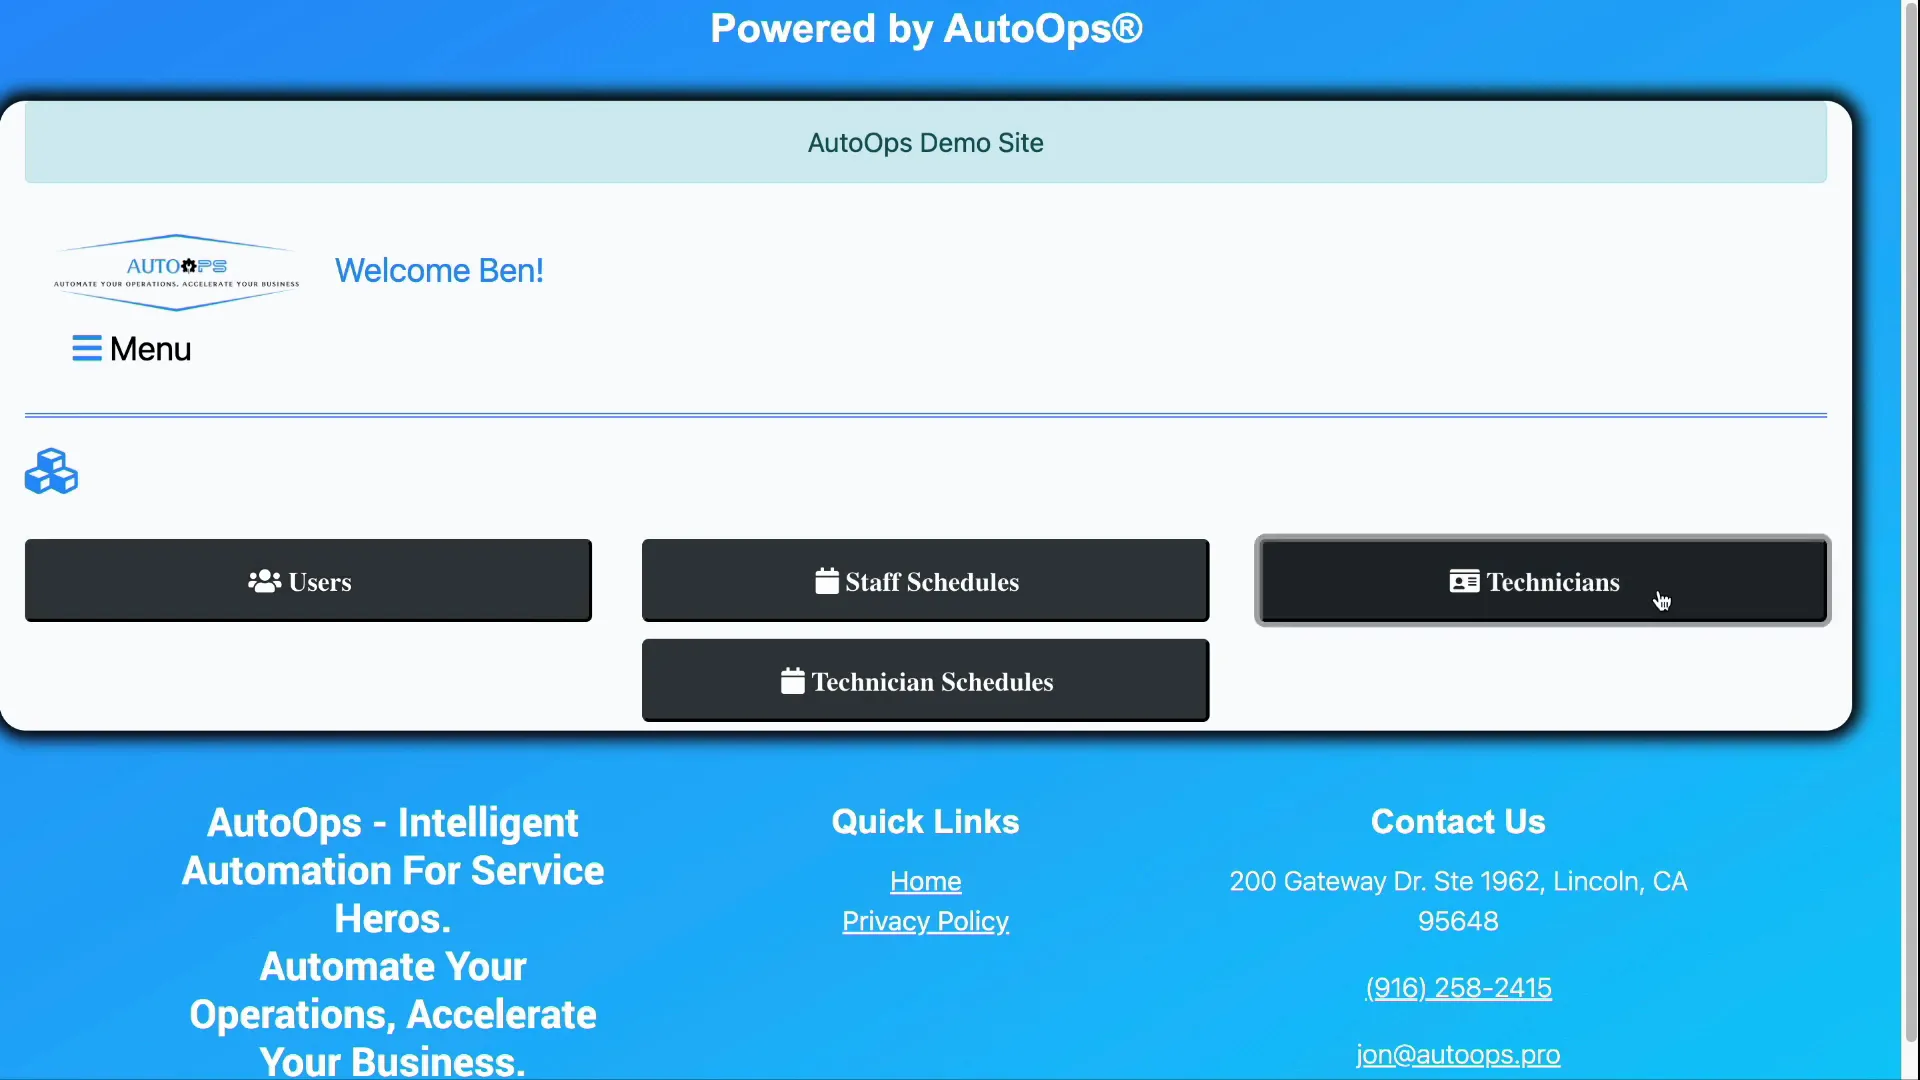
Start by going to the Settings menu. From there, scroll down to find User Settings. Within User Settings, you will find a button labeled Technicians. Clicking this brings up a list of all technicians currently registered in the system.
While user settings generally pertain to system users who might interact with the software primarily through desktop or web portals, technicians have a different method of interaction. They usually access the system through a mobile app and use a unique PIN-based login to clock in and out of jobs.
Understanding the Technician Profile Fields
Once you select a technician from the list, you can update their details by clicking on Available Actions and then Update Technician. This opens a comprehensive form with various fields related to the technician’s profile.
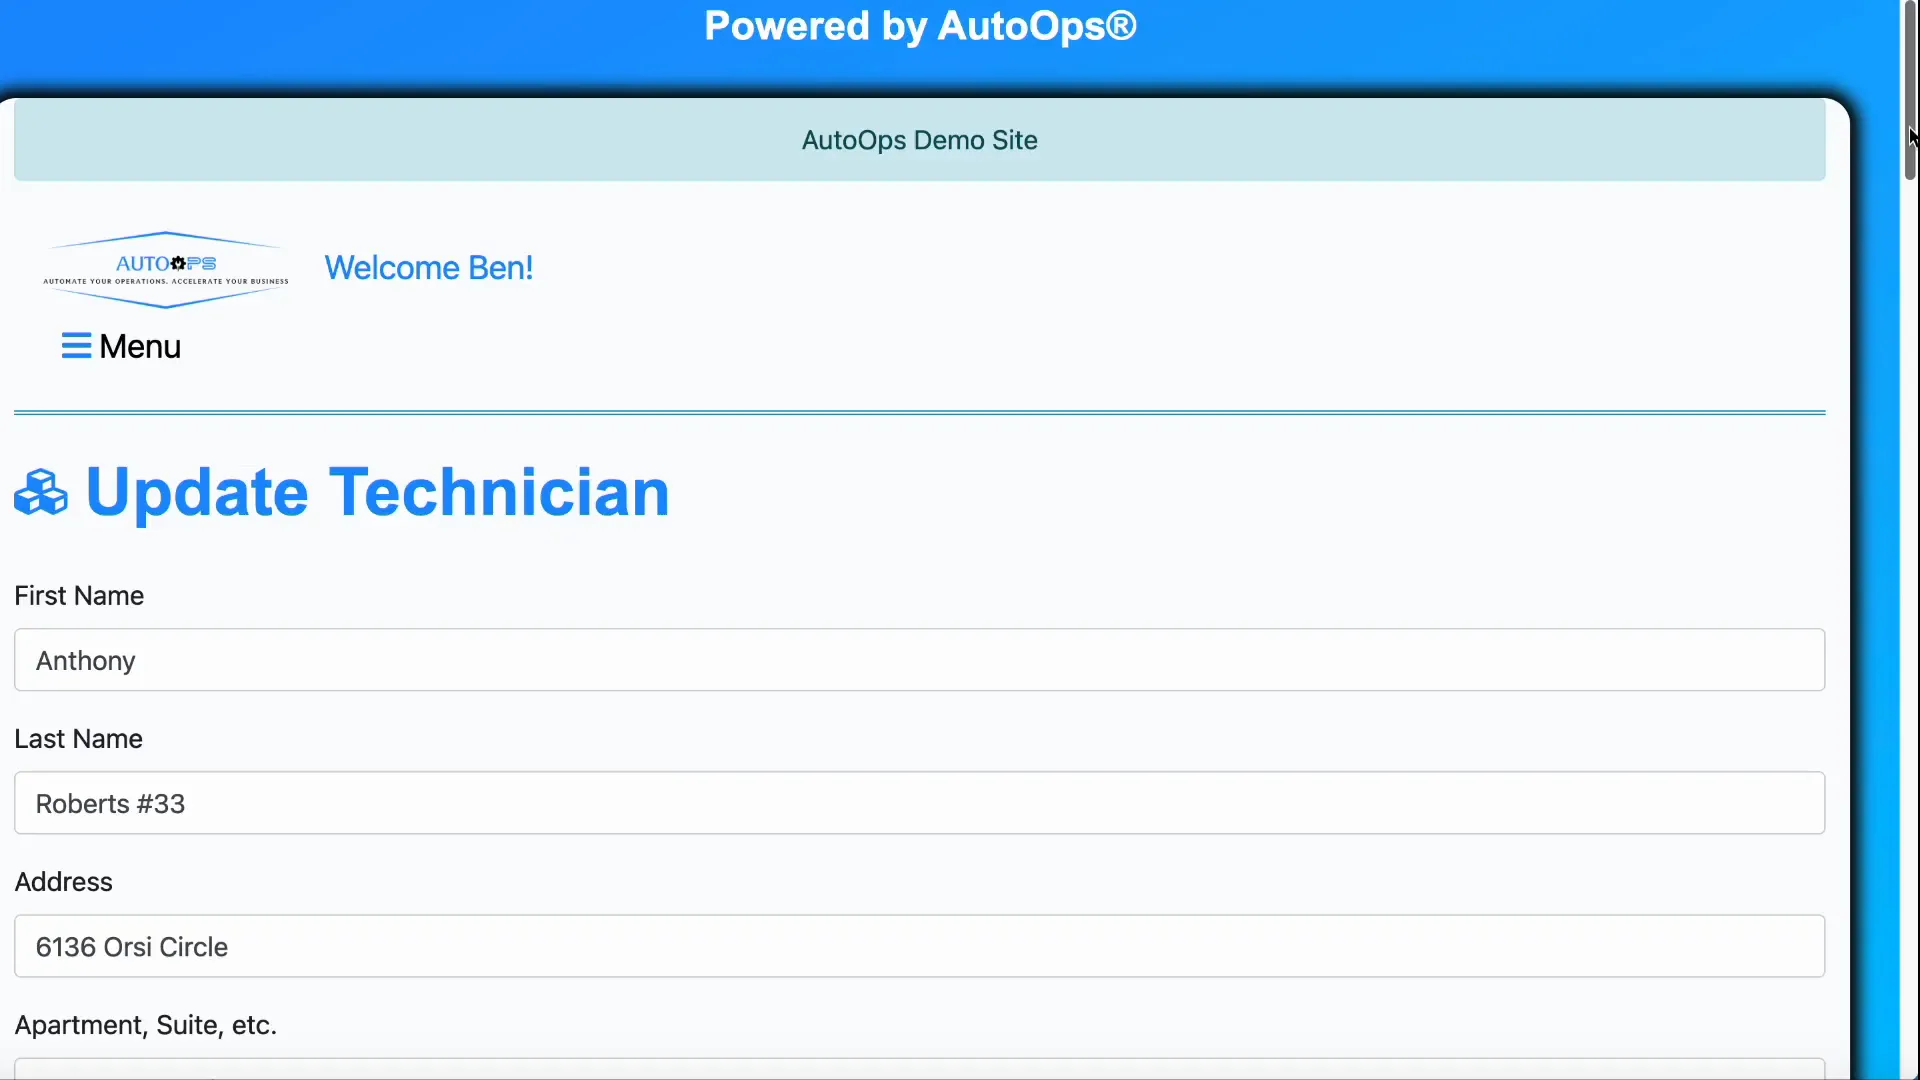
The editable fields include:
- First Name and Last Name: Basic identification details.
- Address Details: Including street address, city, state, and ZIP code.
- Employee ID: An optional field to assign a unique employee identifier.
- Technician Works Here: This checkbox controls whether the technician can log in and interact with the system. If unchecked, the technician’s access is disabled, and they will no longer appear as selectable in the app.
- Social Security Number: Required for payroll and identification purposes. The last five digits of the SSN serve as the technician’s login PIN.
- Notes: A freeform text box to add any additional comments or relevant info about the technician.
It’s important to note that disabling a technician’s access through the “Technician Works Here” checkbox immediately affects their ability to log in and be assigned to jobs, which helps maintain security and operational control.
Managing Job Qualifications
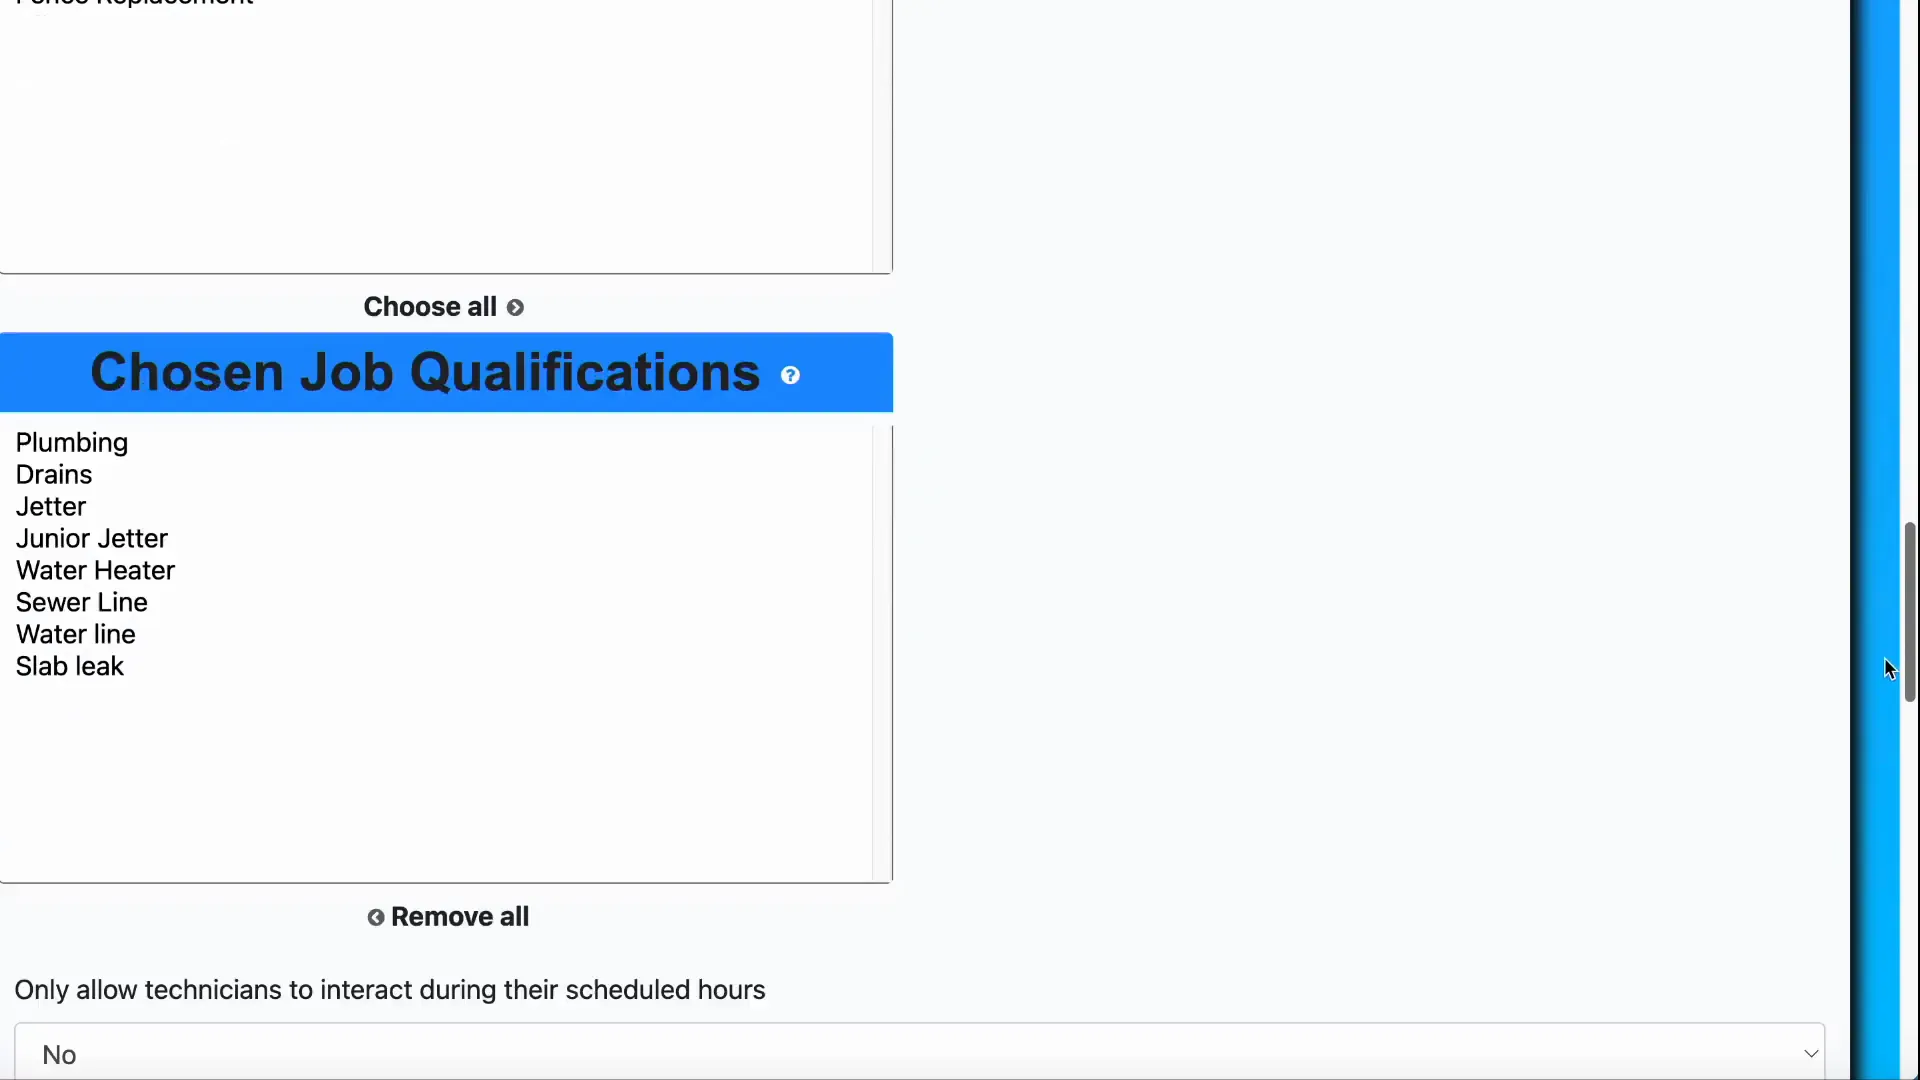
One of the powerful features in AutoOps is the ability to assign job qualifications to technicians. These qualifications define what types of jobs a technician is certified or allowed to perform. This becomes especially important when strict booking mode is enabled, ensuring that only qualified technicians are assigned to specific tasks.
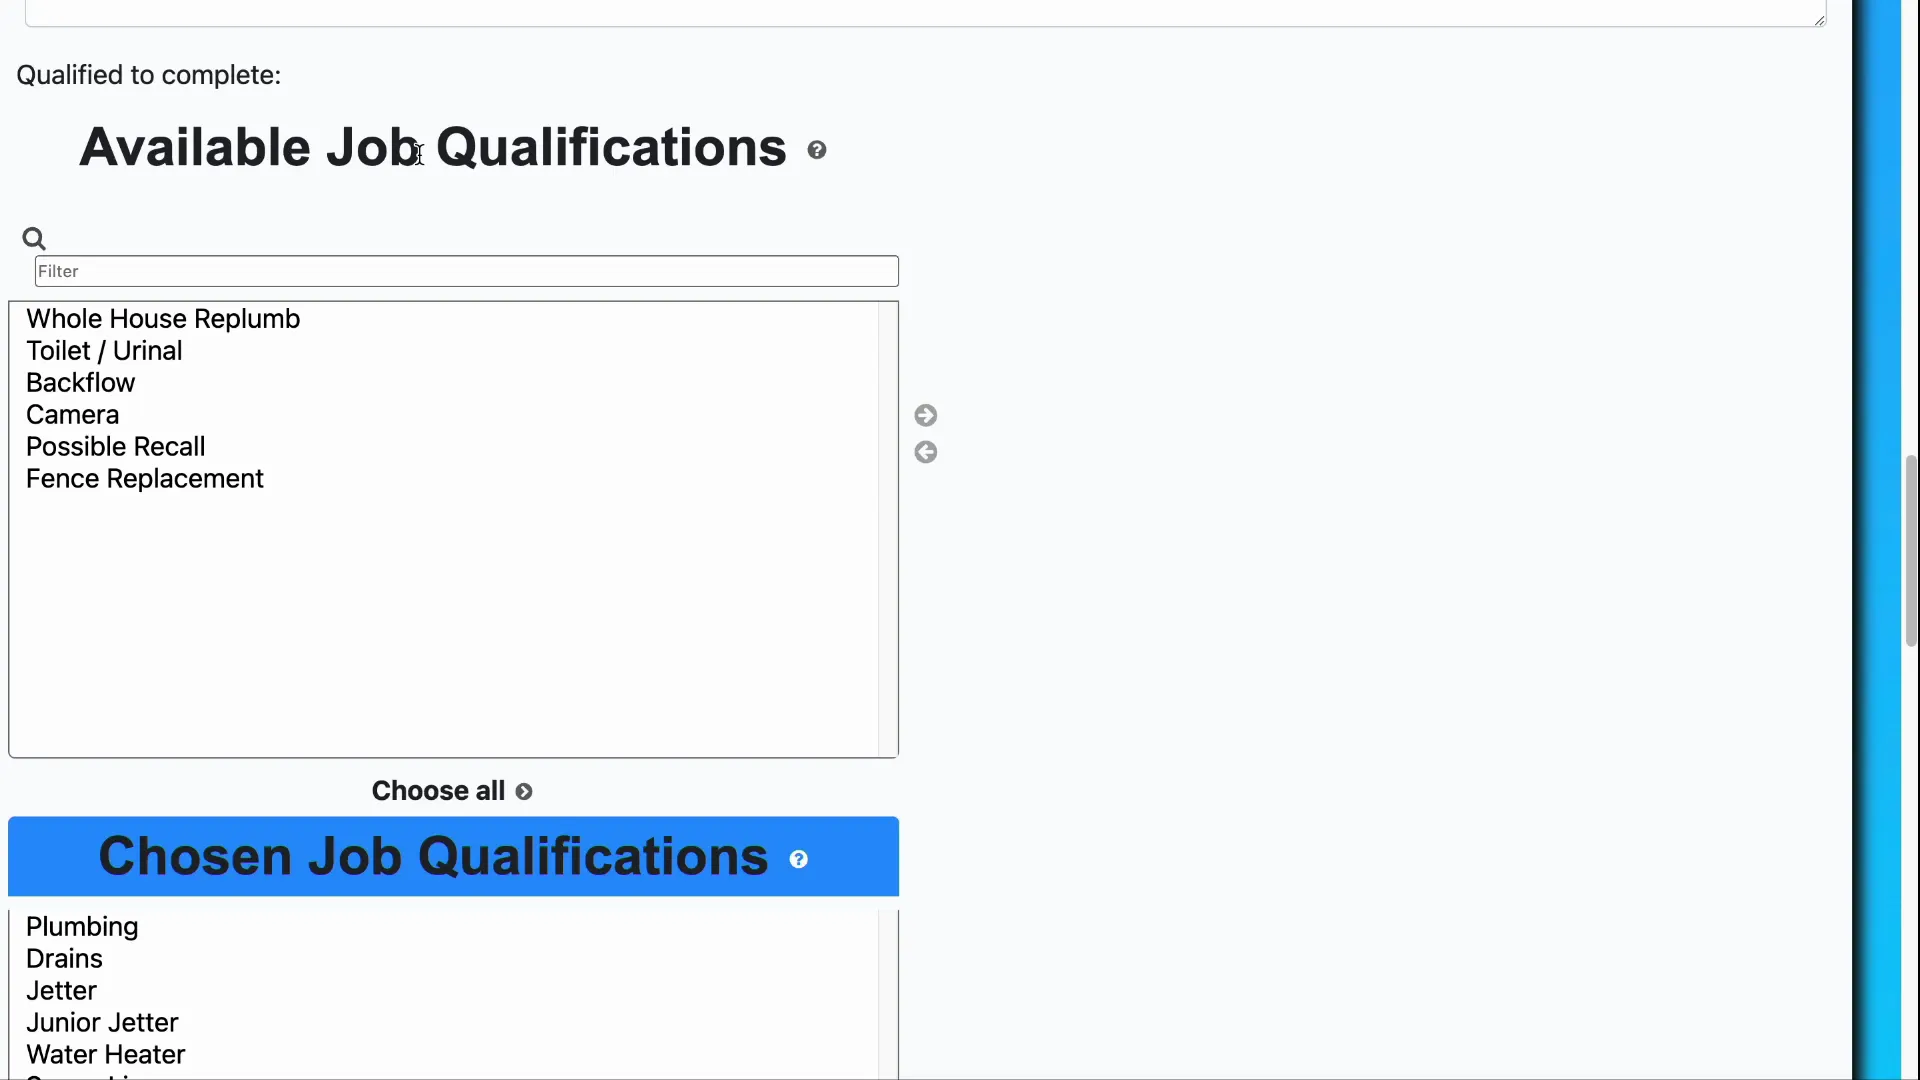
Within the technician update screen, you will see two lists related to qualifications:
- Available Qualifications: These are all possible certifications or skills that can be assigned.
- Approved Qualifications: These are the qualifications currently assigned to the technician.
To add a qualification, select it from the available list and click the right arrow button to move it to the approved list. To remove a qualification, select it from the approved list and click the left arrow button.
This system allows you to customize each technician’s profile to match their real-world skills, ensuring job assignments are both safe and compliant with your company’s standards.
Scheduling and Access Control
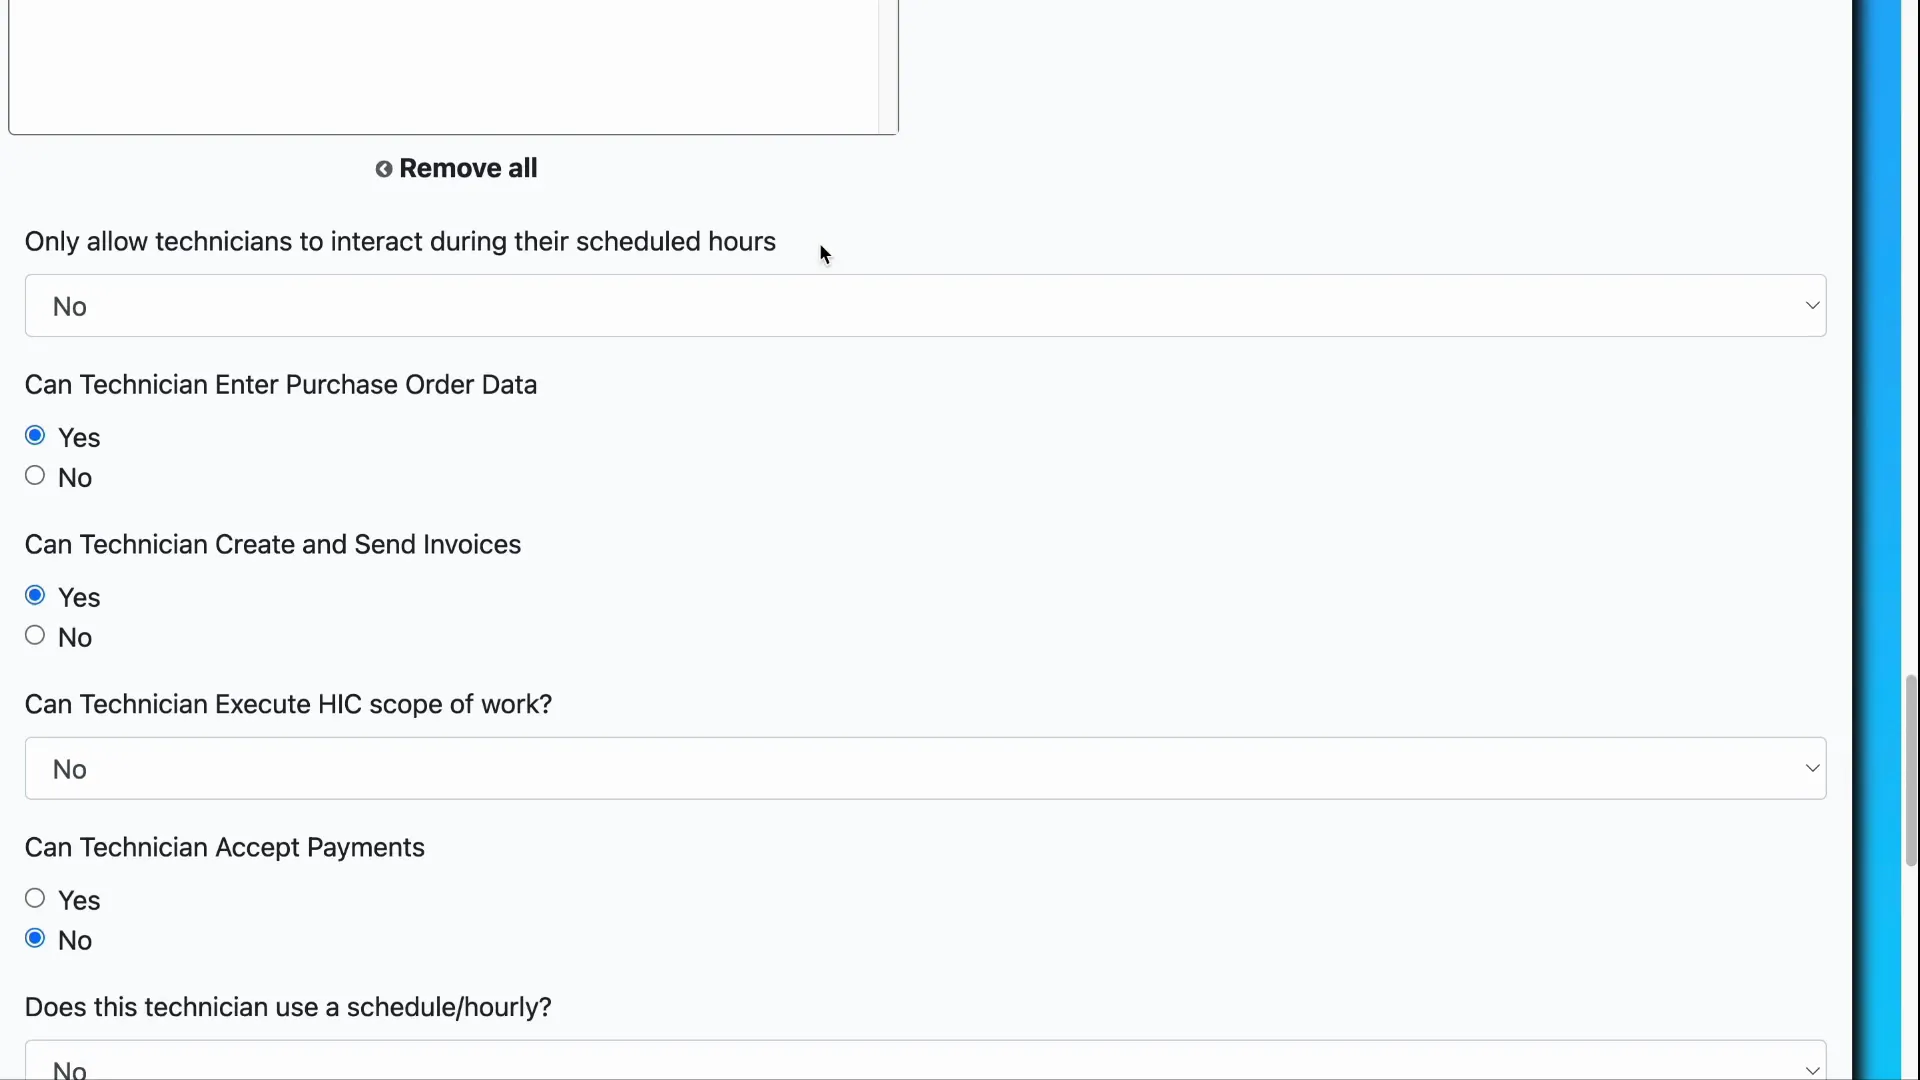
AutoOps offers a setting to restrict technician interactions to their scheduled work hours. This is controlled by the checkbox labeled Only allow technicians to interact during their scheduled hours. When enabled, technicians can only log into the system during the time slots assigned to them.
To manage these schedules, navigate back to the main settings page and select Technician Schedules. Here, you can create, view, and edit the schedules for each technician, ensuring they only access the system when they are supposed to be working.
Enforcing schedule-based access is an excellent way to maintain operational discipline and prevent unauthorized work logging outside designated hours.
Accounting and Payroll Settings
Beyond job qualifications and access control, AutoOps includes several accounting-related settings that affect how technicians interact with financial data within the system.
- Purchase Order Data Entry Access: You can restrict whether a technician can enter purchase order details related to jobs.
- Invoice Creation and Sending: You can control if technicians are allowed to create and send their own invoices.
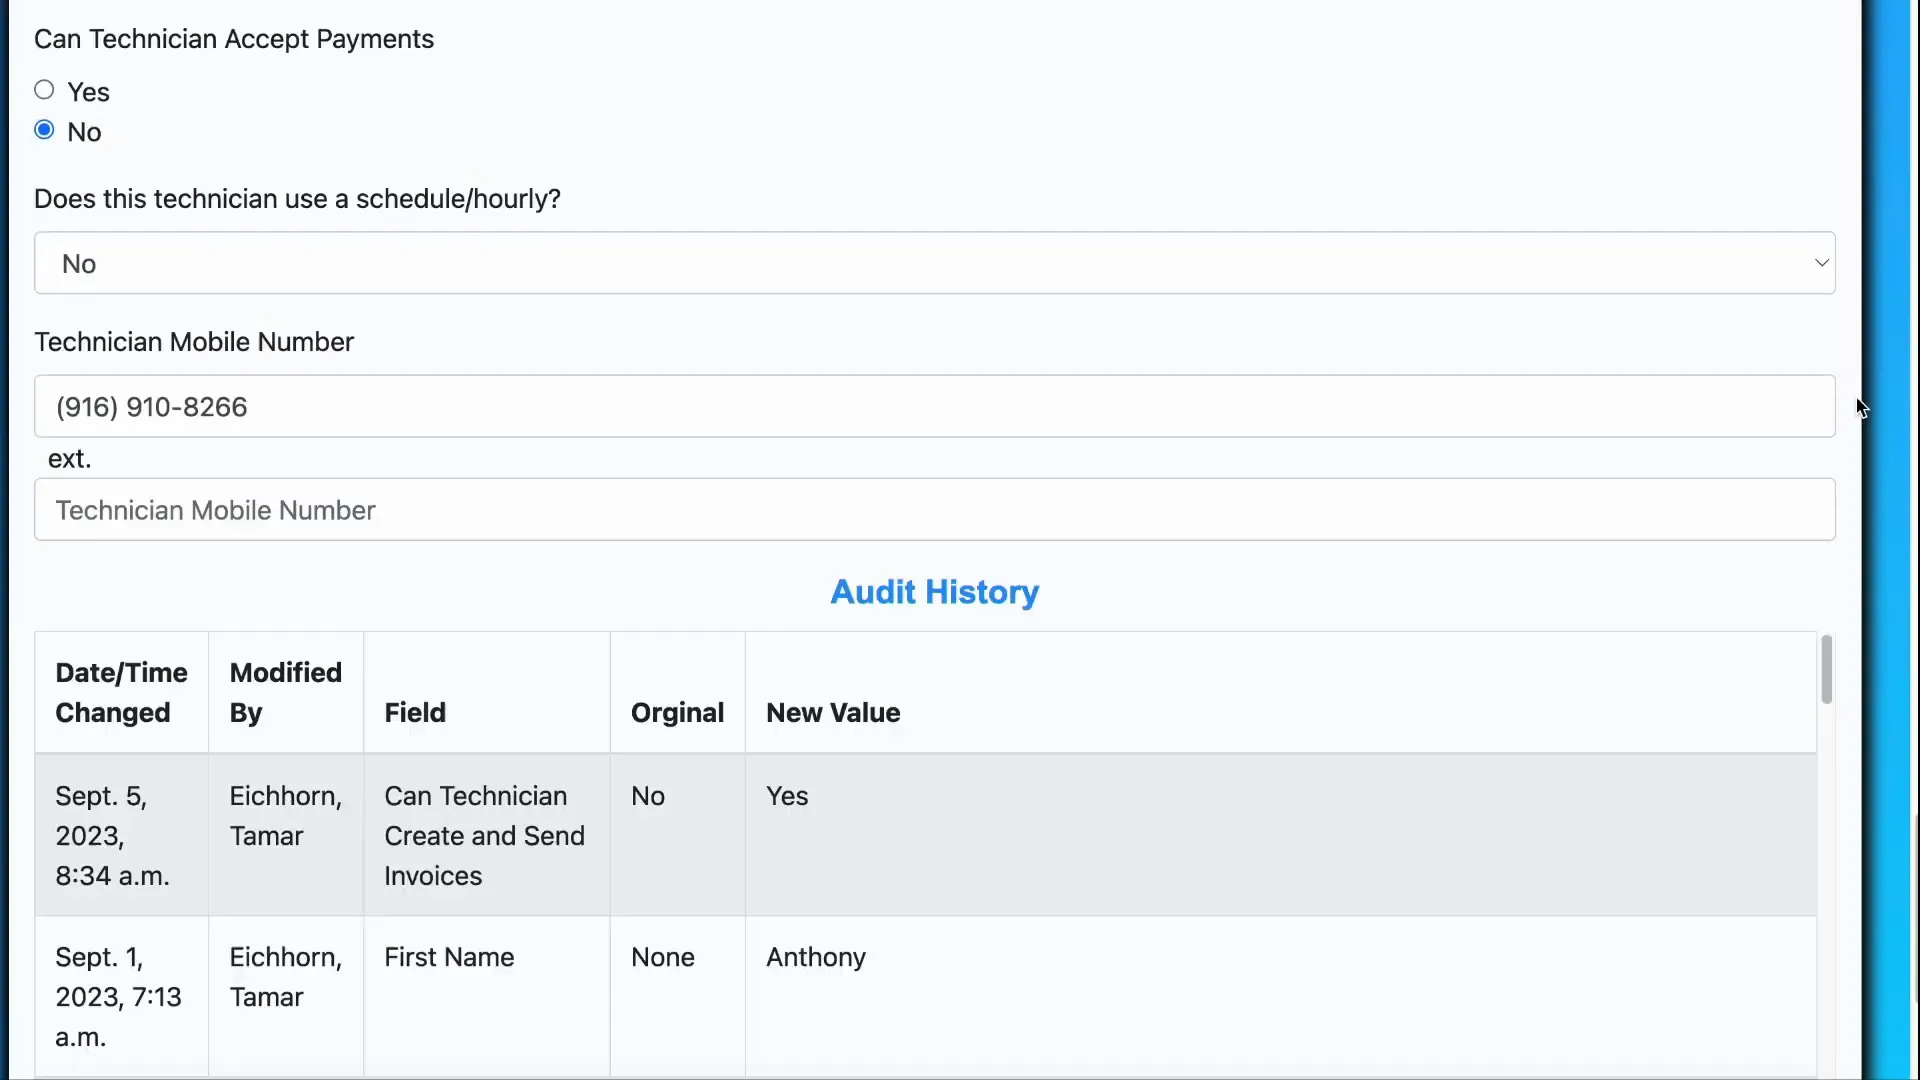
- Use Schedule/Hourly Setting: This setting relates more to payroll than job access. It determines if the technician’s time is tracked and calculated based on scheduled hours or hourly work.
These controls give you granular authority over what financial data technicians can handle, ensuring that sensitive information is protected and that payroll calculations are accurate.
Additional Information and Audit History
The technician profile also includes a field for the technician’s mobile number, which can be useful for direct communication or notifications.
Importantly, AutoOps maintains an Audit History for each technician record. This log tracks all changes made to the technician’s profile, providing transparency and accountability.
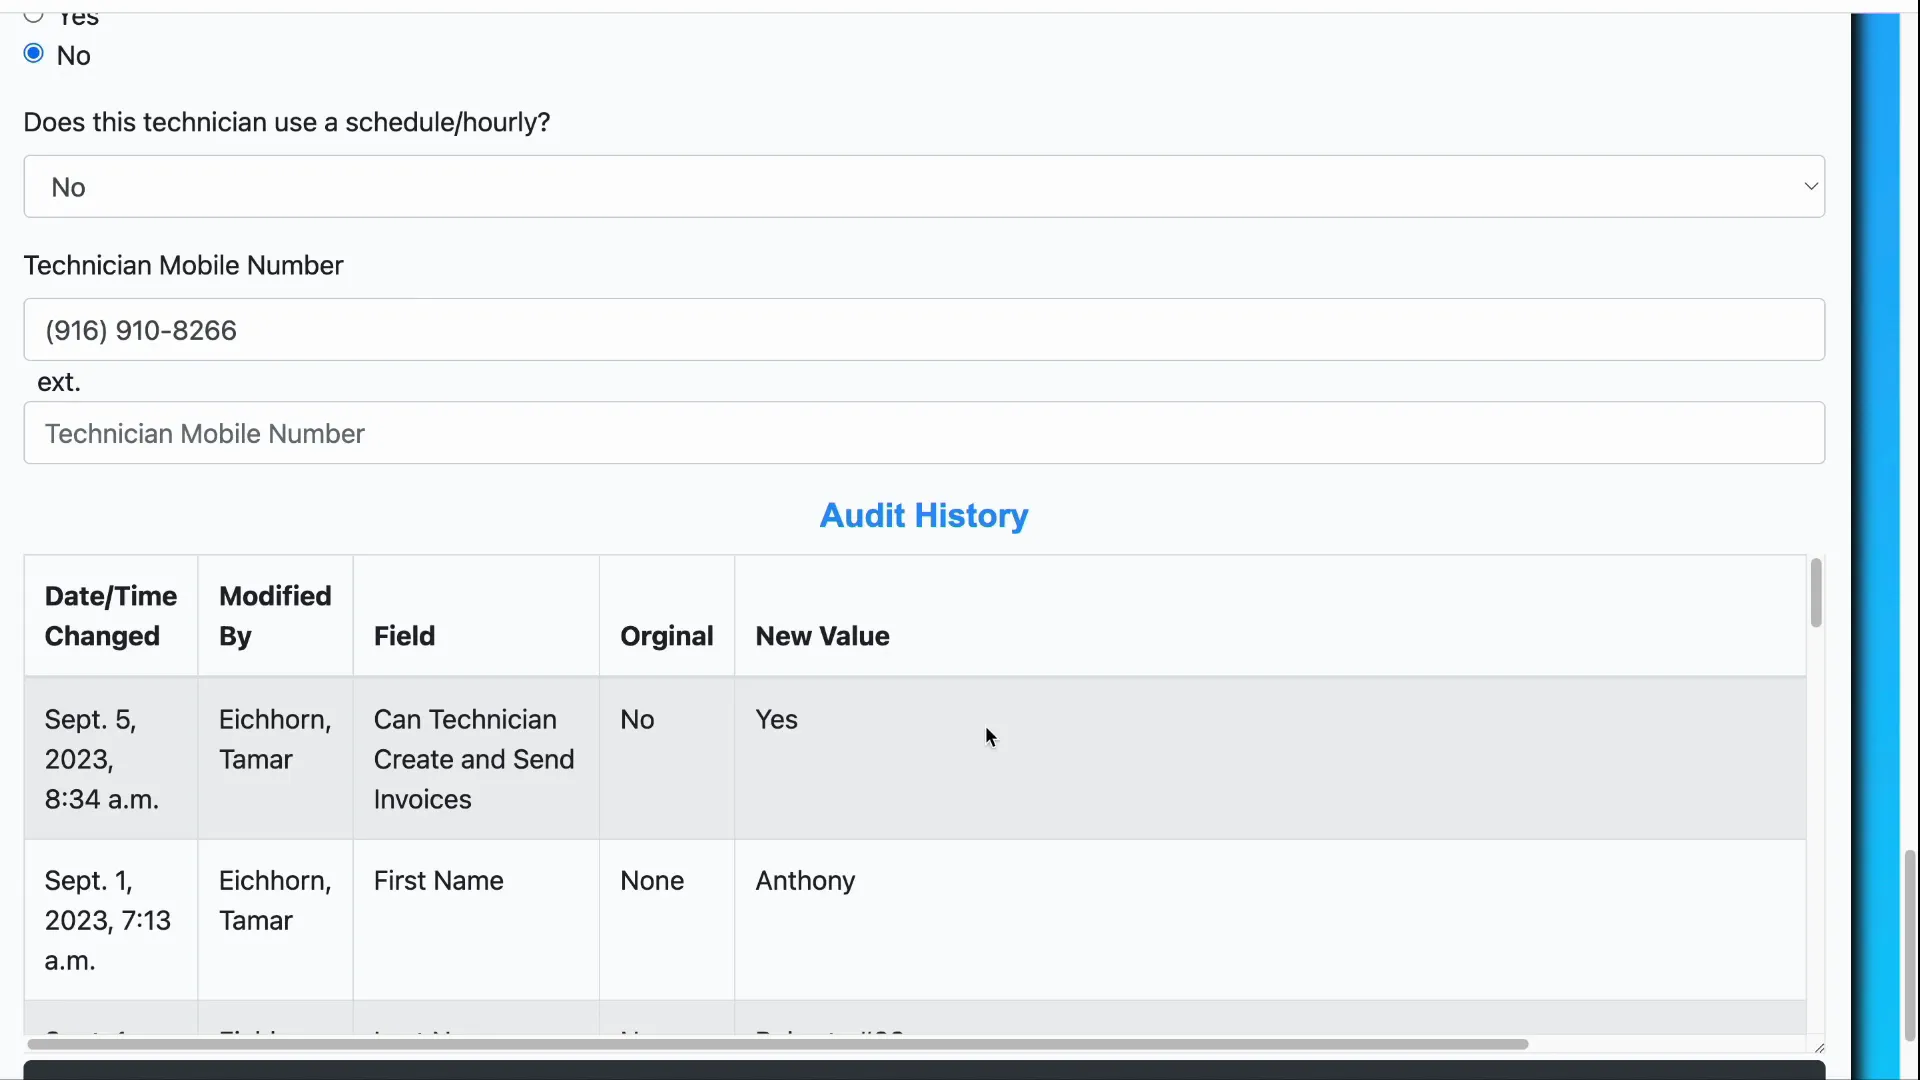
For privacy reasons, sensitive information such as the Social Security number or PIN is displayed in a scrambled format within the audit logs. This ensures data protection while maintaining a clear record of updates.
Saving Changes
After making any adjustments to a technician’s profile—whether updating contact info, qualifications, scheduling, or accounting settings—remember to scroll to the bottom of the page and click the Save button. This action commits your changes to the system, ensuring that they take immediate effect.
Conclusion
Efficiently managing technician settings in AutoOps is essential for operational success. From updating personal details and managing qualifications to controlling access based on schedules and handling payroll-related configurations, the system offers a robust set of tools to tailor technician profiles to your business needs.
By leveraging these features, you can ensure that only qualified technicians are assigned to jobs, access is restricted to appropriate times, and financial data is handled securely. The audit history feature further strengthens your oversight capabilities, providing a clear trail of all changes made.
Whether you are onboarding new technicians or maintaining existing profiles, understanding and utilizing these settings will help you streamline your field operations and maintain control over your workforce management.
For detailed step-by-step guidance, be sure to explore the AutoOps platform’s technician settings regularly to keep your data current and your team functioning at its best.