Effective communication and precise customer relationships are essential for smooth operations in property management and service workflows. In this article, we explore how to set up customer alerts based on job status changes and how to manage customer-property relationships efficiently. These insights are inspired by AutoOps, who expertly guide us through configuring alerts and linking customers to properties to streamline notifications and billing.
Table of Contents
- Configuring Customer Alerts for Job Status Updates
- Understanding Customer Relationships with Properties
- Conclusion
- Frequently Asked Questions (FAQ)
Configuring Customer Alerts for Job Status Updates
One of the key features in managing customer communications is the ability to send alerts when a job reaches specific statuses. These alerts help keep customers informed about the progress of their jobs, such as when an invoice is booked or paid.
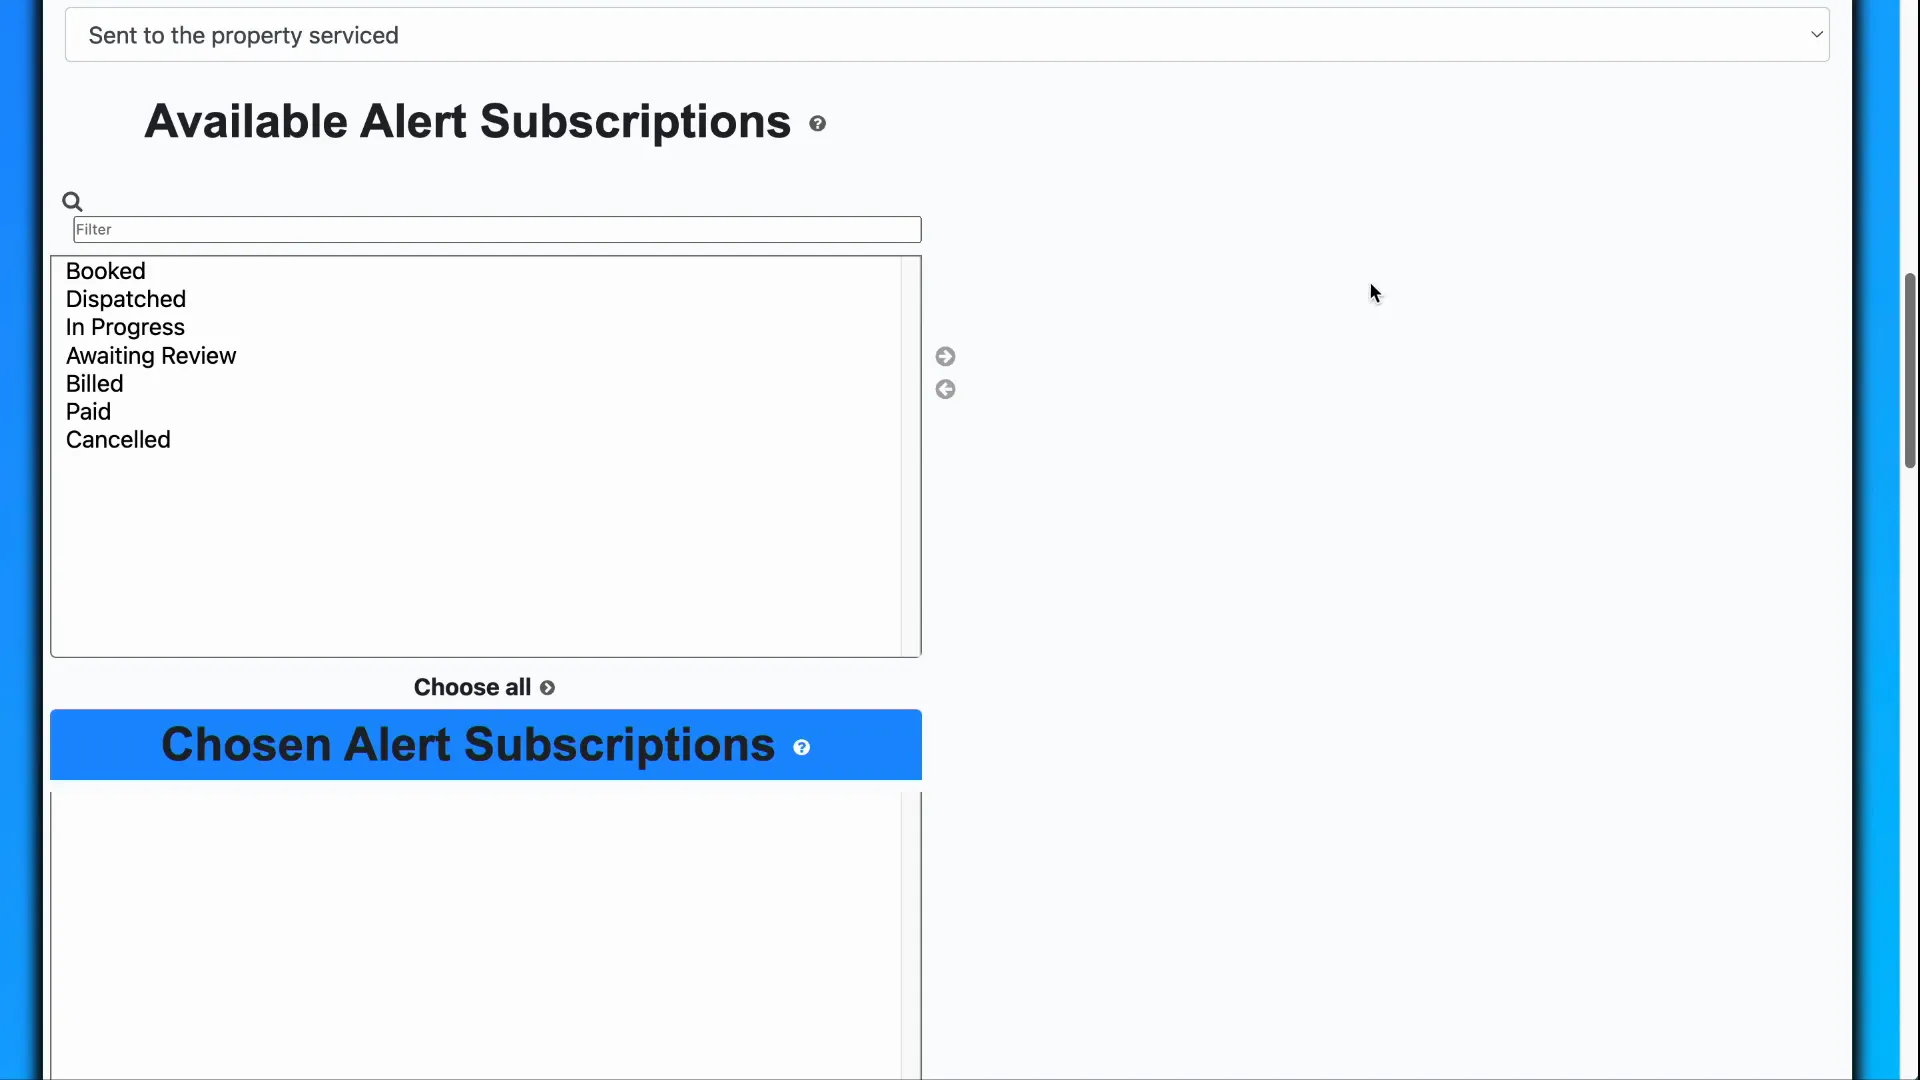
To configure these alerts, start by selecting a customer and choosing the option to update their details. Scrolling down the update page reveals a section labeled Available Alert Subscriptions. Here, you can select the job statuses that will trigger an alert. For example, you might want alerts sent when a job invoice status changes to booked or paid. Simply select the desired statuses and add them to the list.
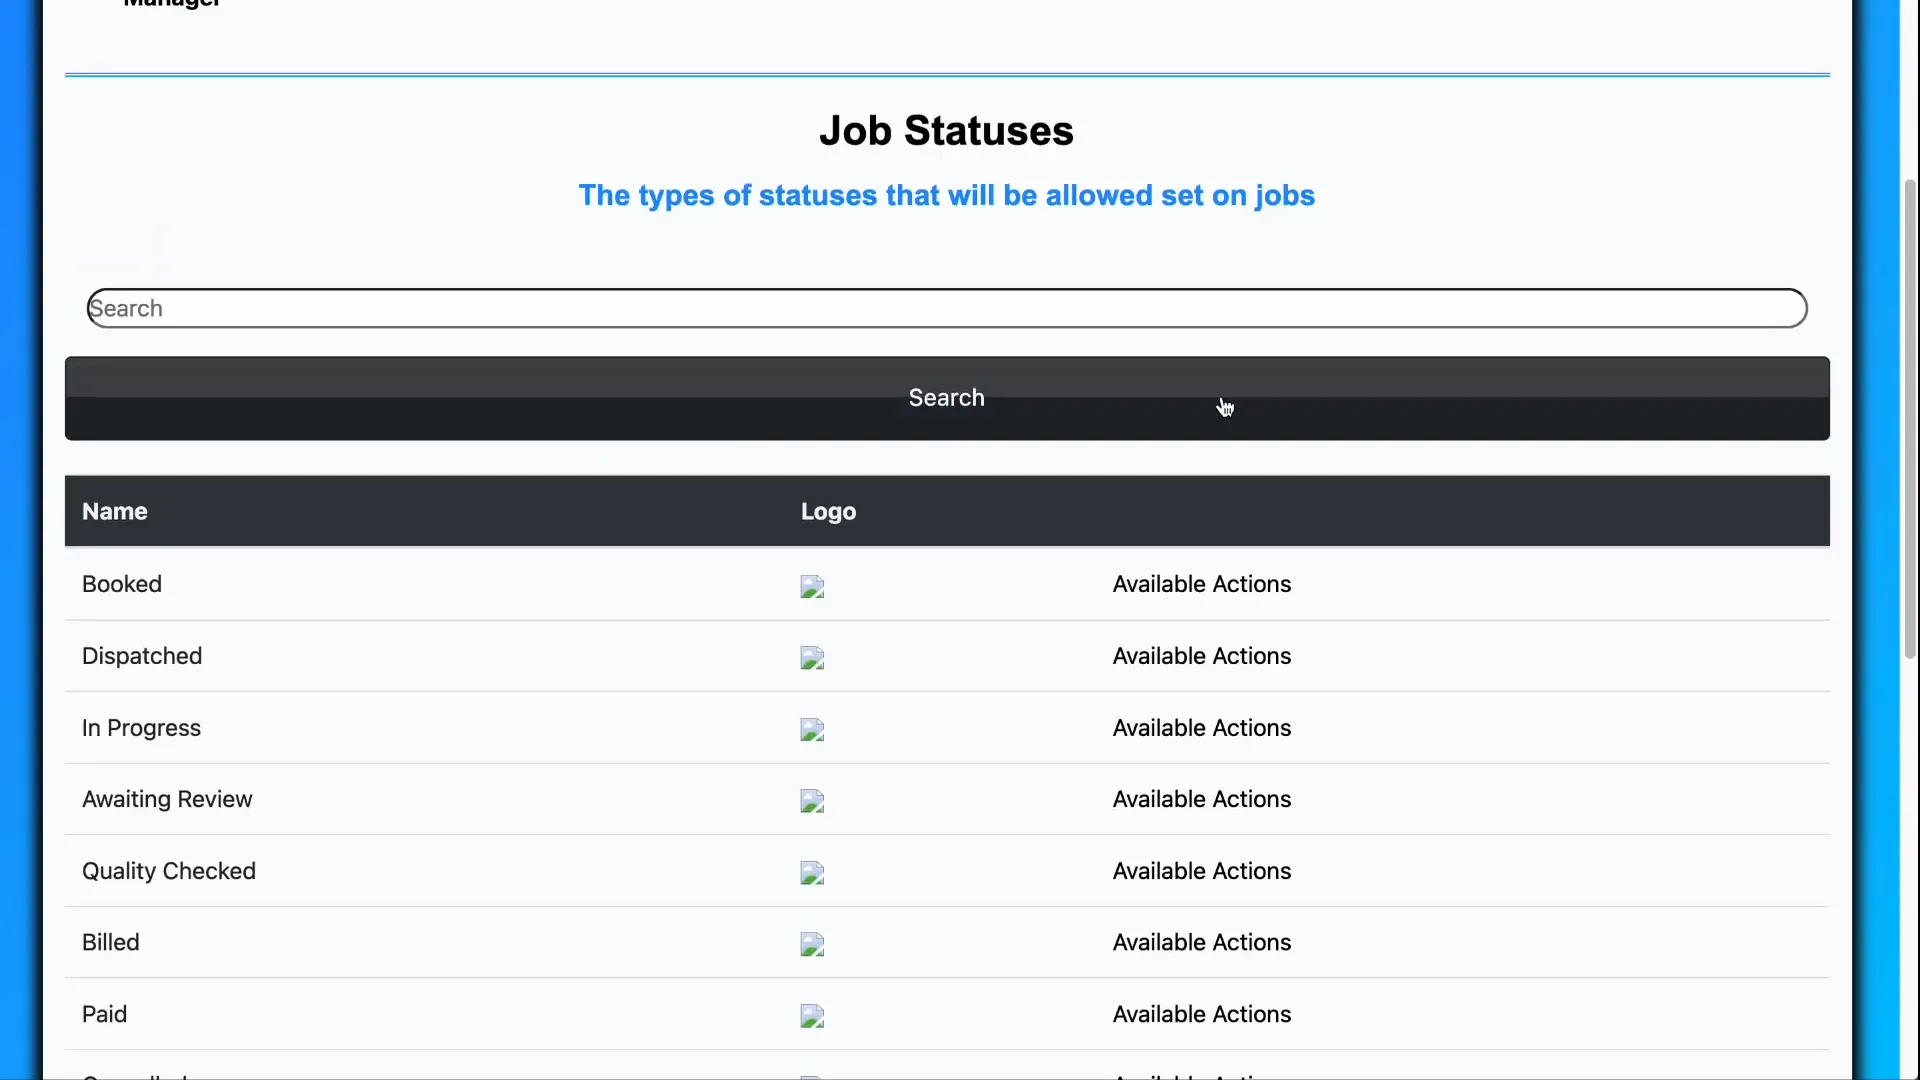
To see all possible job statuses, navigate to the homepage, then to Settings > Job Settings > Job Statuses. This page lists all statuses that form part of the job workflow. You can edit these statuses by clicking on Available Actions followed by Update Job Status.
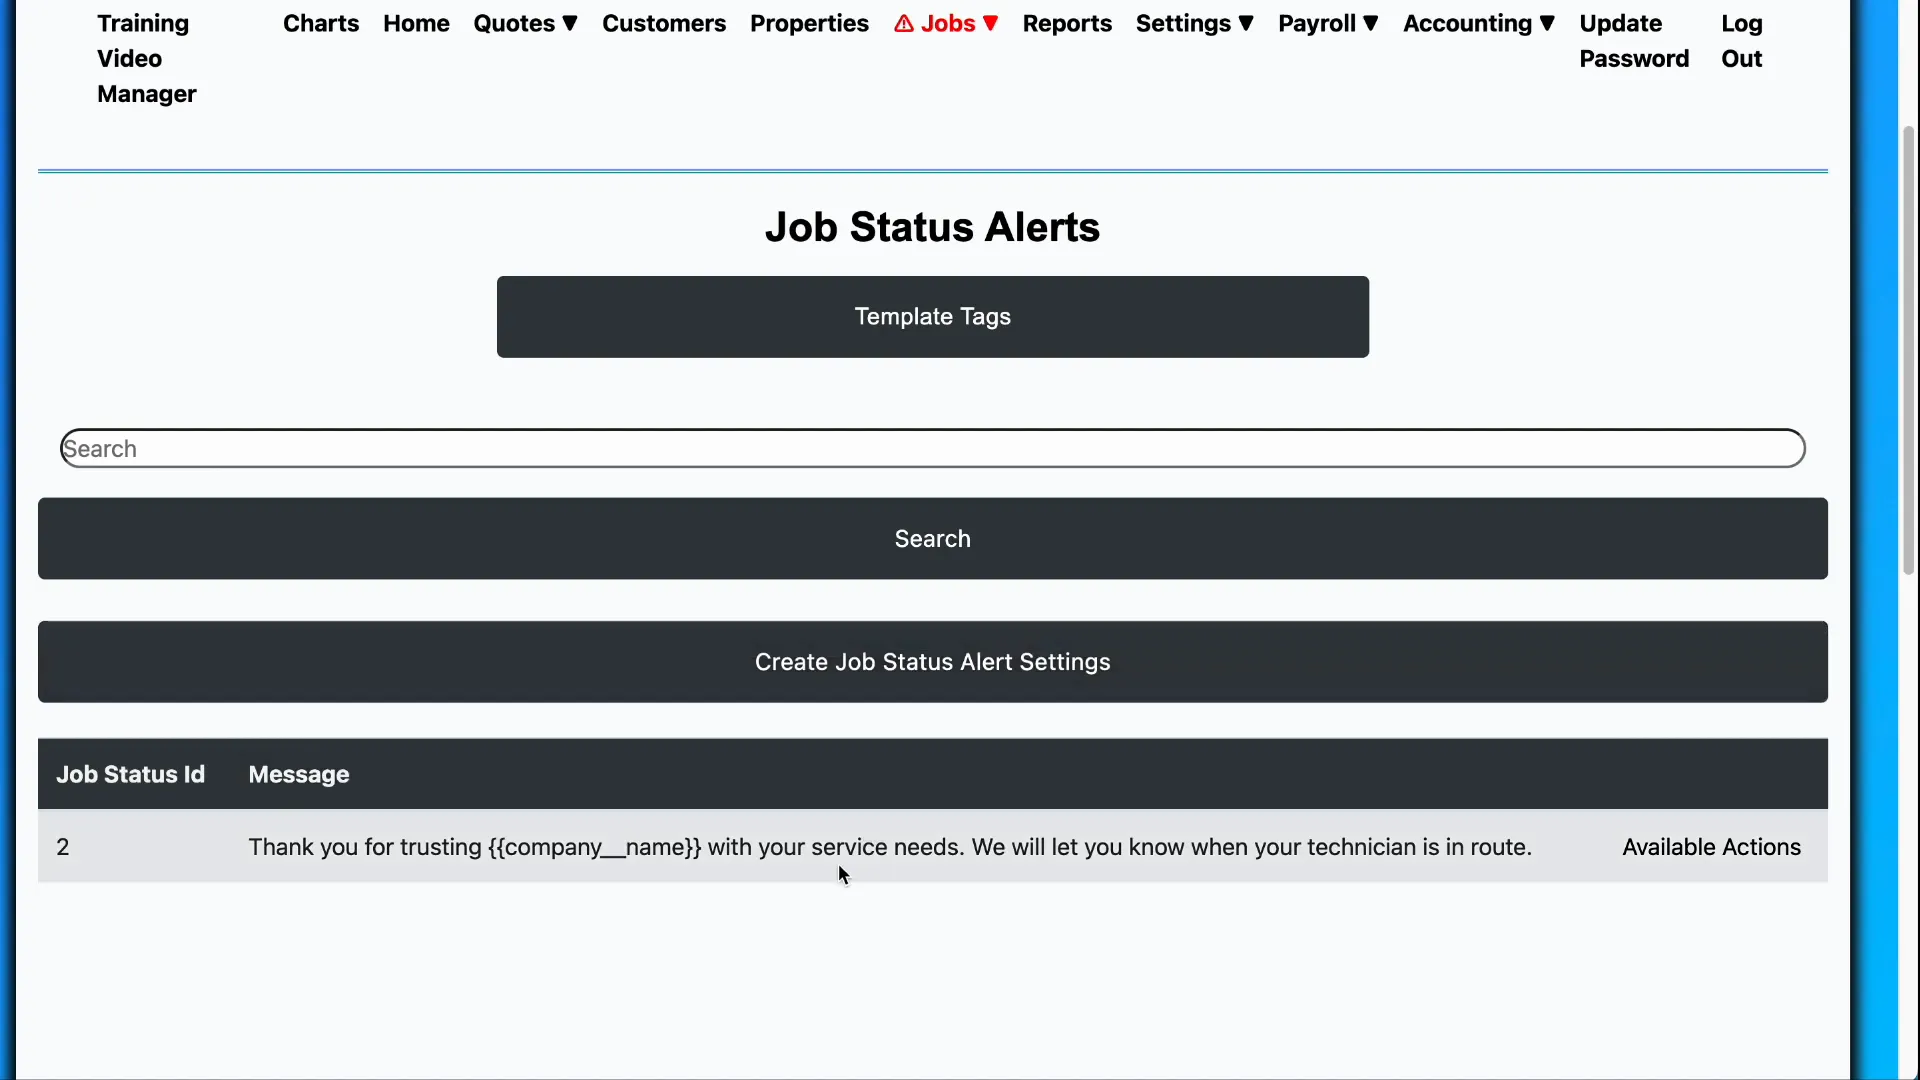
Alongside editing statuses, you can customize the alert messages sent for each status update. These messages use template tags, placeholders that dynamically insert real data like your company name or customer details when the alert is sent. This personalization ensures the messages are relevant and professional.
Adding Contact Information for Alerts
To specify where these alerts are sent, you can add phone numbers and email addresses directly in the customer profile. Each phone number or email entry has an option to accept job status updates, linking them to the alerts you’ve configured. You can add multiple contacts as needed to ensure all relevant parties receive notifications.
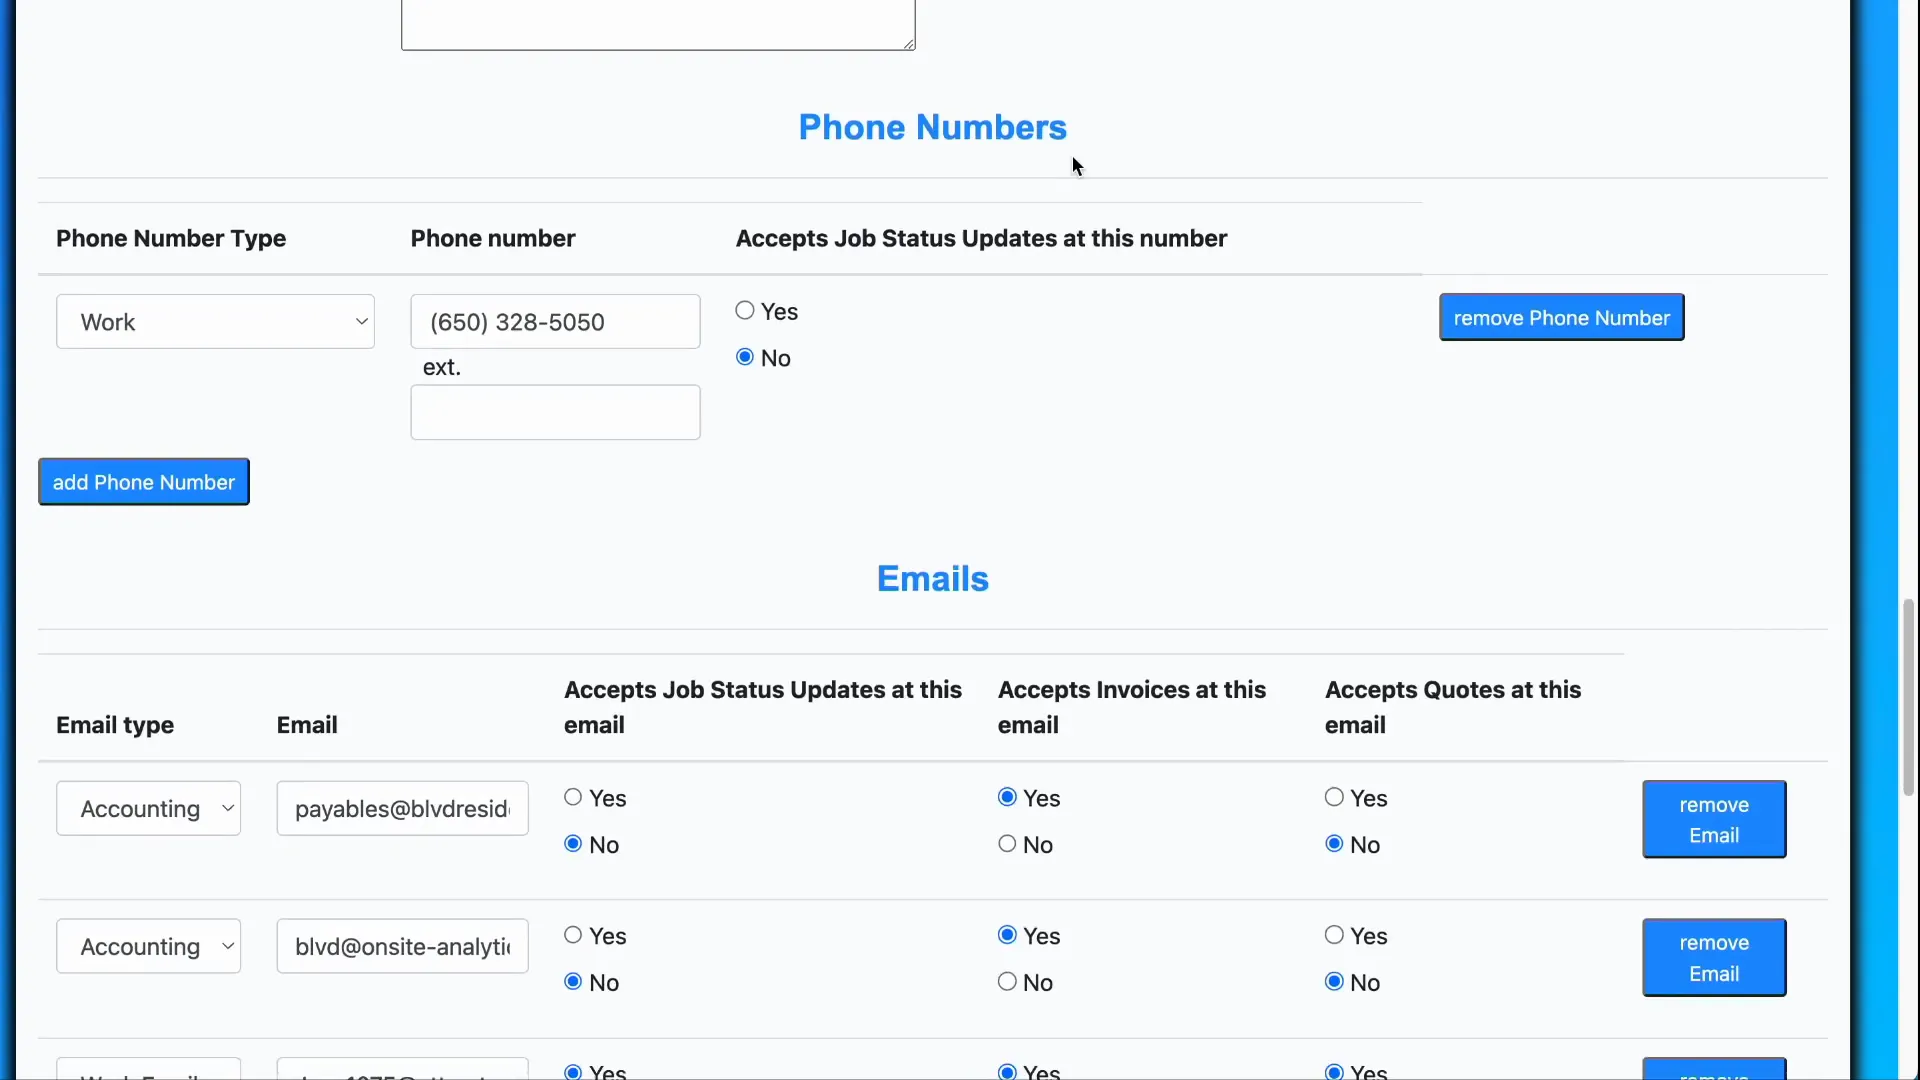
An alternative to adding multiple contacts under one customer is to split contacts into separate customer profiles and link them to the same property. This method gives you finer control over which notifications are sent to whom, preventing unnecessary alerts and maintaining clarity.
Understanding Customer Relationships with Properties
Beyond alerts, managing the relationship between customers and properties is crucial. A single customer can be linked to many properties, and conversely, a property can have multiple customers associated with it. For example, a property might have several property managers or facility managers overseeing different aspects.
To view all properties linked to a customer, navigate to the customer list, select a customer, and use the Available Actions menu to click on All Properties. This displays all properties related to that customer, though these relationships do not always imply billing responsibility.
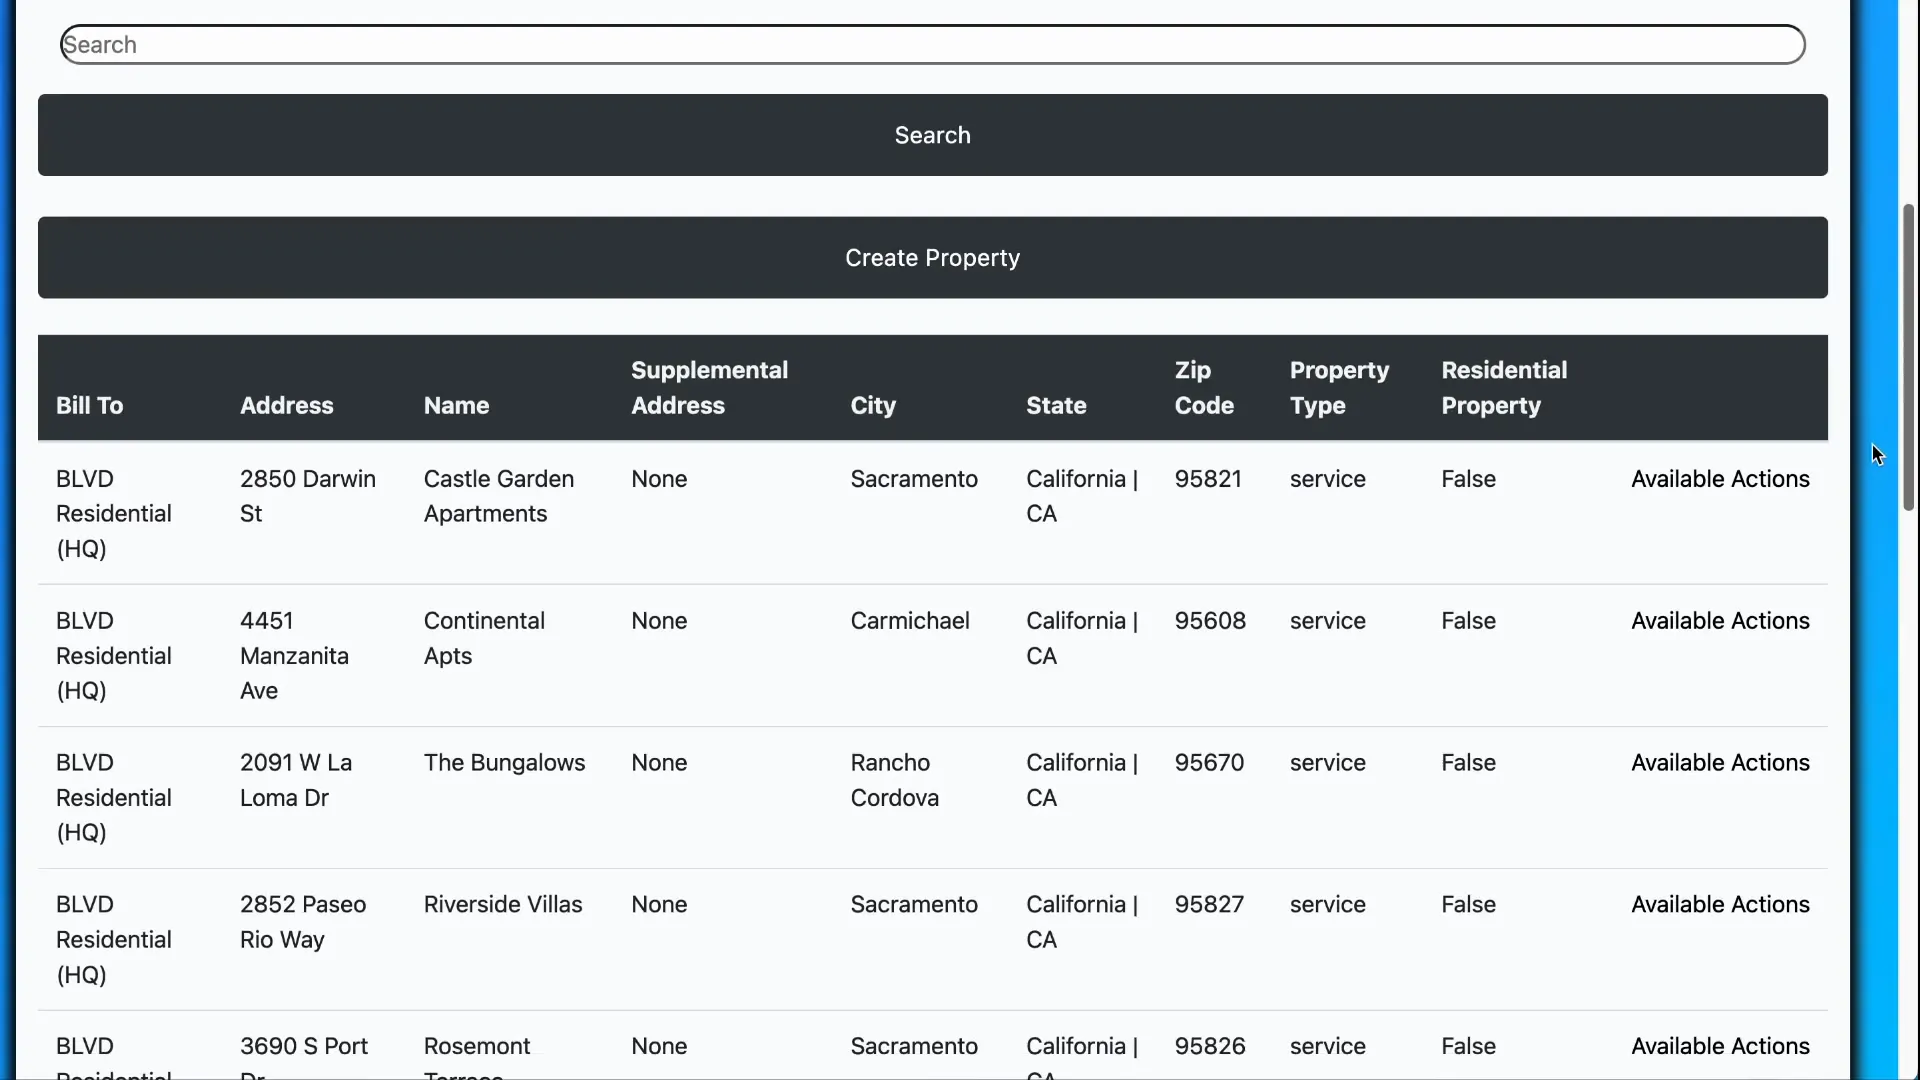
To understand the exact nature of a customer’s relationship with a property, select Update Property from the actions menu on a property. Scrolling down the property details reveals the linked customers and their relationship types, such as Property Manager, Facility Manager, or Primary.
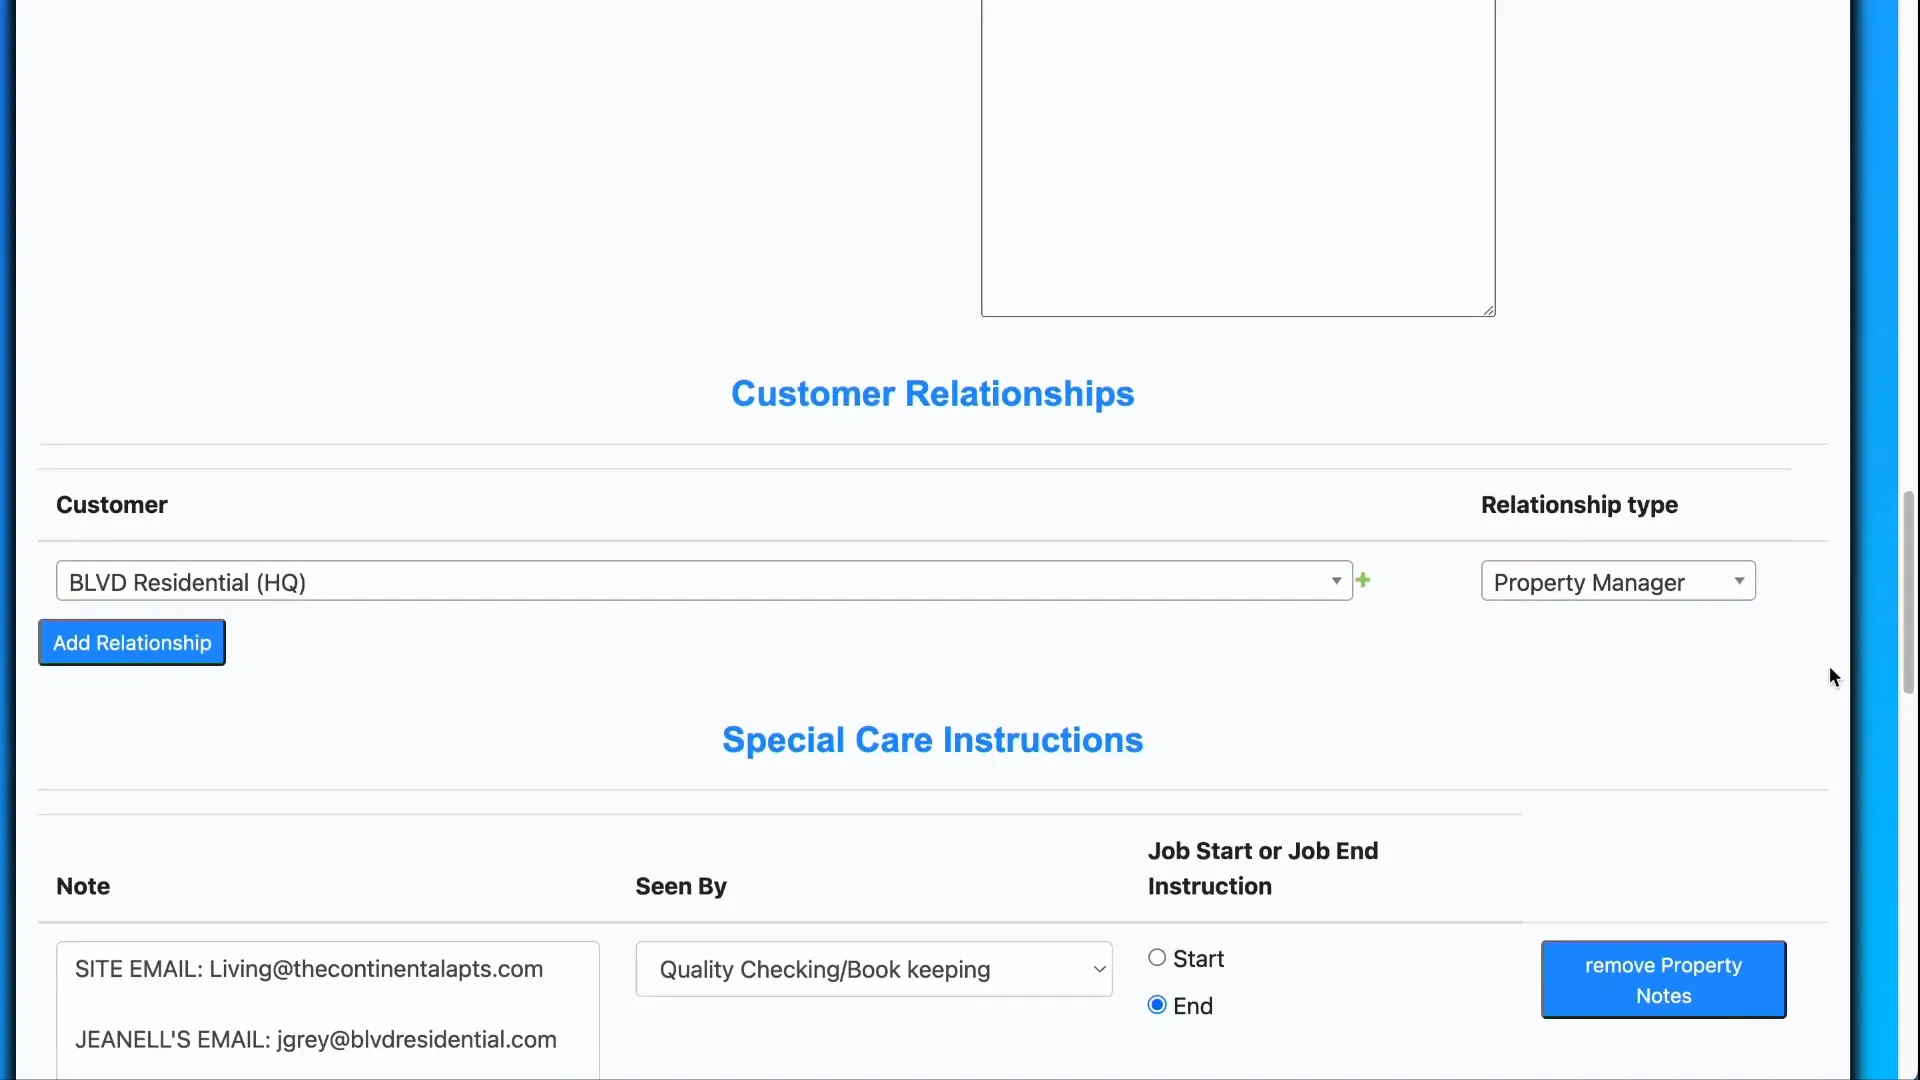
The Primary relationship type is unique because it designates the main customer whose information appears at the top of forms and pages related to the property. Unlike other relationship types, only one customer can be assigned as primary per property.

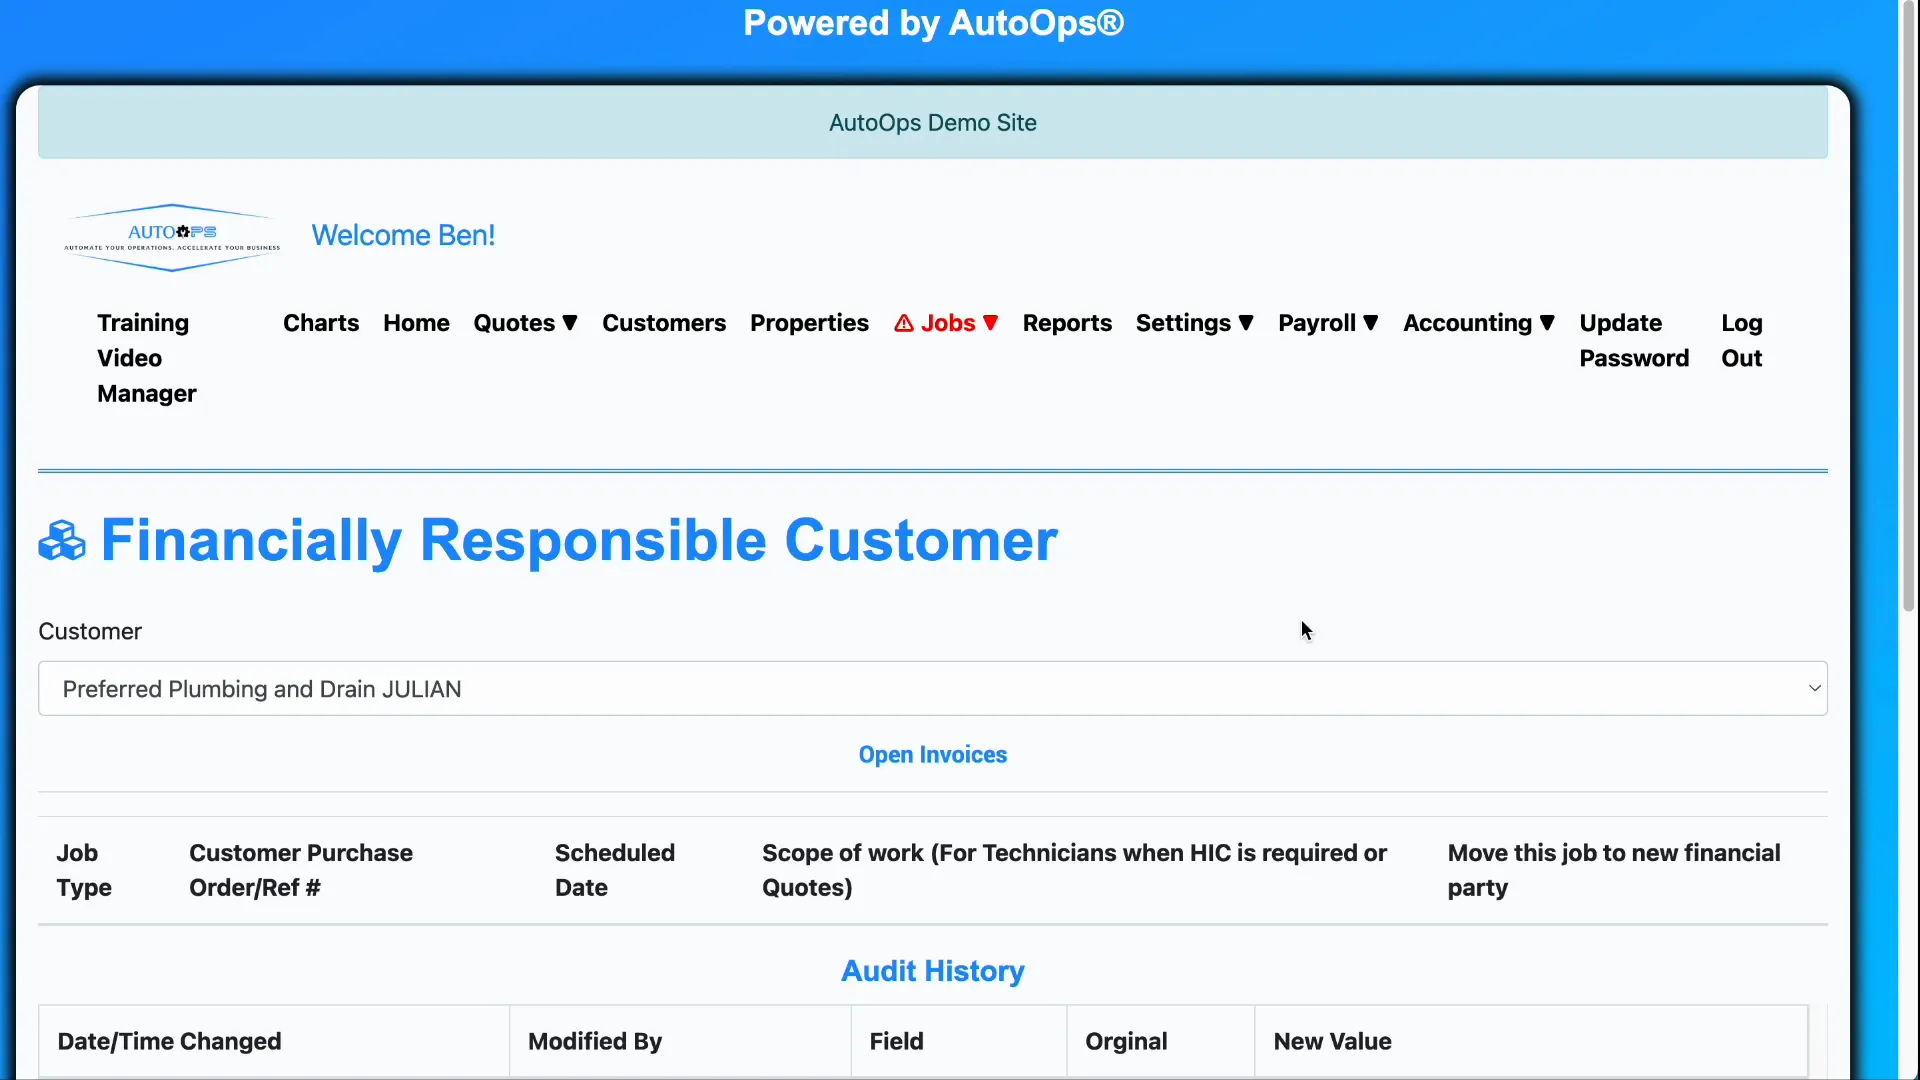
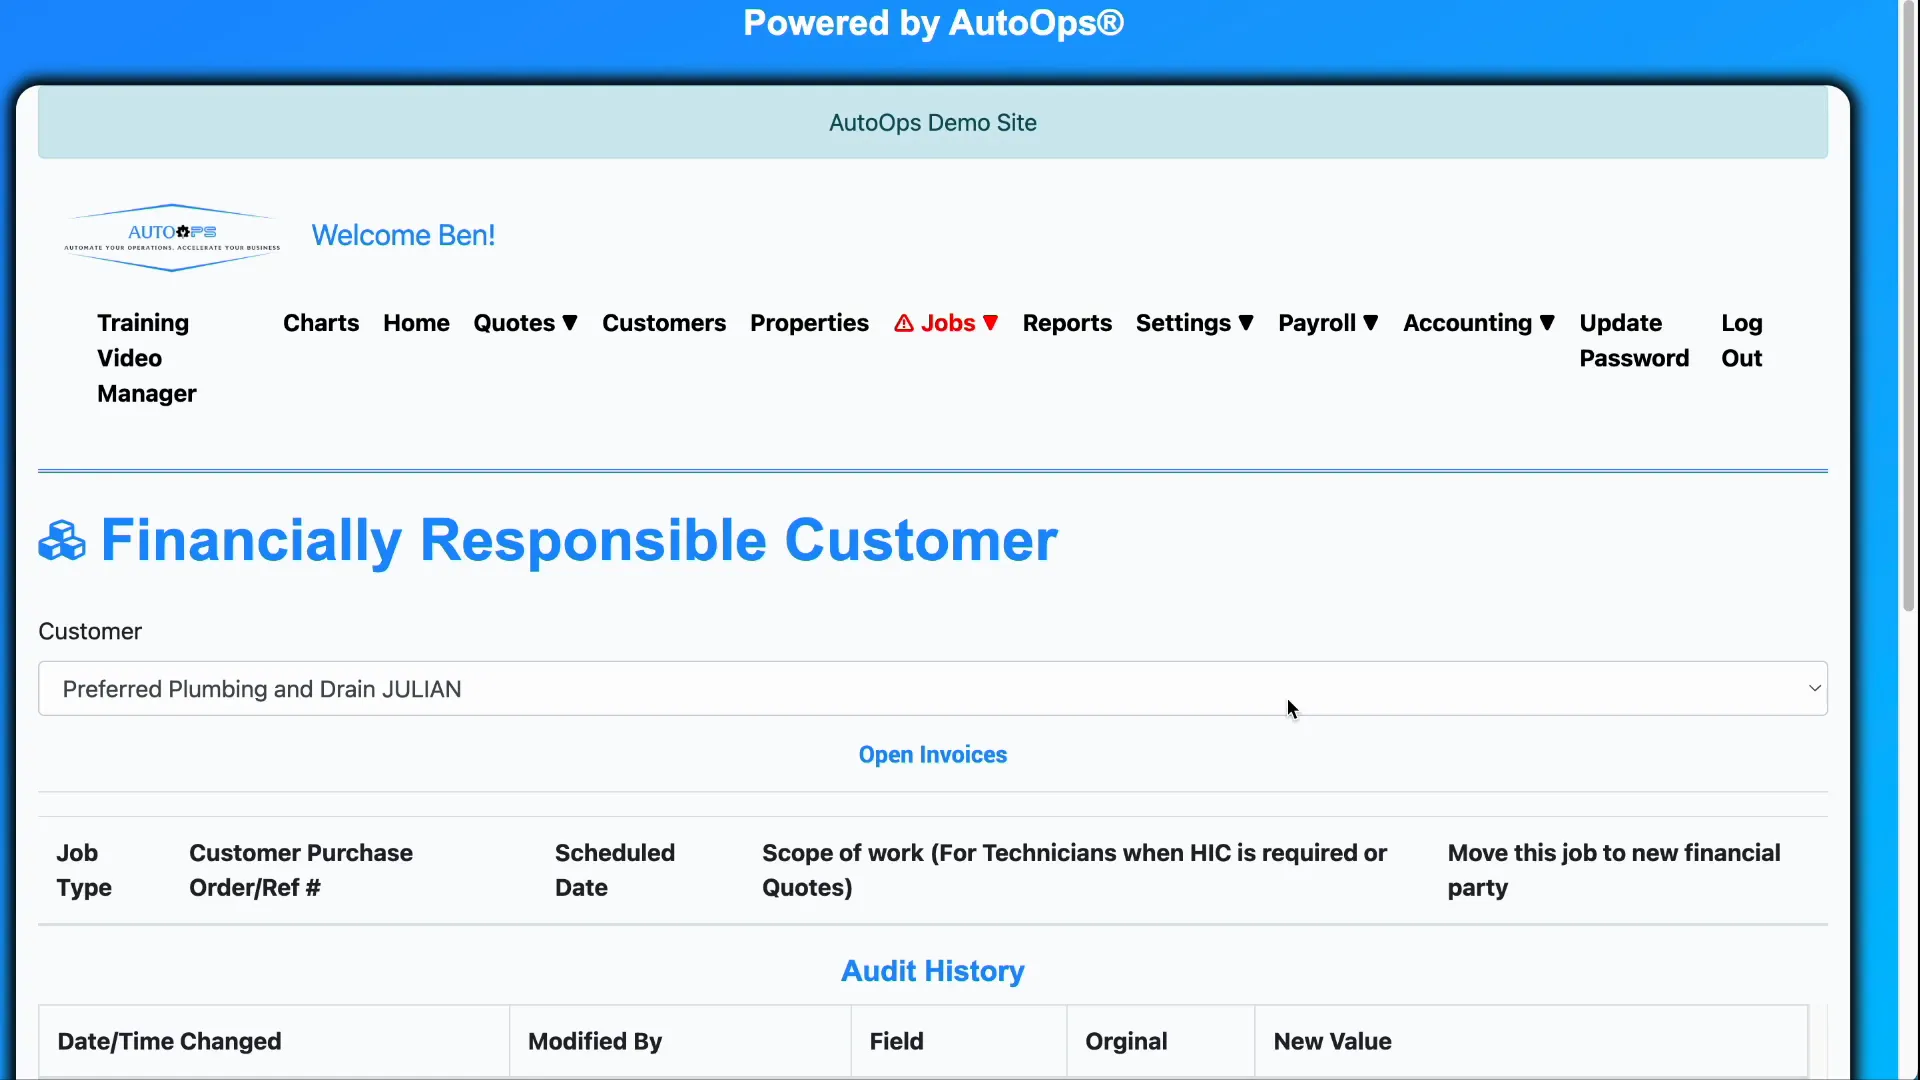
Setting the Financially Responsible Party
When multiple customers are linked to a property, it is important to identify who is financially responsible for billing. For instance, a landlord might be responsible for maintenance costs, while tenants might also have a relationship with the property.
To set the financial party, go to the properties list, select Available Actions, and click Update Financially Responsible Party. From the dropdown menu, choose the customer who should be billed by default. This setting can still be adjusted manually when creating individual invoices.
Conclusion
Setting up customer alerts and managing customer-property relationships are vital for ensuring timely communication and accurate billing. By configuring alerts tied to job status changes and organizing customer links with properties, you gain control over notifications and financial responsibilities. These capabilities not only improve operational efficiency but also enhance customer satisfaction by keeping everyone informed and accountable.
Frequently Asked Questions (FAQ)
How do I add alerts for specific job statuses?
Within the customer update page, scroll to the Available Alert Subscriptions section and select the job statuses for which you want to receive alerts. Add them to the list to activate notifications.
Can I send job status alerts to multiple contacts?
Yes, you can add multiple phone numbers and email addresses to a customer’s profile, each configured to receive job status updates. Alternatively, create separate customer profiles for different contacts and link them to the same property for more precise control.
What is the difference between Property Manager, Facility Manager, and Primary relationship types?
These are labels defining the customer’s role related to a property. Property Manager and Facility Manager indicate different management roles, while Primary identifies the main customer whose details are prominently displayed in forms and pages. Only one primary customer can be assigned per property.
How do I ensure the correct customer receives the invoice?
Assign the financially responsible party for each property via the properties list by selecting Update Financially Responsible Party. This sets a default billing contact, which can still be changed when creating invoices if needed.