Managing user access and permissions is one of the quickest ways to keep a system secure and organized. The user settings area centralizes everything you need: login control, contact details, notification preferences, schedule-based access, and role assignments. The following guide walks through each important control and explains how to use them to match users to their responsibilities.
Table of Contents
- Where to find user settings
- Core account controls
- Record and feature permissions
- Notifications and email CC options
- Schedule-based login
- Permission groups: assign roles the right way
- Save changes and quick checklist
- Best practices
- FAQ
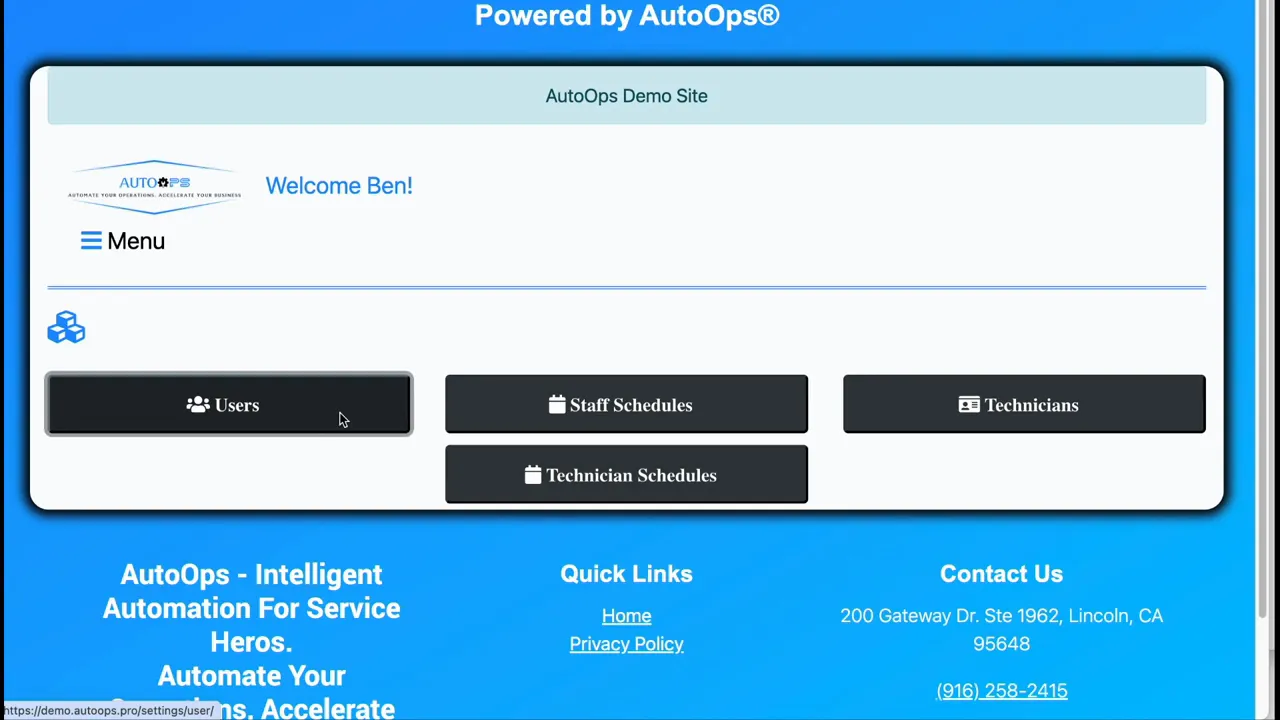
Where to find user settings
Open the main Settings menu and choose User Settings, then click the Users button to view the full list of accounts. The table shows everyone who can log in, whether they are staff or non-staff, with quick access to actions for each user.
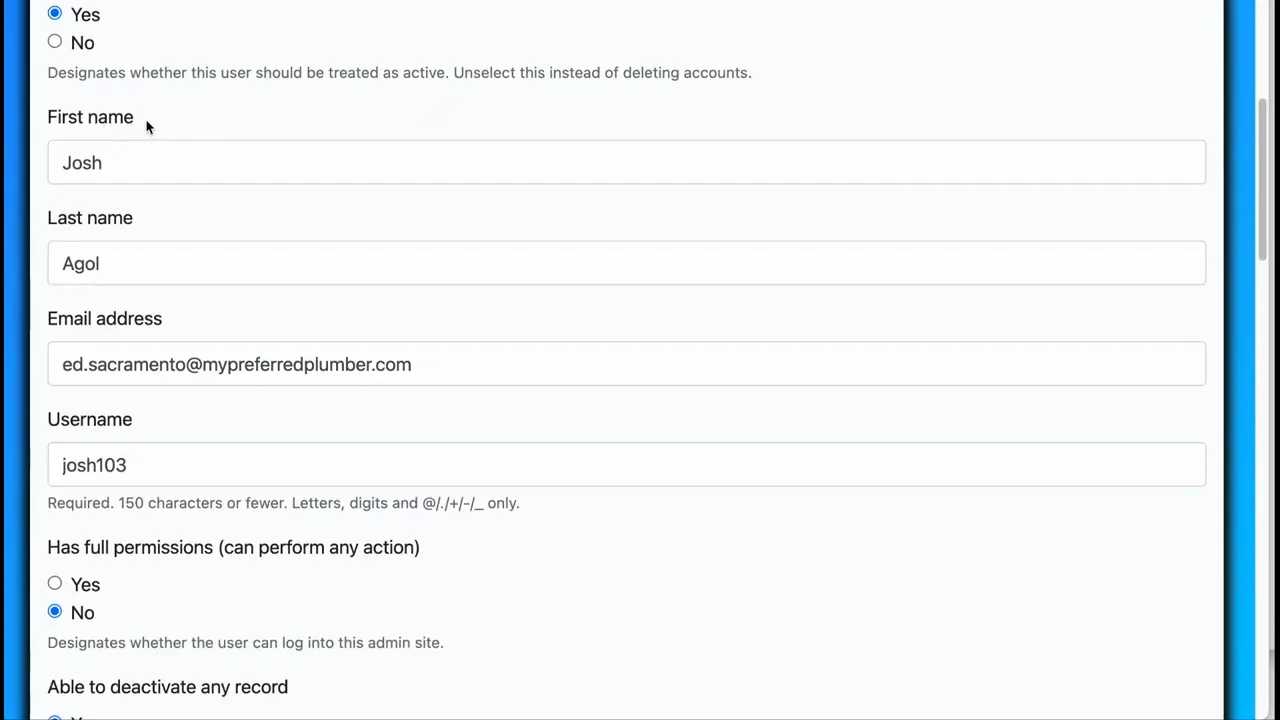
Core account controls
The user edit screen contains the most common fields and toggles you will use:
- Able to Log into System — Turn this on to grant login access or off to block an account. Setting this to No prevents the user from logging in.
- First name, last name, email, and username — Basic identity and contact fields you can update when details change.
- Full permissions — Grants nearly complete access across the system, including the admin site. Use this sparingly and only for trusted roles.
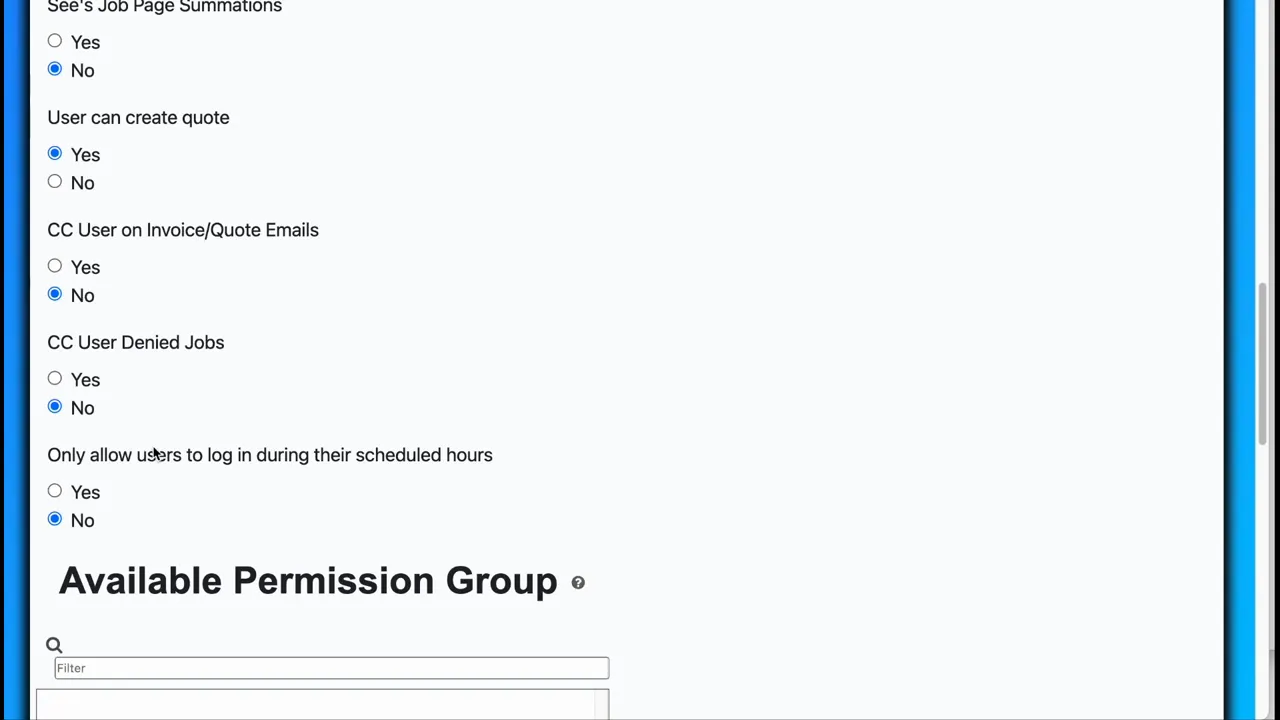
Record and feature permissions
Controls related to what a user can do with records and new features are grouped together:
- Allow deactivate records — Enables permission for cancelling or deleting records when those features are available. Consider logging or a review process if you enable this for multiple users.
- Job page summation — When enabled, a summation appears at the top of listing pages (for example, totals of invoices in a category). This helps users understand context quickly when scanning lists.
- Create quotes — Grants the ability to generate customer quotes directly from the user account.
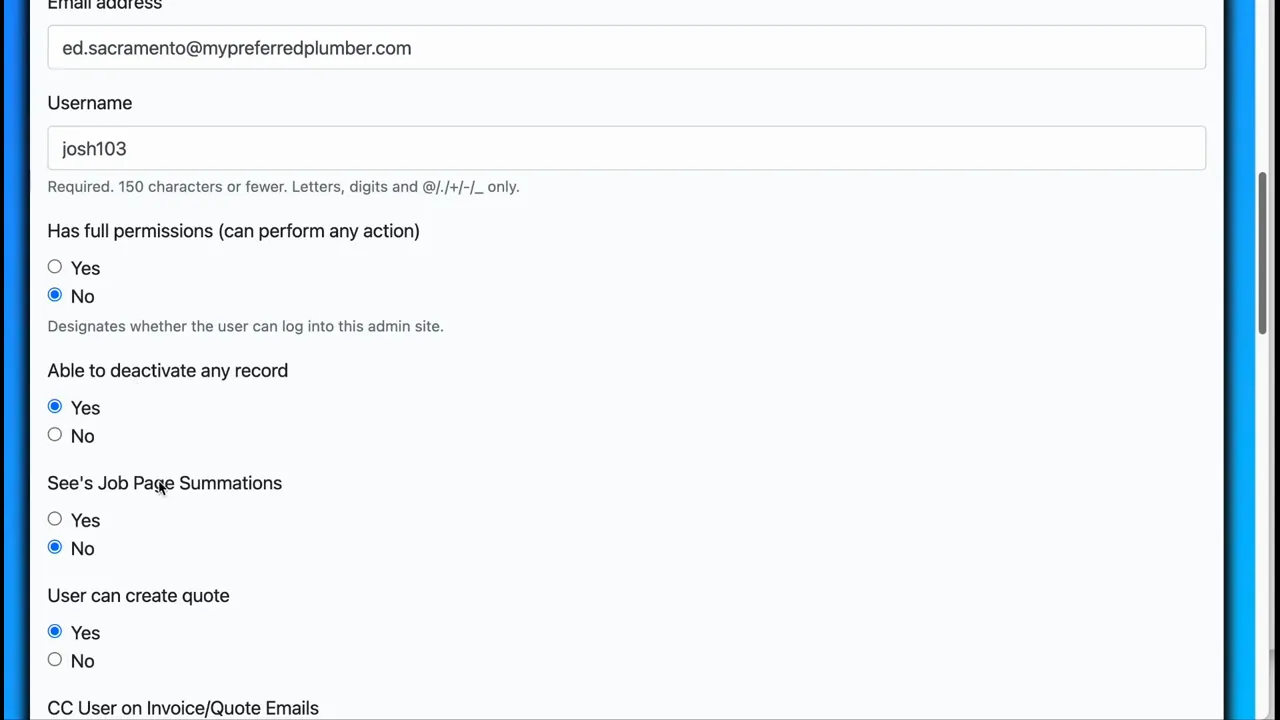
Notifications and email CC options
Notification controls let you include users on important email threads so they stay informed:
- CC user on invoice quote emails — When turned on, the user will be copied on emails that contain invoice quotes.
- CC user denied jobs — If a technician denies an offered job, the selected user will be notified by email.
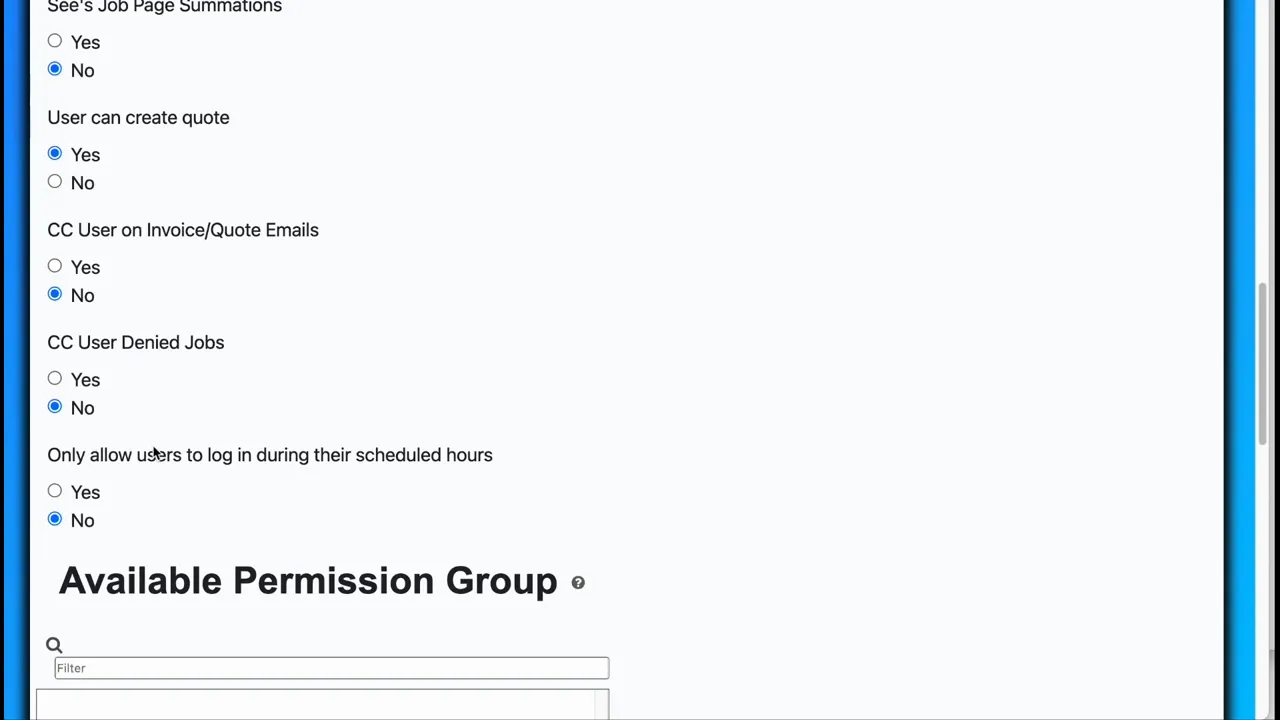
Schedule-based login
If you want users to access the system only during certain hours, enable the option that restricts login to scheduled times. Staff schedules are maintained separately under User Settings → Staff Schedules, and can be reviewed from the user edit screen.
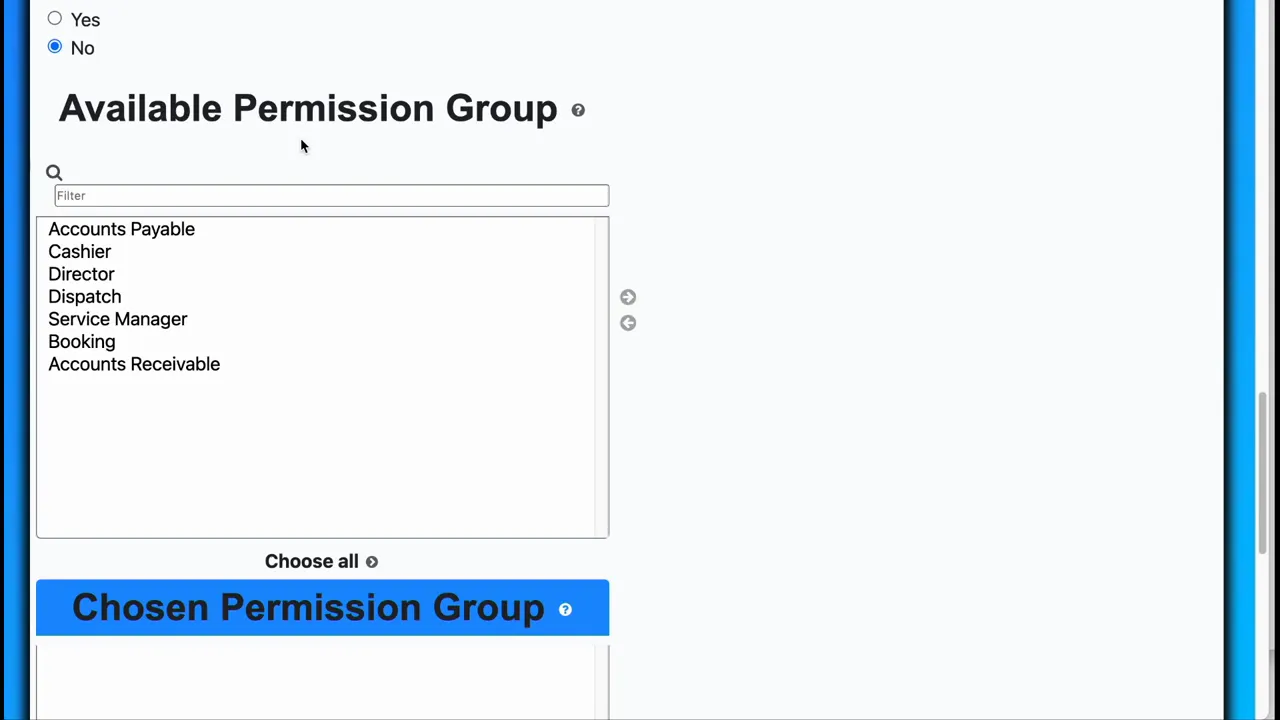
Permission groups: assign roles the right way
Permission groups determine what features and pages a user can access. Typical groups might include director, service manager, and other role-based collections of privileges.
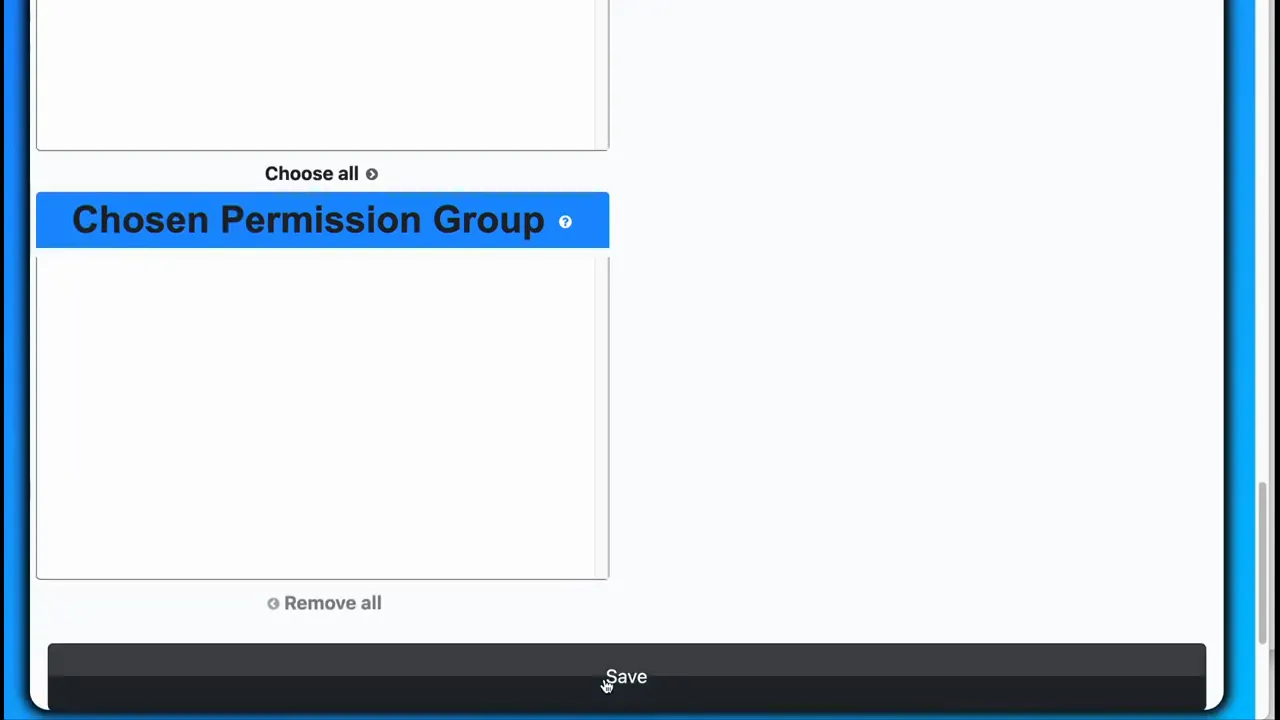
On the edit screen you will see two lists: available groups and assigned groups. To grant a role, select it on the available list and move it to the assigned list using the arrow. To revoke a role, move it back to the available list.
Save changes and quick checklist
After making adjustments, always click Save to persist the changes. Before saving, consider this quick checklist:
- Is the login toggle set correctly for this user?
- Are contact details and username up to date?
- Does the user have the correct permission group(s) for their role?
- Are notification settings configured so the right people are copied on emails?
- Should login be restricted to scheduled hours and is the staff schedule correct?
Best practices
- Limit full permissions to senior staff or admins.
- Use role-based groups instead of granting many individual permissions. This keeps permission management scalable.
- Enable CC options selectively so email noise is reduced for non-essential recipients.
- Audit deactivate permissions and maintain an approval workflow if deletion is sensitive.
- Keep staff schedules current so schedule-based login behaves as expected.
FAQ
How do I disable a user from logging in?
Open the user record and set Able to Log into System to No. This prevents the account from accessing the system until you re-enable it.
How do I give someone full access?
On the user edit screen toggle the Full permissions option. This grants broad access, including the admin site; use with caution and only for trusted personnel.
What does allow deactivate records mean?
It permits the user to cancel or delete records when those features are available. Treat this permission as sensitive and restrict it to users who need it for their role.
How can I have a user copied on invoice emails?
Enable CC user on invoice quote emails in the user settings. The user will then receive a copy of invoice quote messages.
Where do I configure staff schedules for login restrictions?
Open User Settings and then click Staff Schedules. Schedules can be viewed and edited there and linked to the schedule-based login control on each user.
Remember: Role-based access and well-scoped notification settings keep the system secure and reduce unnecessary email noise.