Table of Contents
- Introduction
- Quick overview: where to start
- Core fields on the Update Job page
- Other tabs you will use frequently
- Saving changes and system-wide customizations
- Practical tips and best practices
- Frequently Asked Questions
- Conclusion
Introduction
I’m AutoOps, and in this guide I walk you through how to update jobs (invoices) inside the system. Whether you’re switching who pays, attaching permits, or checking technician activity, this article explains each field and tab on the Update Job page and offers practical tips so your dispatching, accounting, and tech workflows stay accurate and efficient.
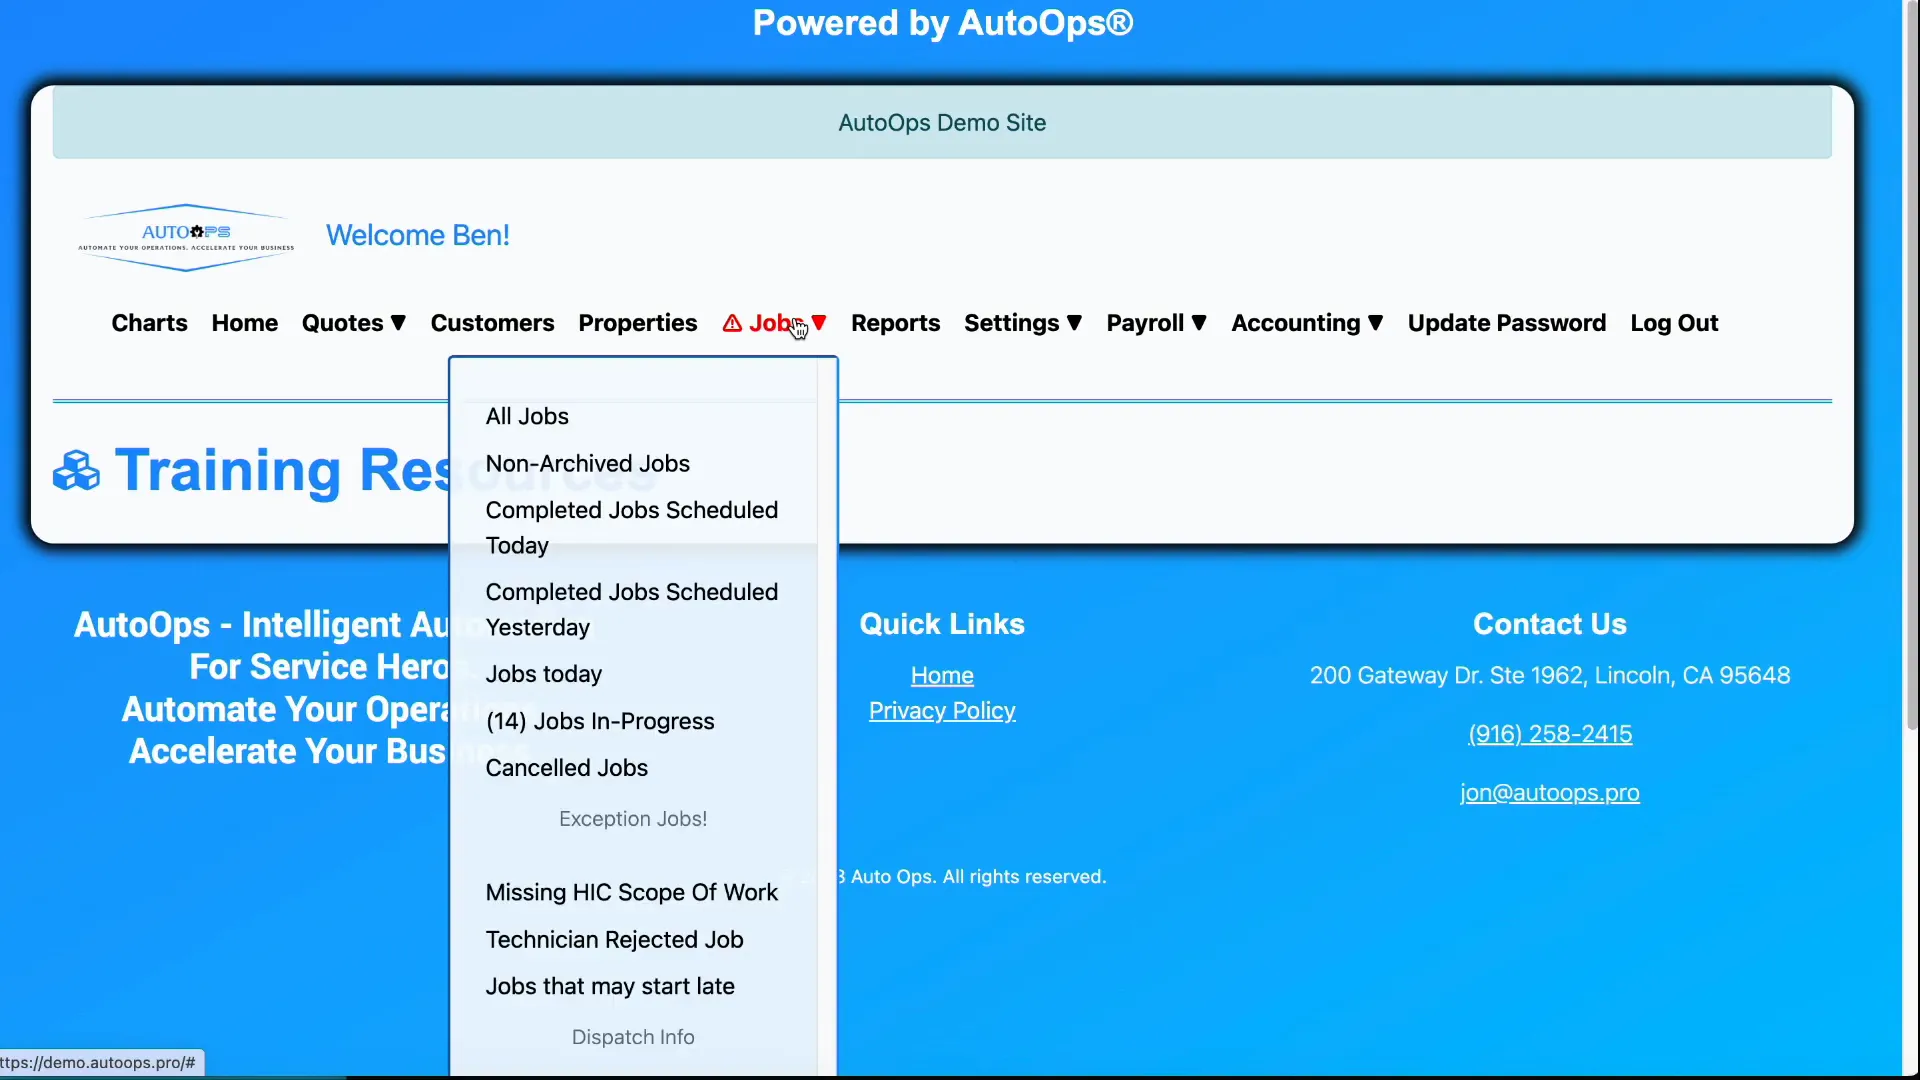
Quick overview: where to start
When you log into the system you’ll land in the jobs (invoices) list. Use the filters at the top to narrow results or select “All jobs” if you want the full view. From the list, click Available actions and choose View / Update Job to open a specific job invoice and begin editing.
Core fields on the Update Job page
1. Submit invoice to (financially responsible party)
This determines which customer is billed. A property can have multiple customers linked (for example, tenant and landlord). If responsibility shifts—like a landlord defaulting payment to the tenant—you can change this value to make the correct customer responsible for the invoice. Make sure both parties are linked to the property first.
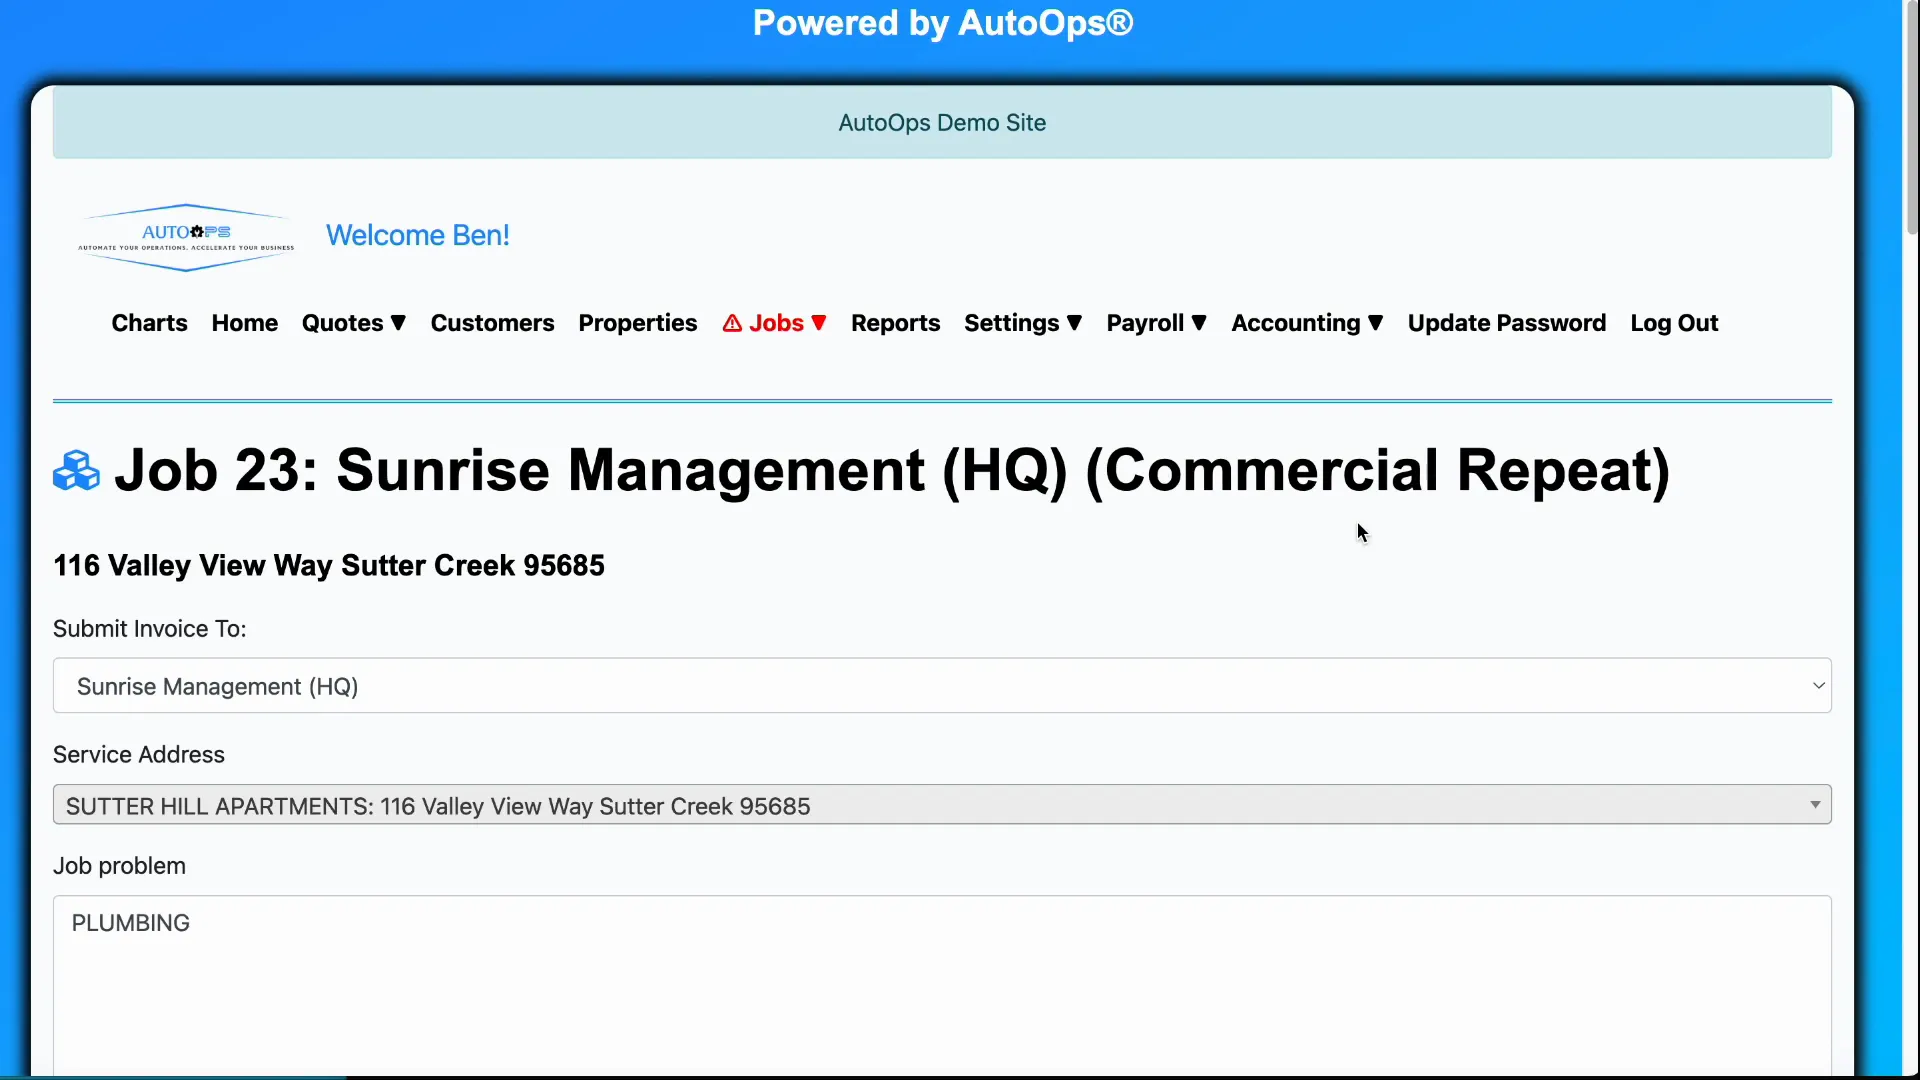
2. Property lookup by address
When you enter an address the system searches for an existing property record. If a match exists, the job links to that property. If not, the system takes you to create a new property record before continuing—this keeps property data consistent across jobs.
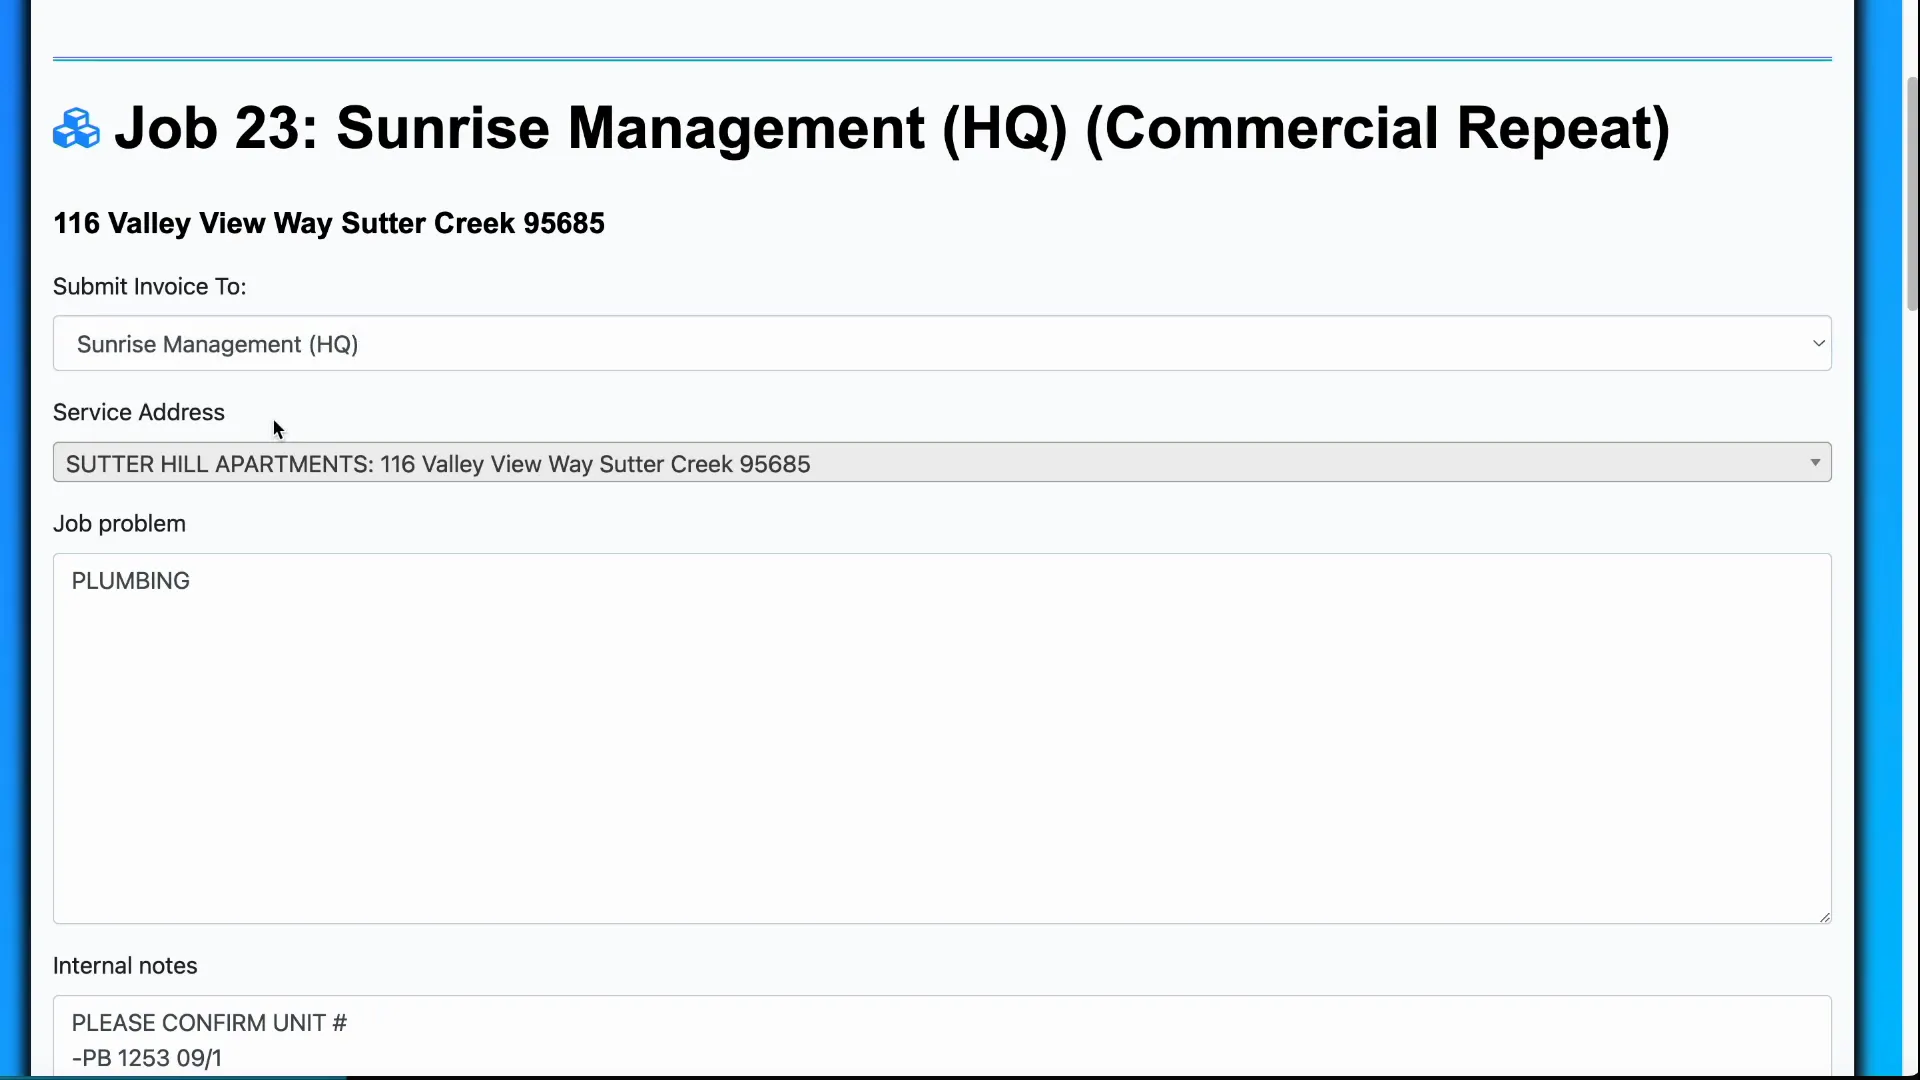
3. Job problem and booking hints (how job type is determined)
The job problem is a short label that appears to technicians and helps them decide if they have the right tools for the job. The system scans keywords inside the job problem for booking hints; these hint keywords map to job types automatically. Because of this automation, write clear, descriptive job problems—include keywords you expect to trigger the correct job type.
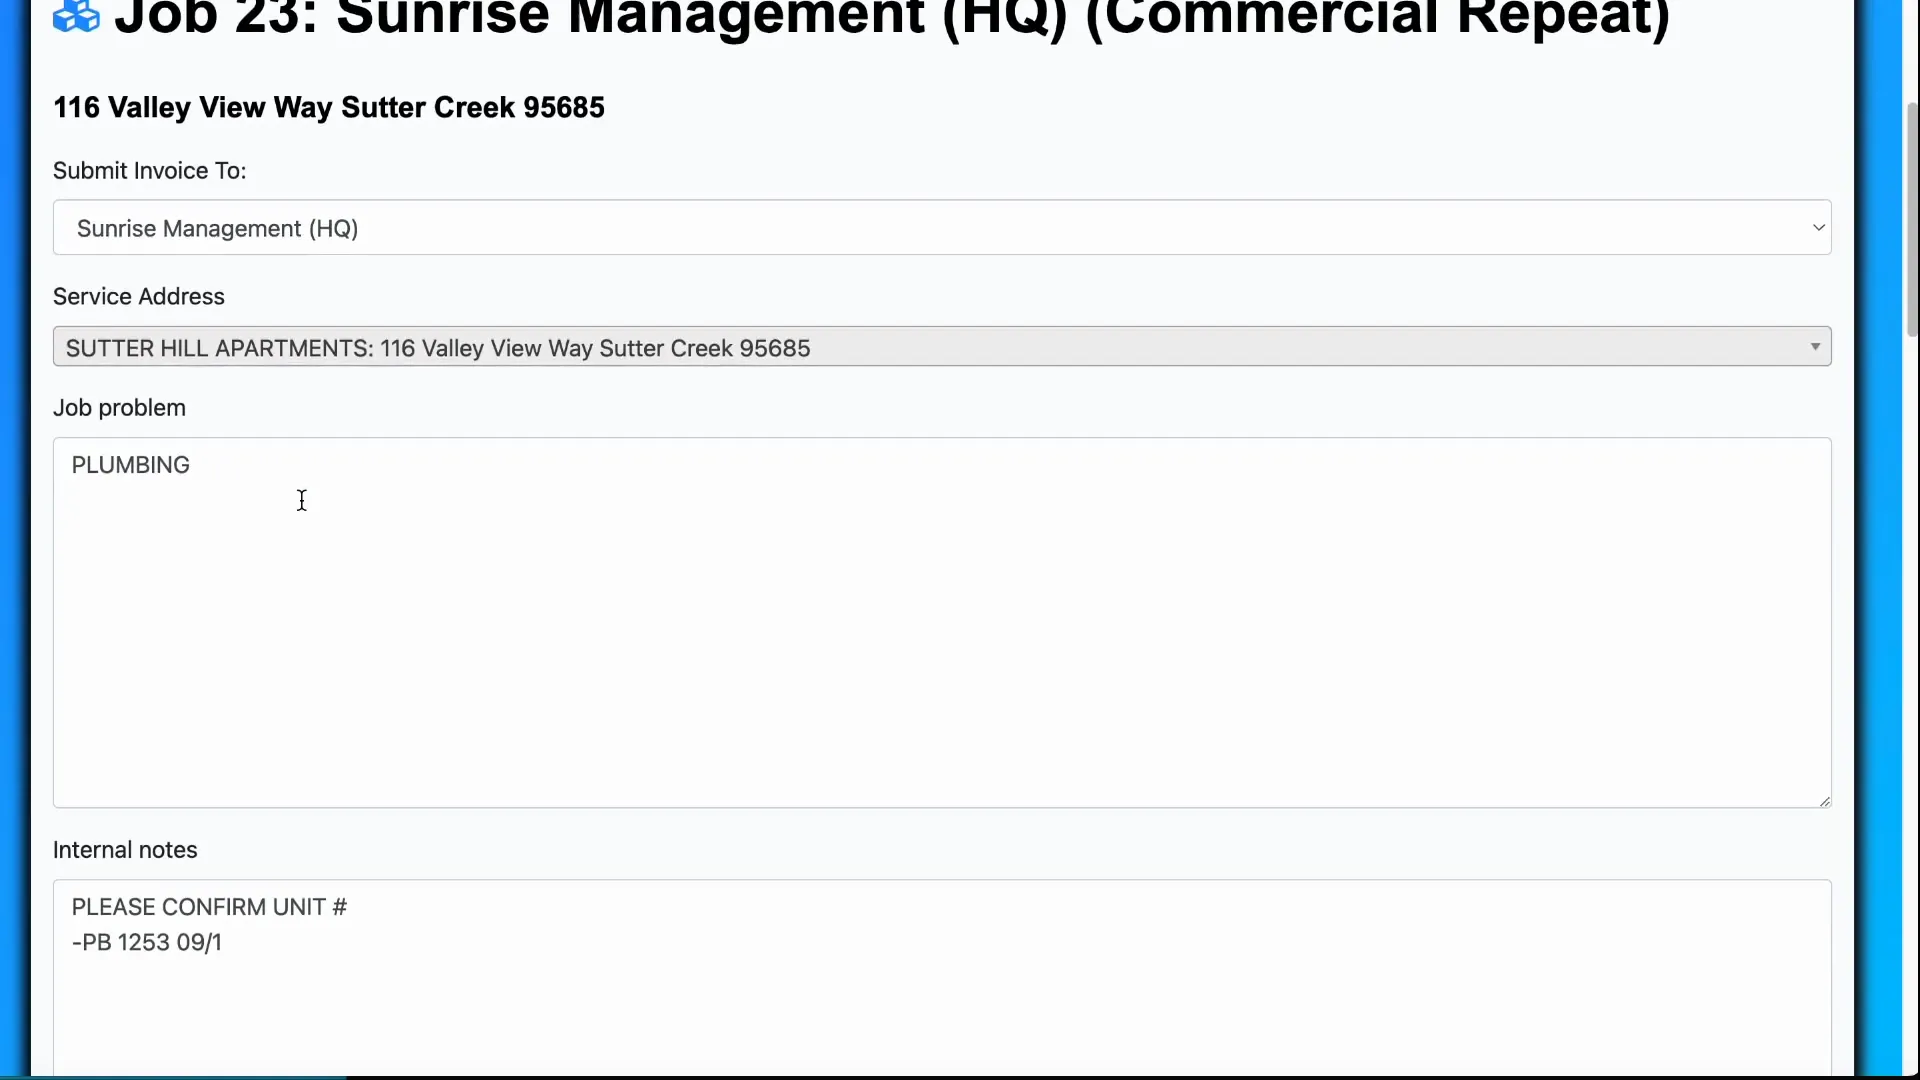
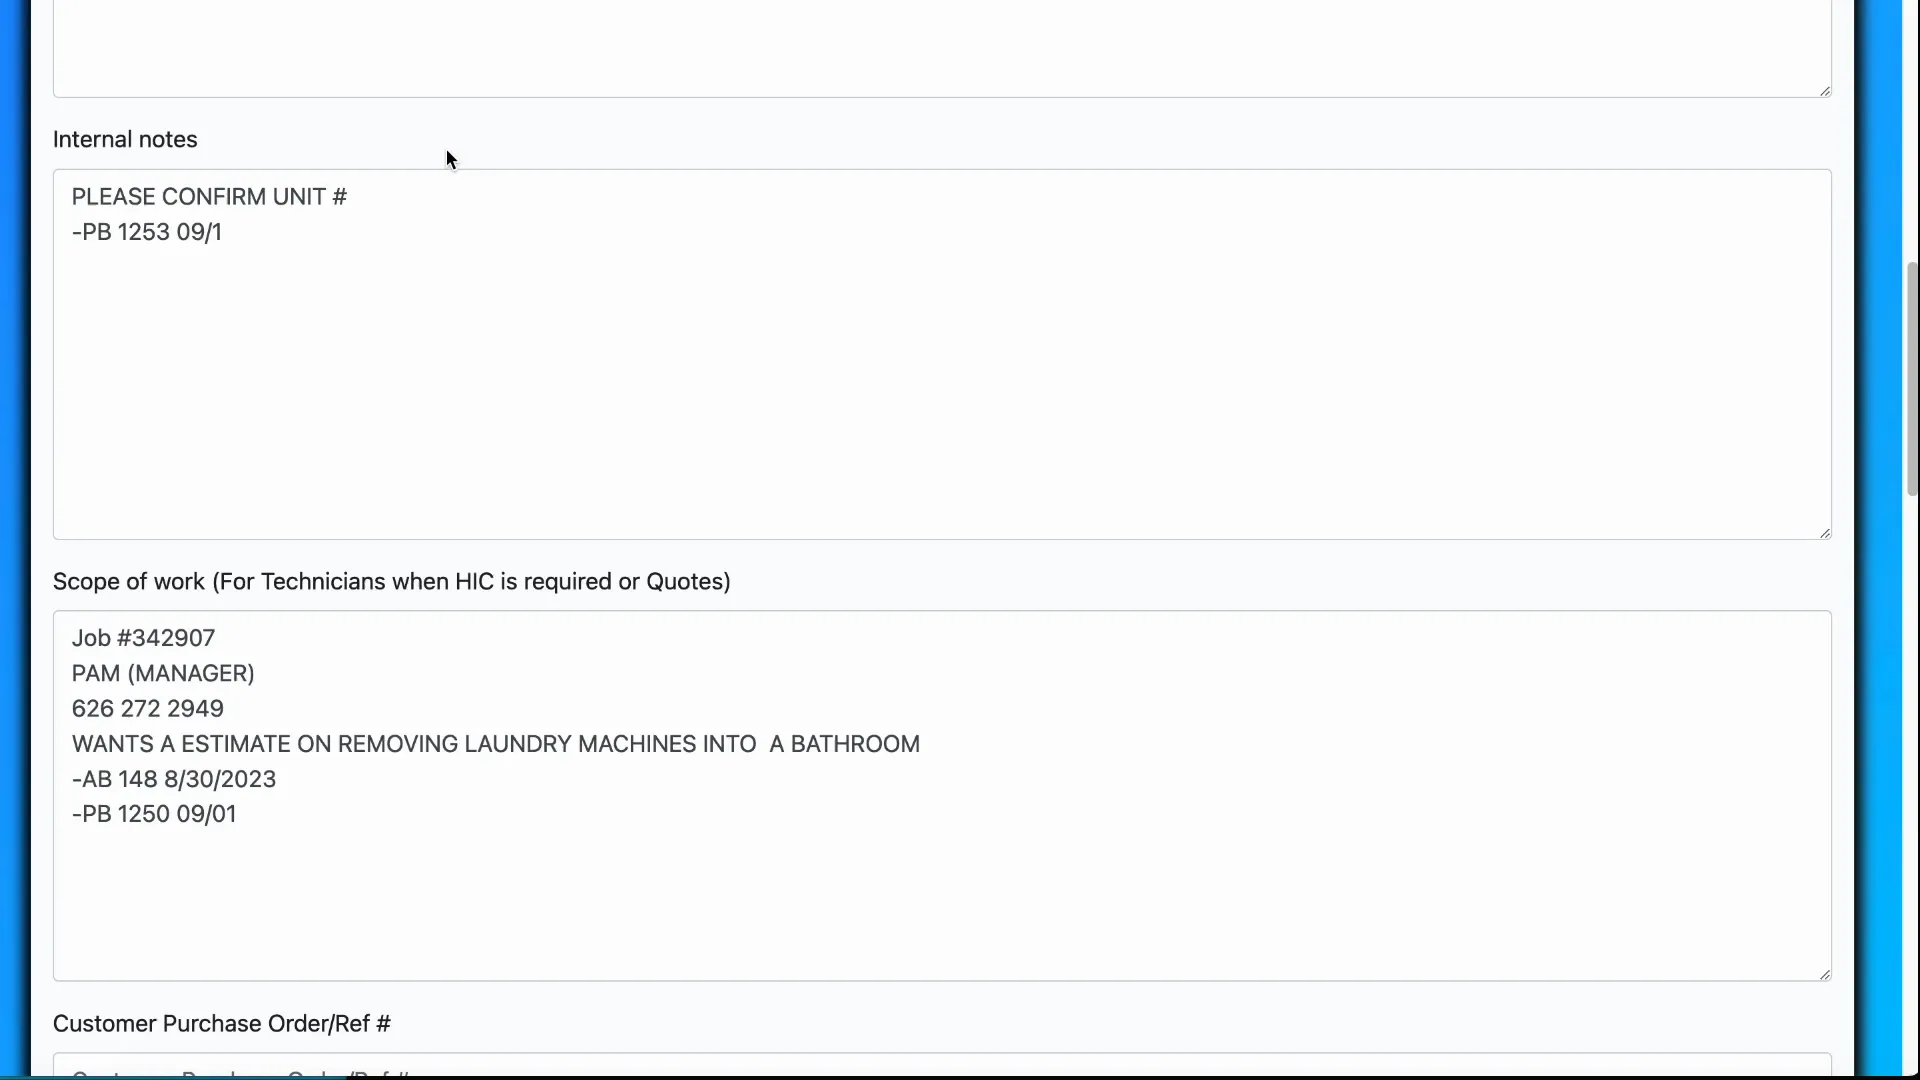
4. Internal notes vs. scope of work
Internal notes are for back-and-forth communication among office staff—dates, booking notes, or reminders that should not be visible to customers. For example: “Booked job on 12/21 — customer wants service 12/27.”
Scope of work provides the detailed description of the work to be performed and is important for contracts (home improvement or otherwise). Use scope of work to capture contract-level details so technicians, billing, and compliance all reference the same expectation.
5. Customer purchase order (reference number)
Commercial customers and property managers often use their own job/reference numbers. Use this field to record their PO or reference number for billing and cross-referencing.
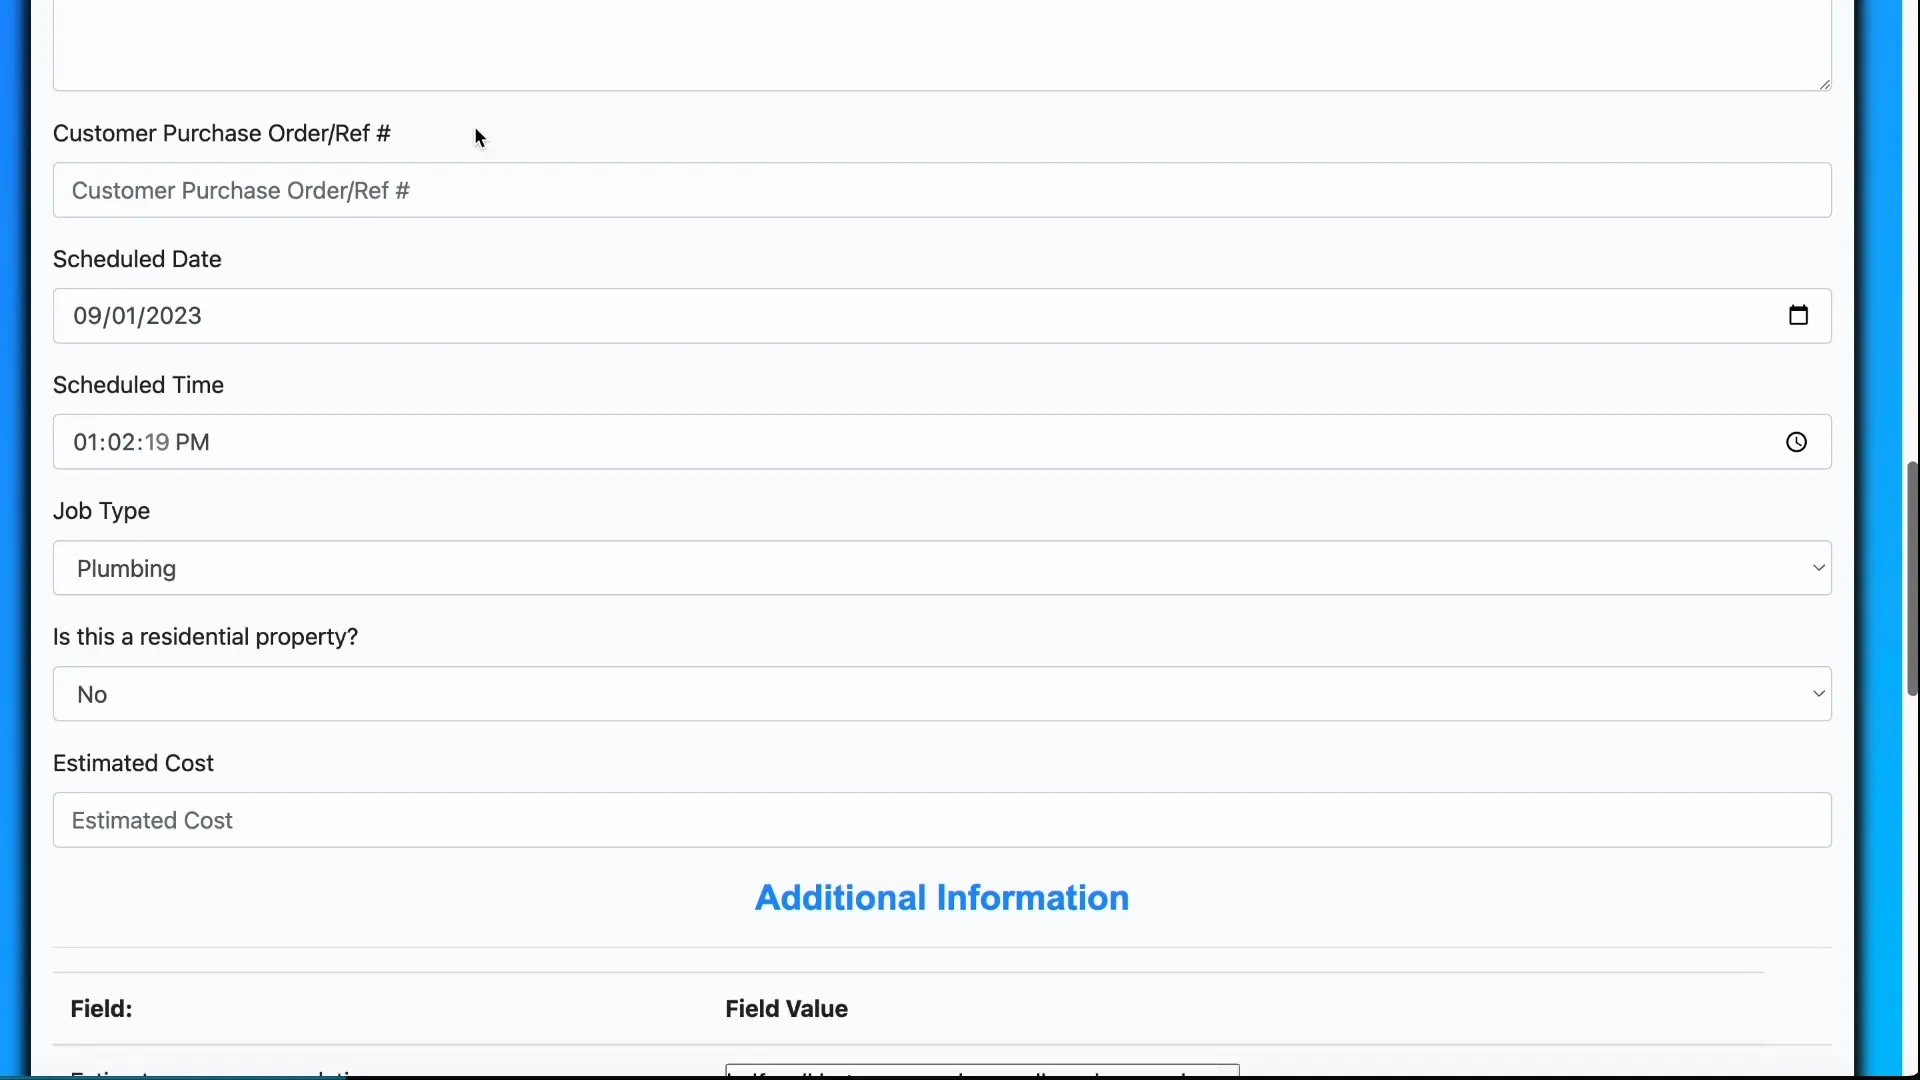
6. Scheduled date, scheduled time, and estimated completion
Scheduling fields help you balance workload and dispatch more effectively. Track how many jobs you typically complete per day (for example, 8 jobs/day) and avoid overscheduling. Use estimated completion time to chain jobs logically—for example, if Tech James will be off a job at 3:30 p.m., schedule the next job for 4:00 p.m.
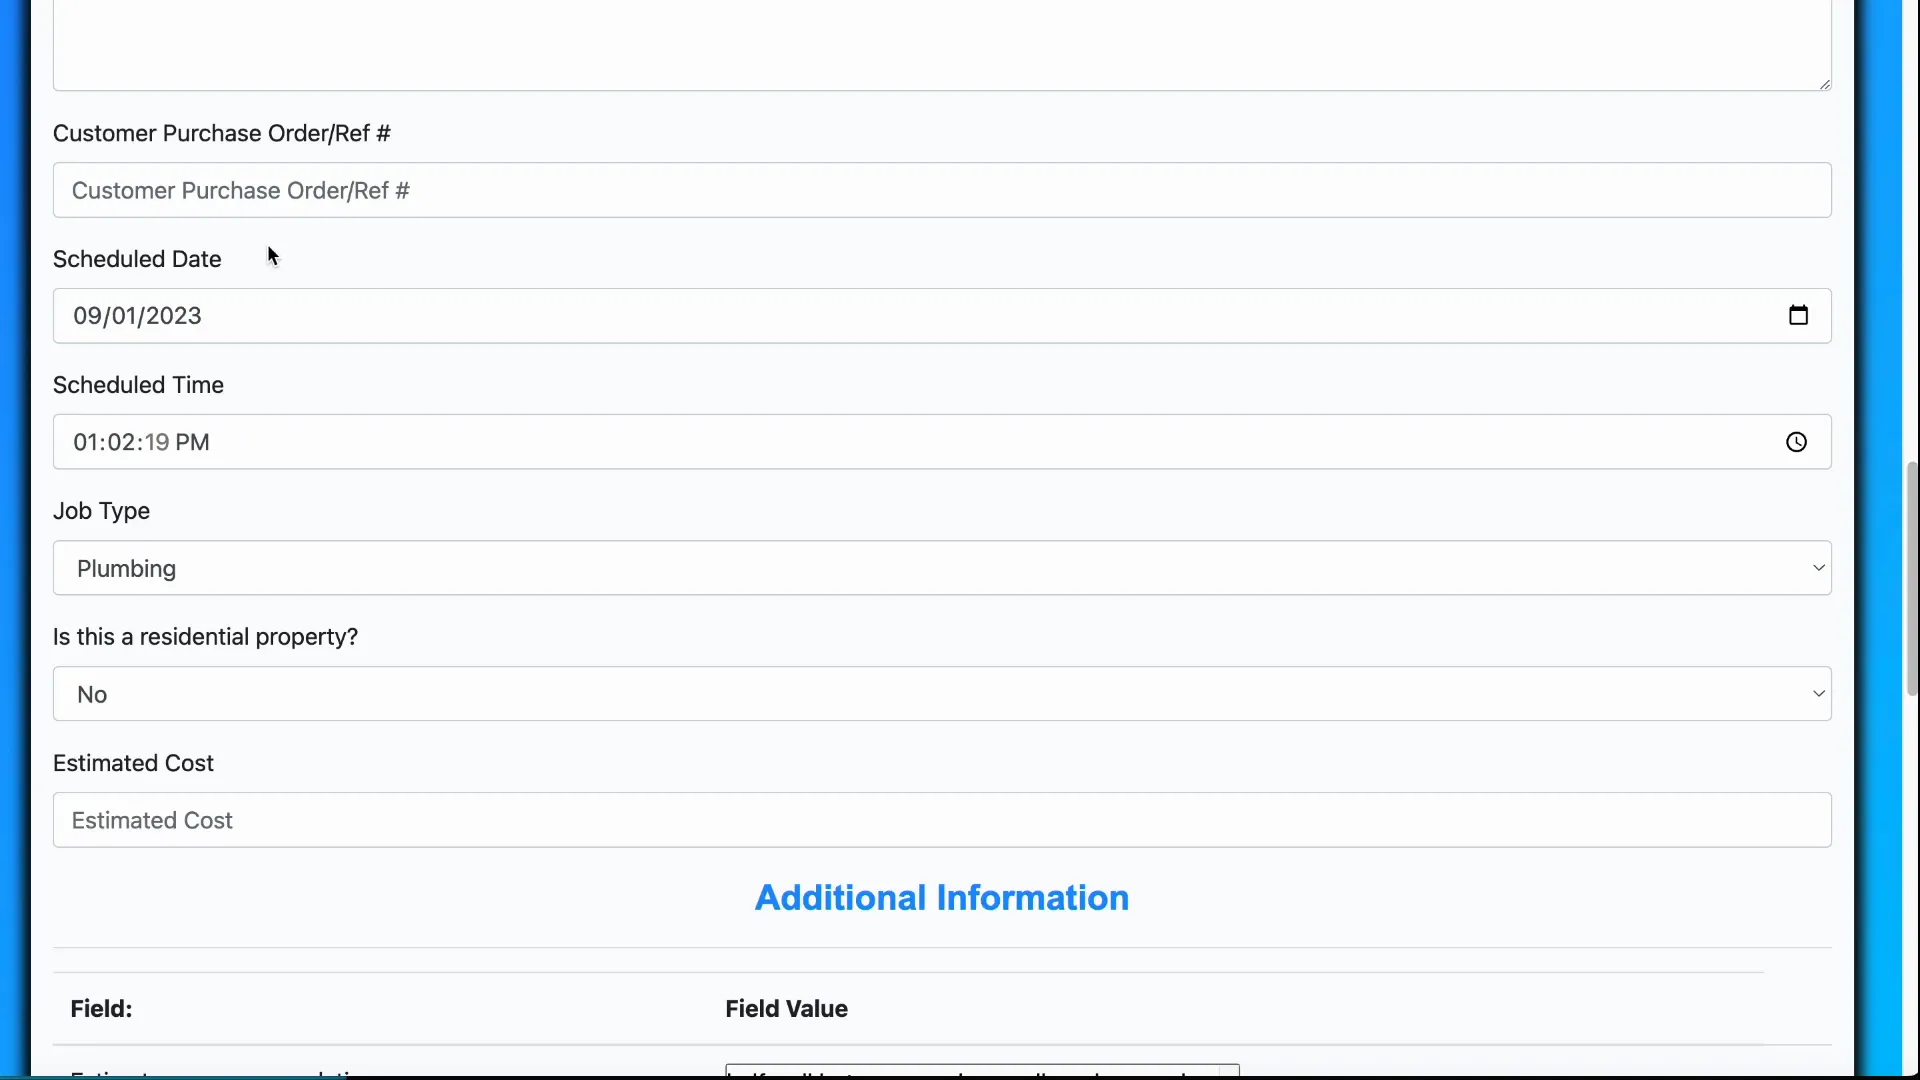
7. Job type (why it cannot be changed)
Job types may contain custom questions and workflows specific to that category. Changing the job type after creation could invalidate that information, so the system prevents job-type changes on existing job invoices.
8. Residential flag and estimated cost
If the job is on a residential property, the estimated cost field appears (when enabled in technician workflow settings). This can trigger home improvement contract generation when required. Note: certain cases—like pre-bid companies—may not need contracts because the system is only tracking approved quotes rather than initial bids.
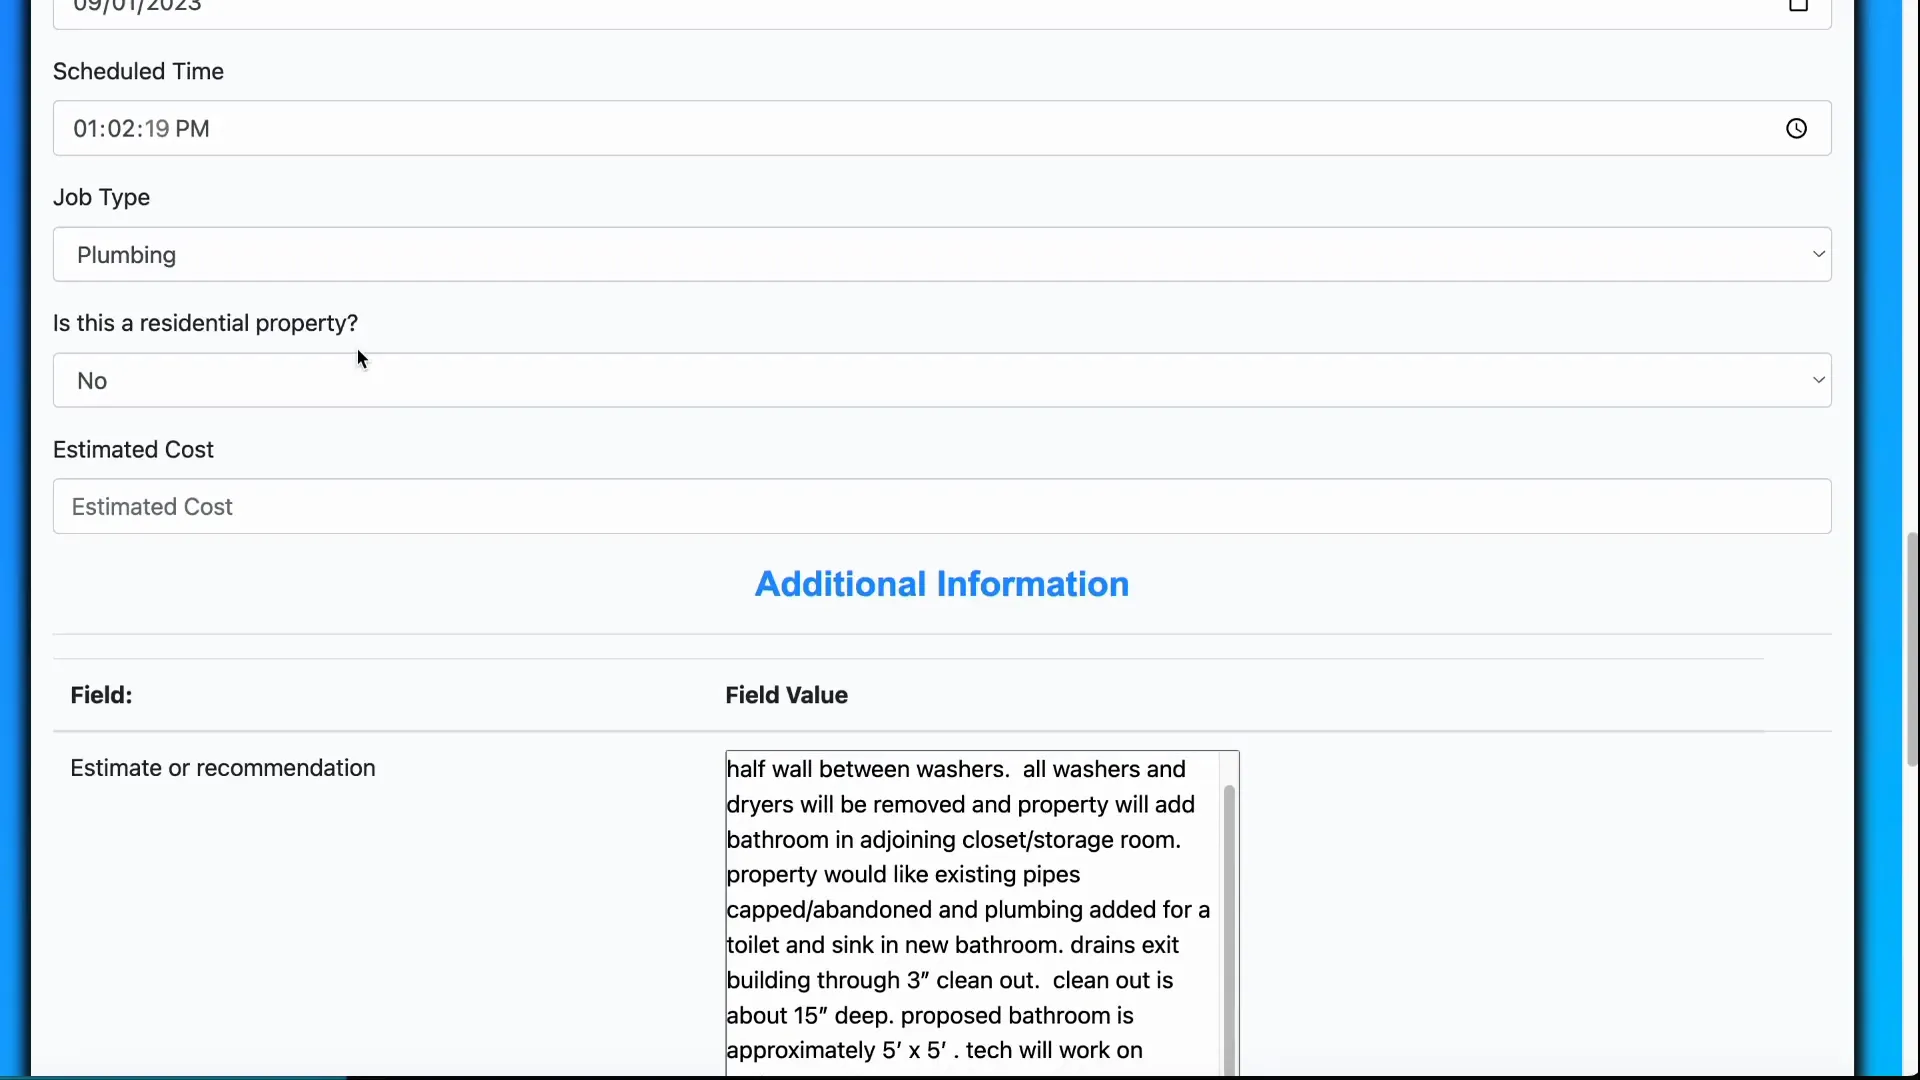
9. Custom fields on jobs
Custom fields let you capture industry-specific details directly on the job invoice. For example, a flooring company could track linoleum amount, square yards of carpet, and linear feet of baseboard in job-specific custom fields. Use these to reduce manual notes and speed estimating/ordering.
10. Job special instructions (cascading instructions)
Special instructions cascade from customer → property → job:
- Customer special instructions apply to any property assigned to that customer.
- Property special instructions apply to any job for that property.
- Job special instructions apply only to that particular job.
Use job-level instructions to convey technician-specific notes like “use only copper fittings” or “door will be locked — leave key at office.”
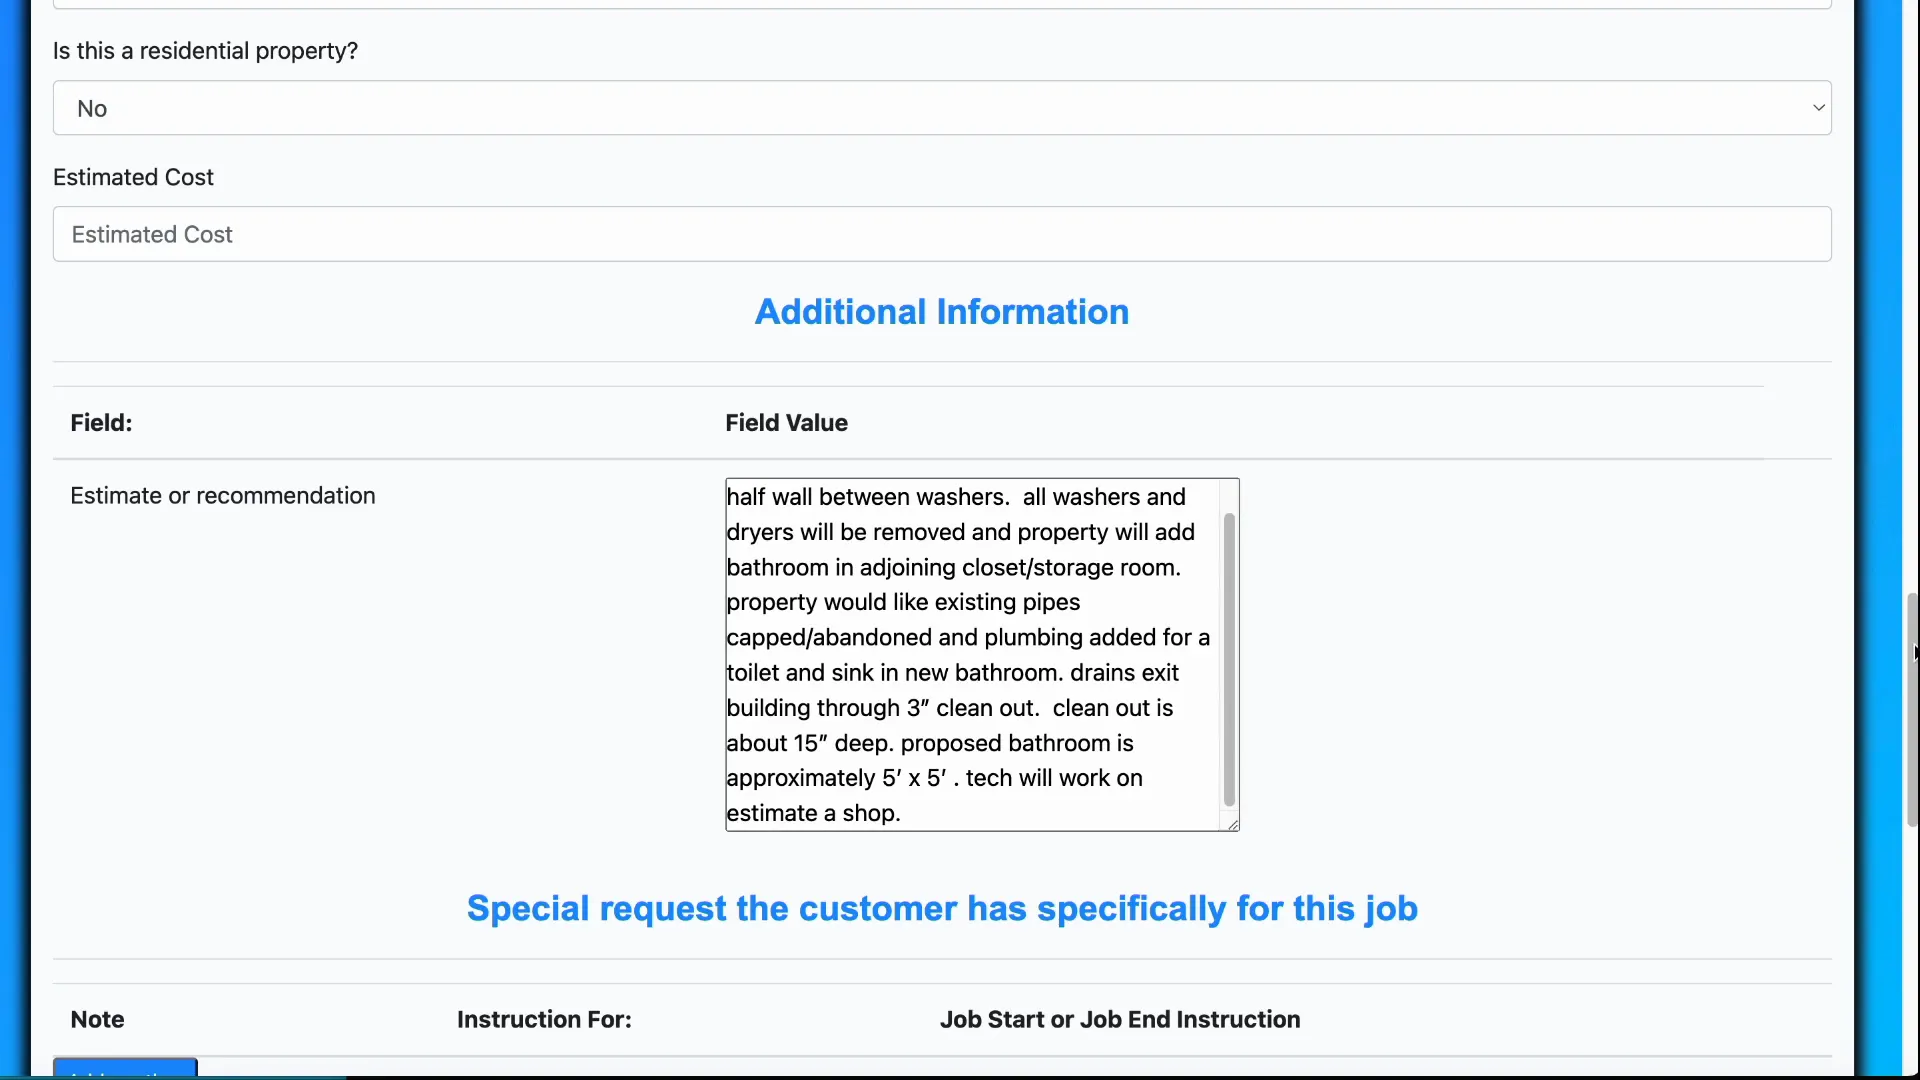
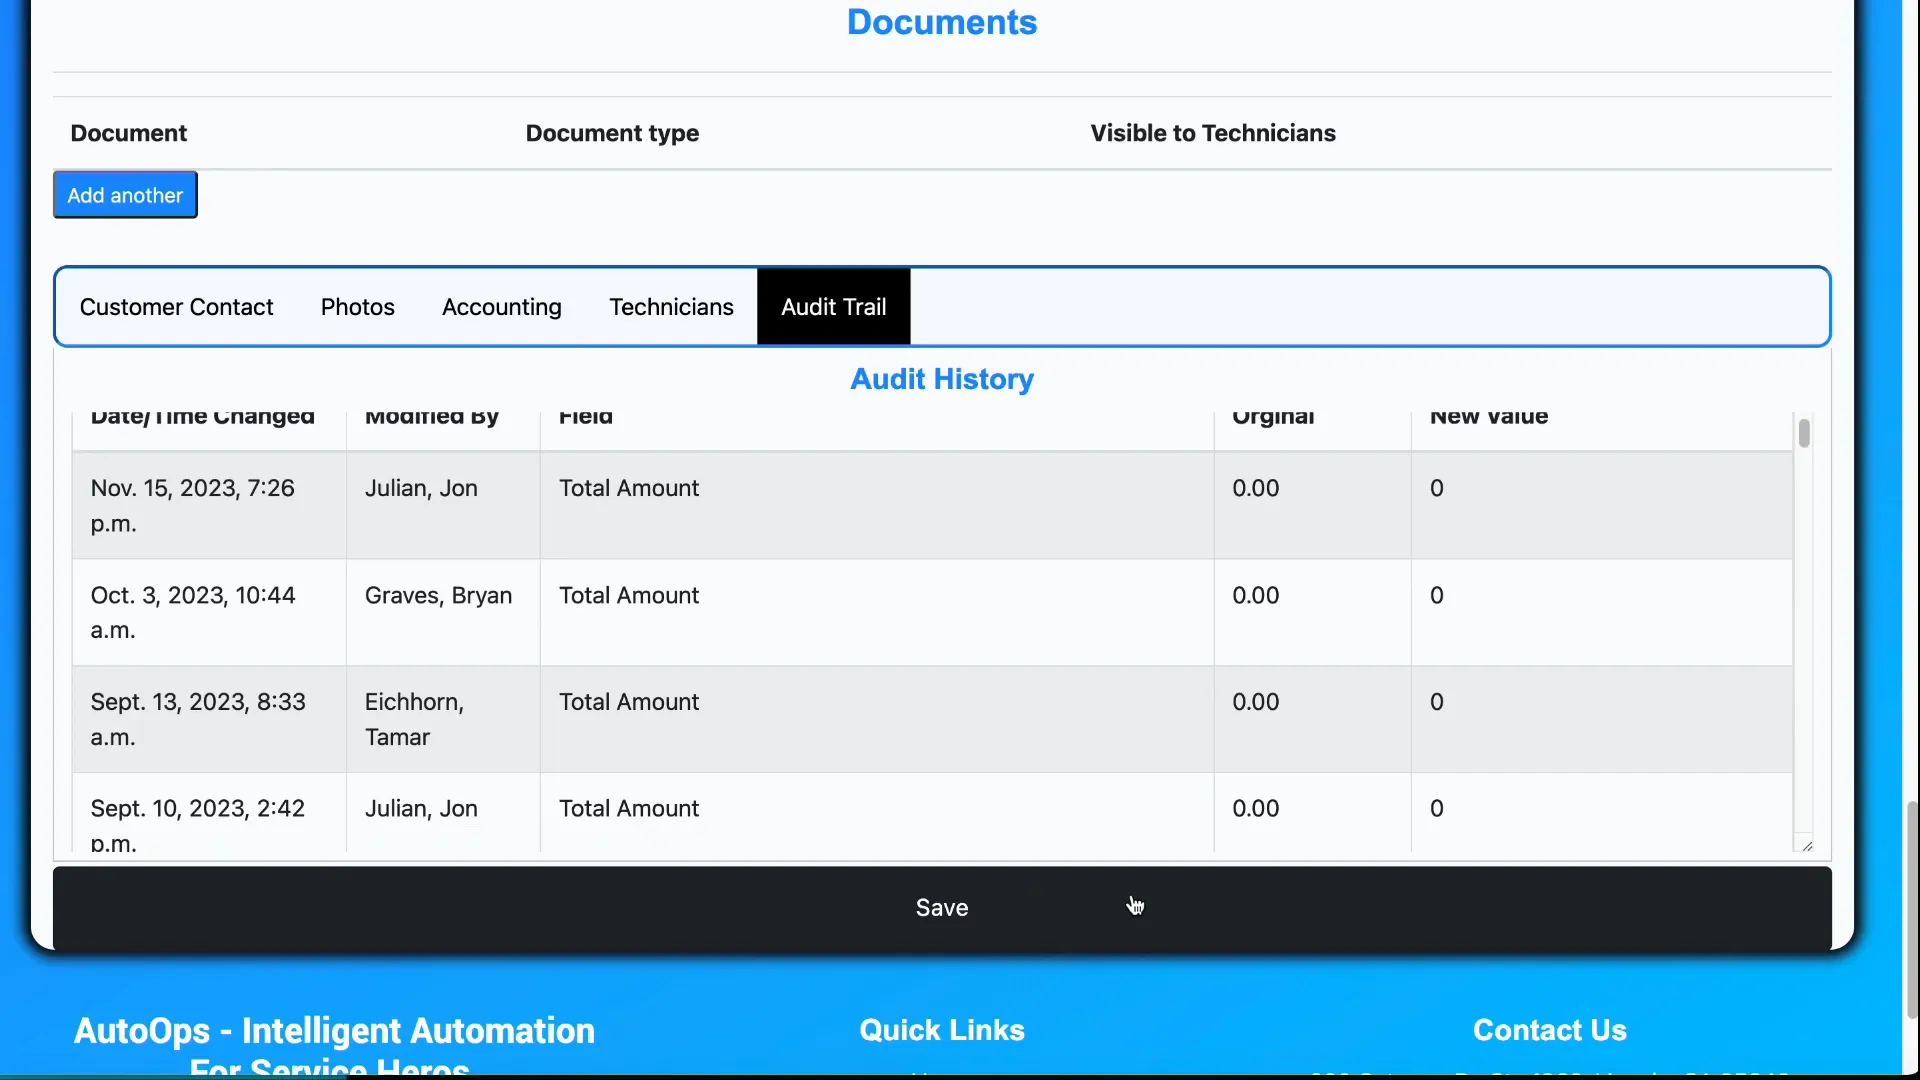
11. Documents (attach permits, diagrams, etc.)
Attach files specific to the job, such as permits or drawings. You can choose whether these documents are visible to technicians or only to office staff. This is a great place to keep compliance paperwork with the job record.

12. Contact information block
The contact area aggregates all customer contacts related to the job—property owners, tenants, managers, or site contacts—so dispatchers and technicians have a single place to find phone numbers and emails.
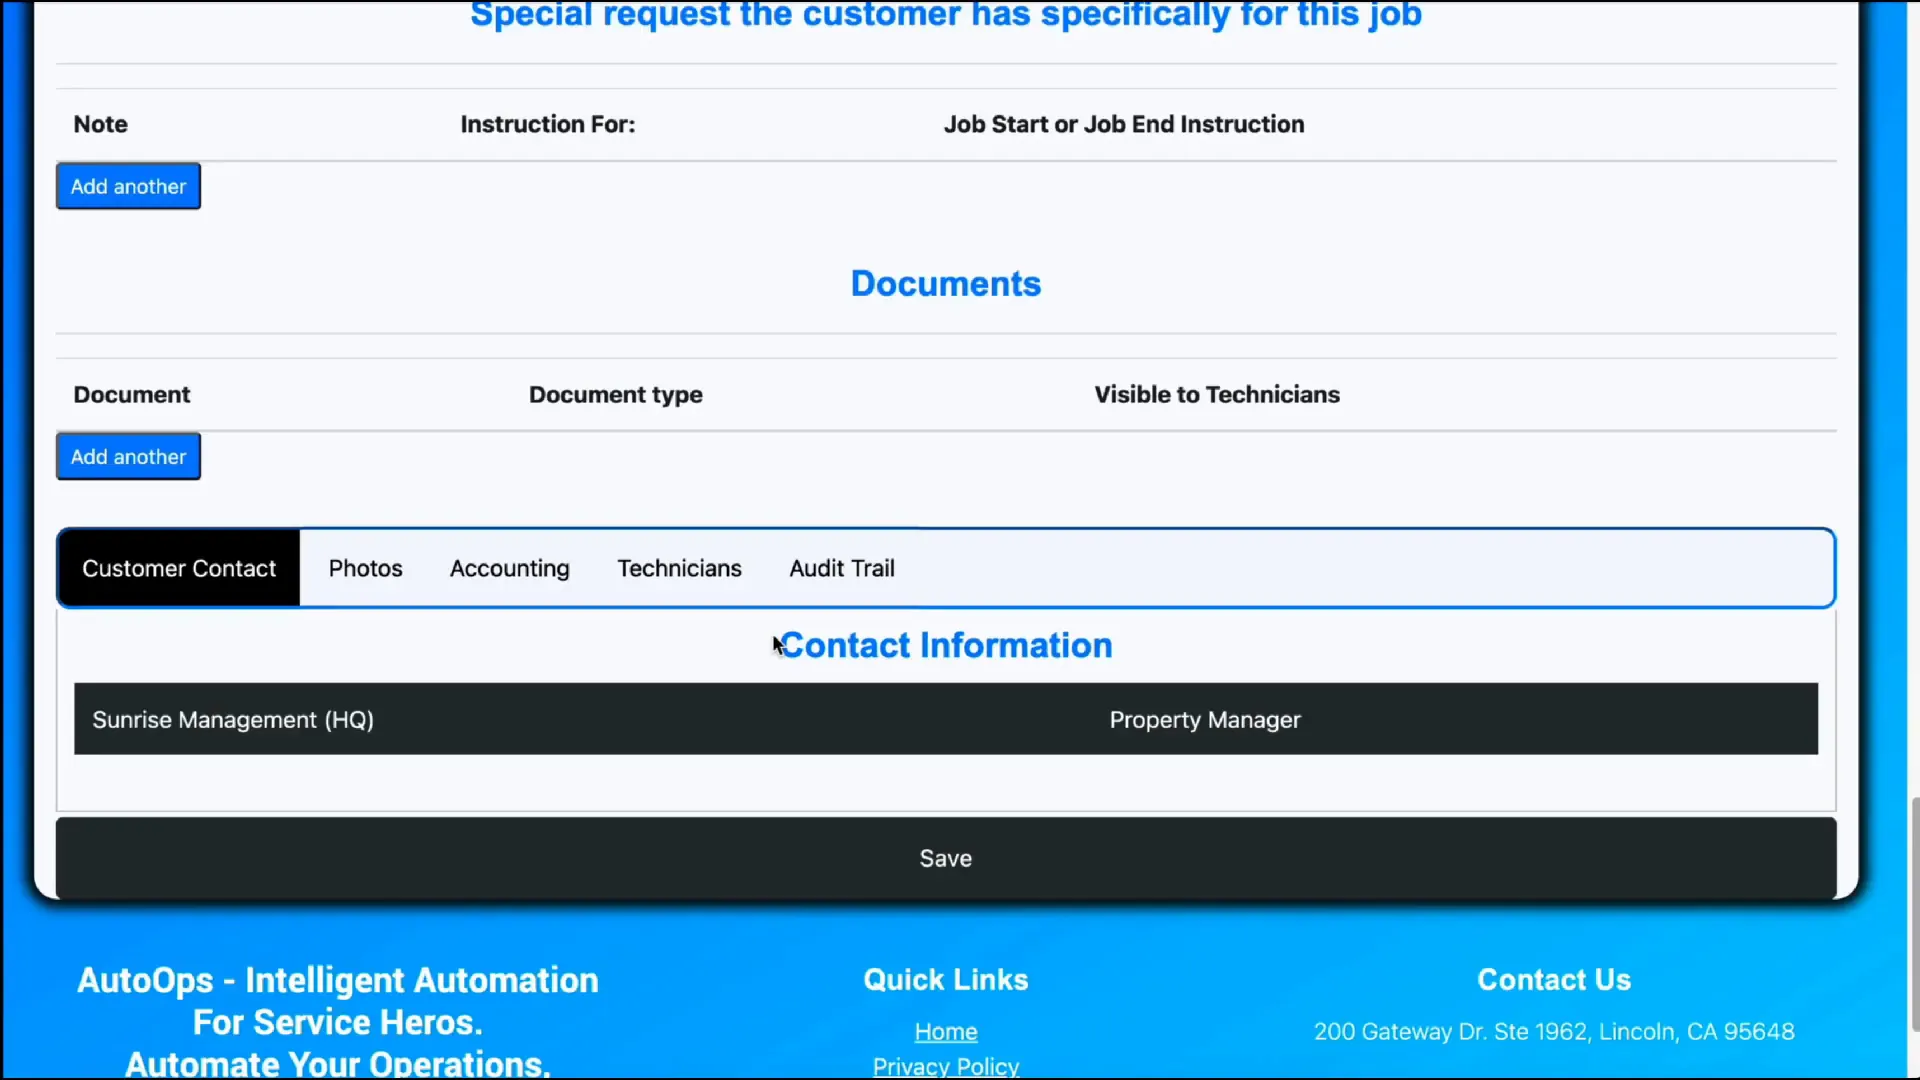
Other tabs you will use frequently
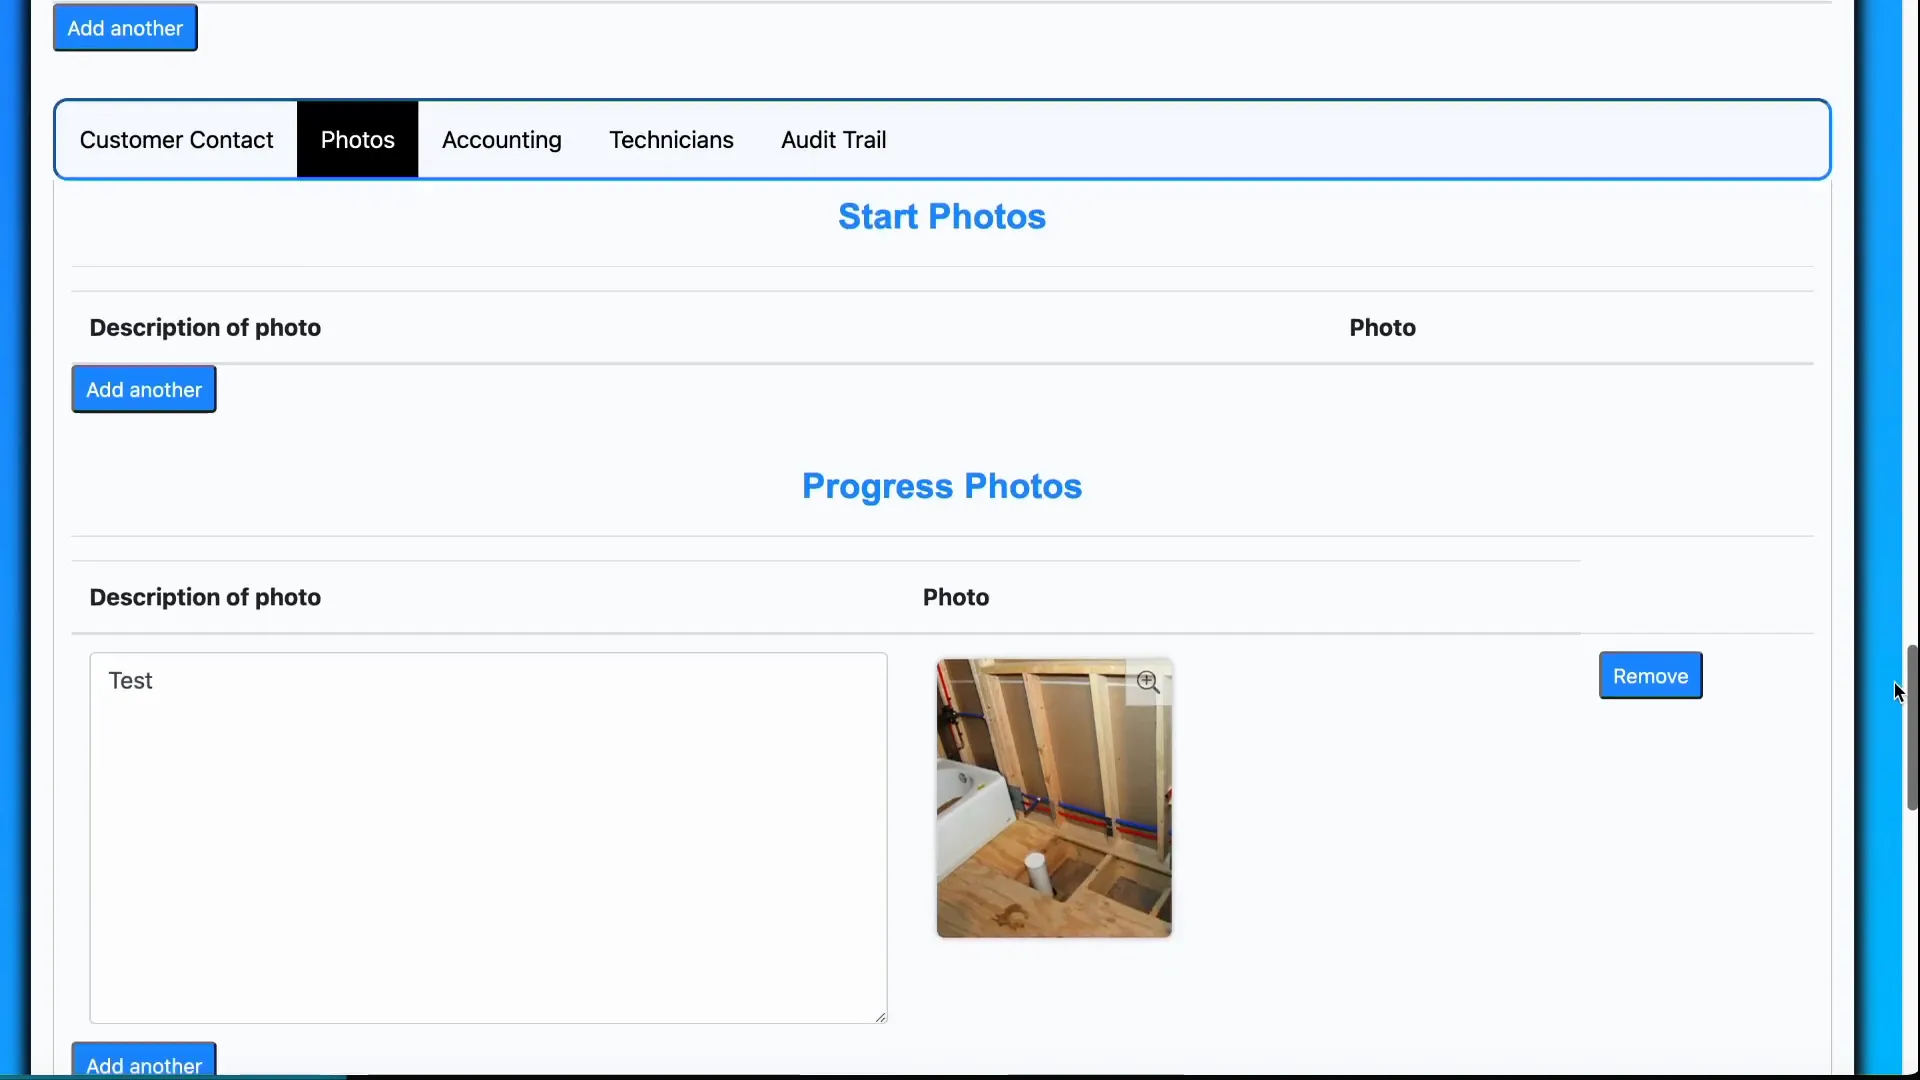
Photos tab
Photos are grouped into start, progress, and finish stages. Job type settings can enforce minimum and maximum photos per stage. Typically at least one start photo is required; finished photos are uploaded at the end of the technician workflow.
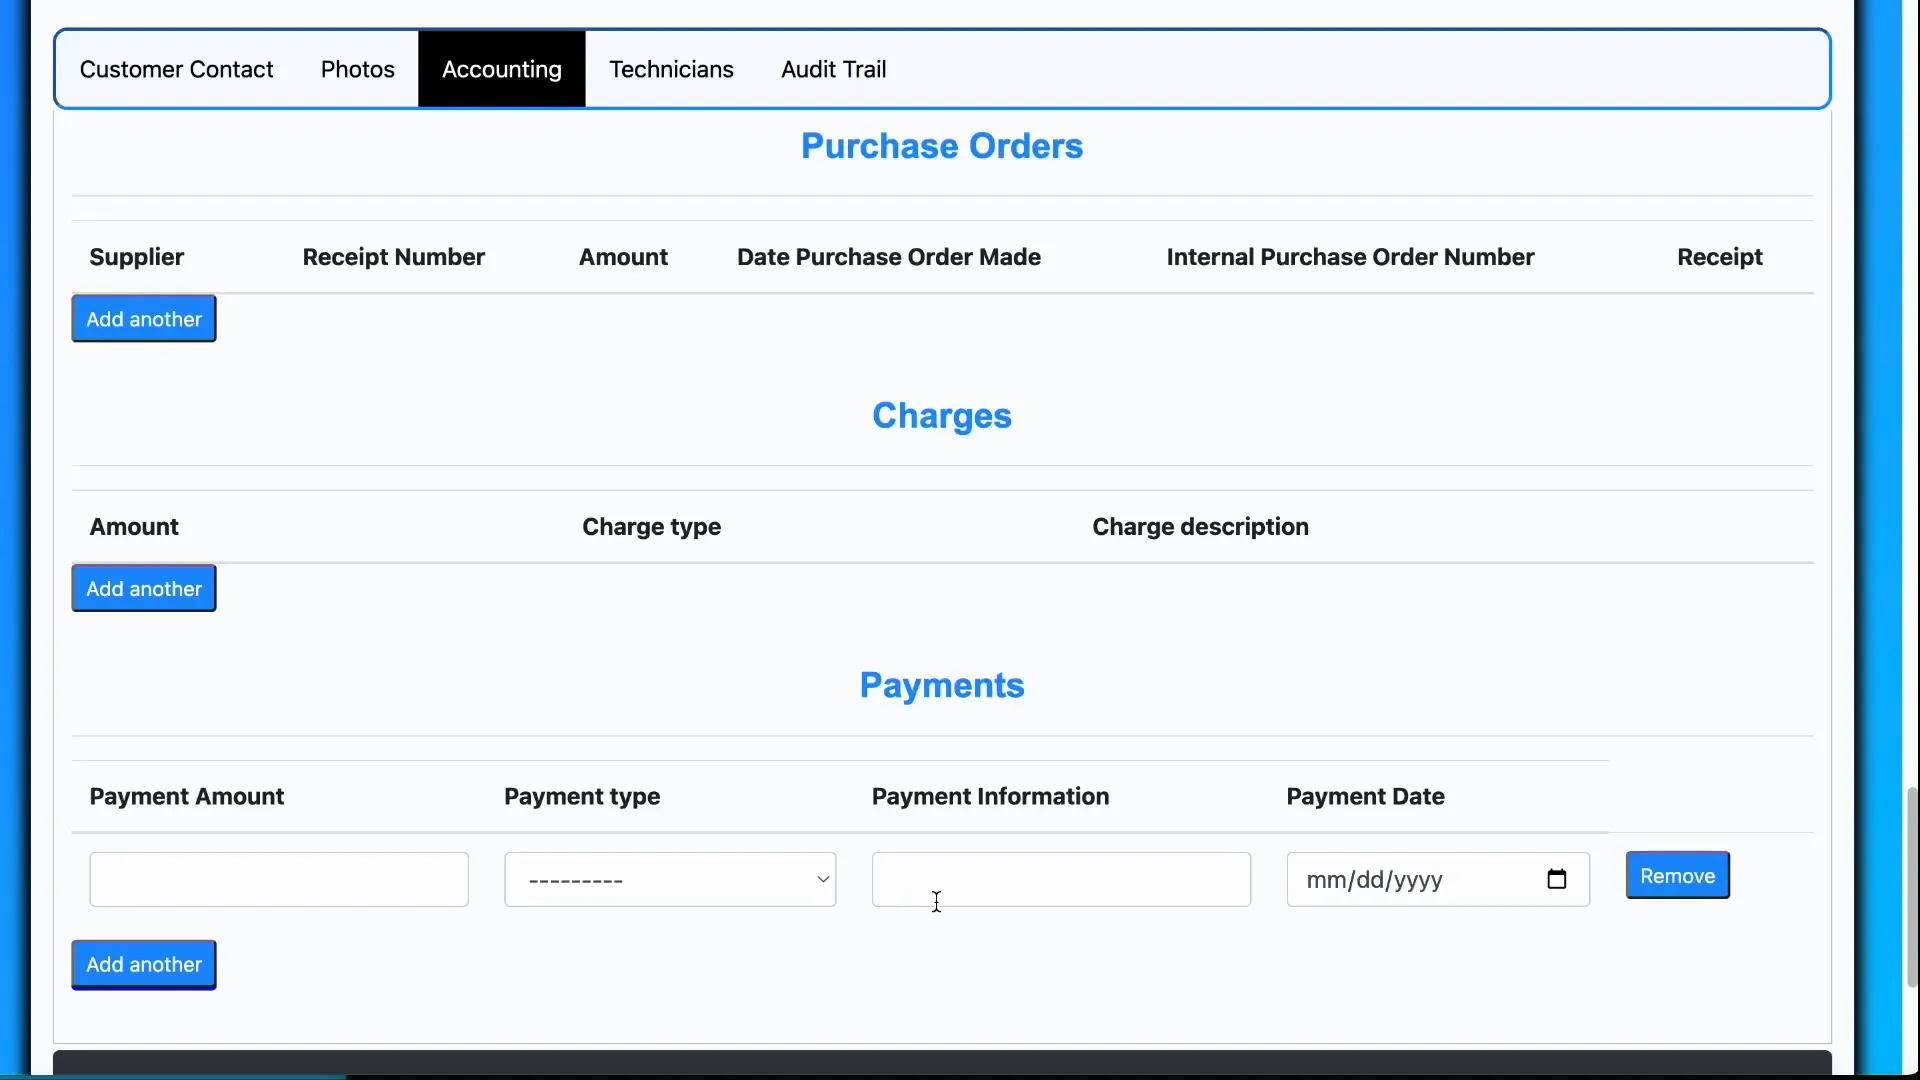
Accounting tab
The accounting tab contains purchase orders, charges, and payments. Each section displays the headers required for your customer to fill out (for example, PO number, description, quantity). Each row includes a description field for additional context.
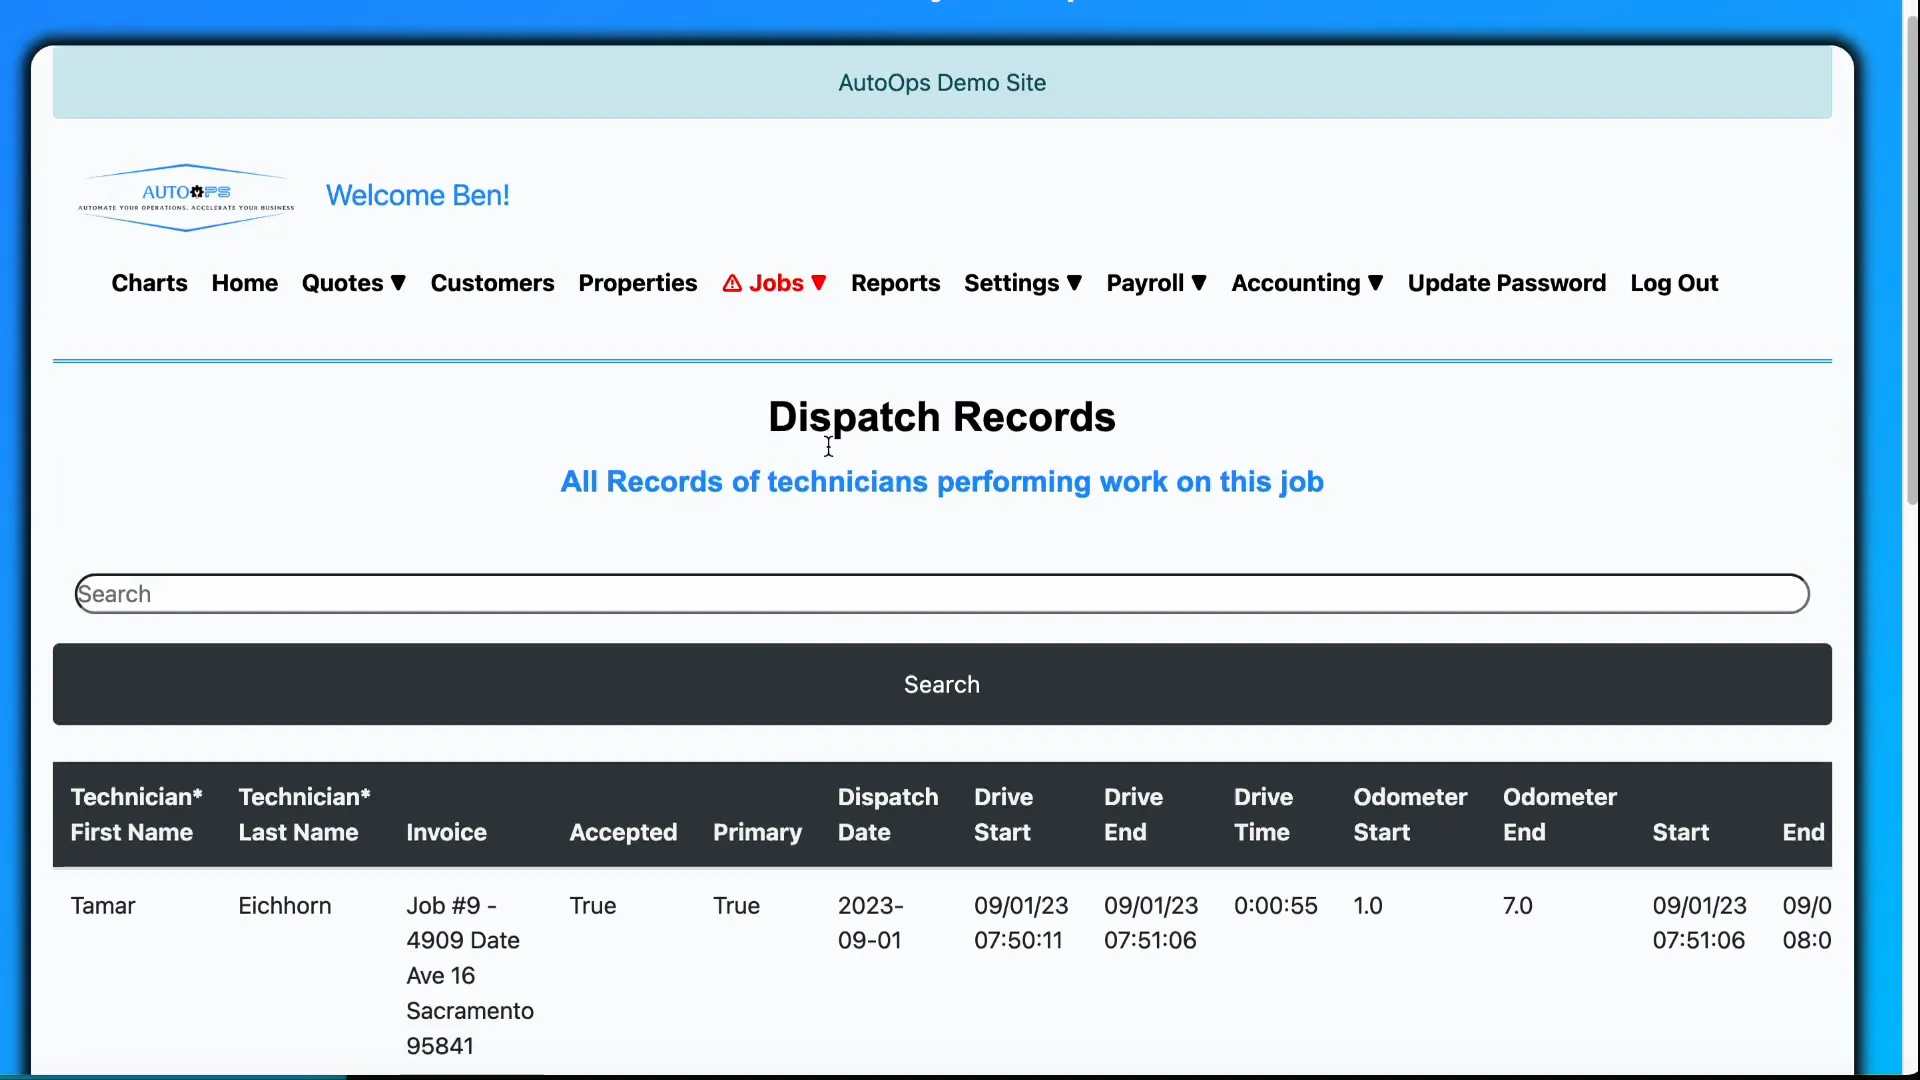
Technicians tab
This tab logs all technician activity for the job. If multiple technicians attend or the job spans multiple days, every visit and entry is recorded. Tracked fields include primary tech, dispatch date, drive time, odometer readings, and other settings that can be toggled in technician workflow settings (including pay columns).
Audit Trail
Use the Audit Trail tab to see who accessed or edited the job and what changes were made. This is essential for accountability and troubleshooting discrepancies.
Saving changes and system-wide customizations
After making edits, click Save to apply changes. Remember: the Update Job page reflects customizations made across the system (accounting settings, job settings, application-level customizations, and technician workflow settings). If a field appears or behaves differently than expected, check those global settings first.
Practical tips and best practices
- Standardize job problem wording with your booking hints so job types are assigned consistently.
- Use custom fields to capture repeatable, estimate-related data to speed procurement and invoicing.
- Keep internal notes clear and time-stamped to avoid confusion during handoffs.
- Attach permits and safety docs to the job at creation to ensure technicians have required paperwork on arrival.
- Review the technicians tab after multi-tech jobs to verify times, odometer, and pay items before payroll processing.
Frequently Asked Questions
Can I change which customer pays after the job is created?
Yes. Use the Submit invoice to field to switch the financially responsible customer, provided both customers are linked to the property (for example, tenant and landlord).
Why can’t I change the job type once a job is created?
Job types can contain custom questions, workflows, and validation specific to that type. Changing the job type could invalidate previously collected data, so the system prevents that change on existing job invoices.
How does the system determine job type automatically?
The system scans the job problem for booking hint keywords. Those booking hints (configured on job types and technician profiles) map to job types and allow automatic assignment.
Where should I attach permits or site drawings?
Attach them in the Documents section of the job. You can choose to show or hide these files from technicians depending on sensitivity or operational needs.
What should I check if a field doesn’t appear on the Update Job page?
Many fields are controlled by global settings (accounting, application, technician workflow, job settings). Verify the relevant setting if a field is missing or behaves differently than expected.
Conclusion
Updating jobs in the system is about keeping data consistent and actionable—link the right customer and property, use clear job problems to trigger the correct job type, capture scope and special instructions, attach documents and photos, and review technician activity and accounting entries before saving. These practices help your teams dispatch smarter, bill accurately, and avoid rework.
Need a walkthrough
If you want to see these steps in action, check the original content by AutoOps for a guided tour of the Update Job page and related settings.